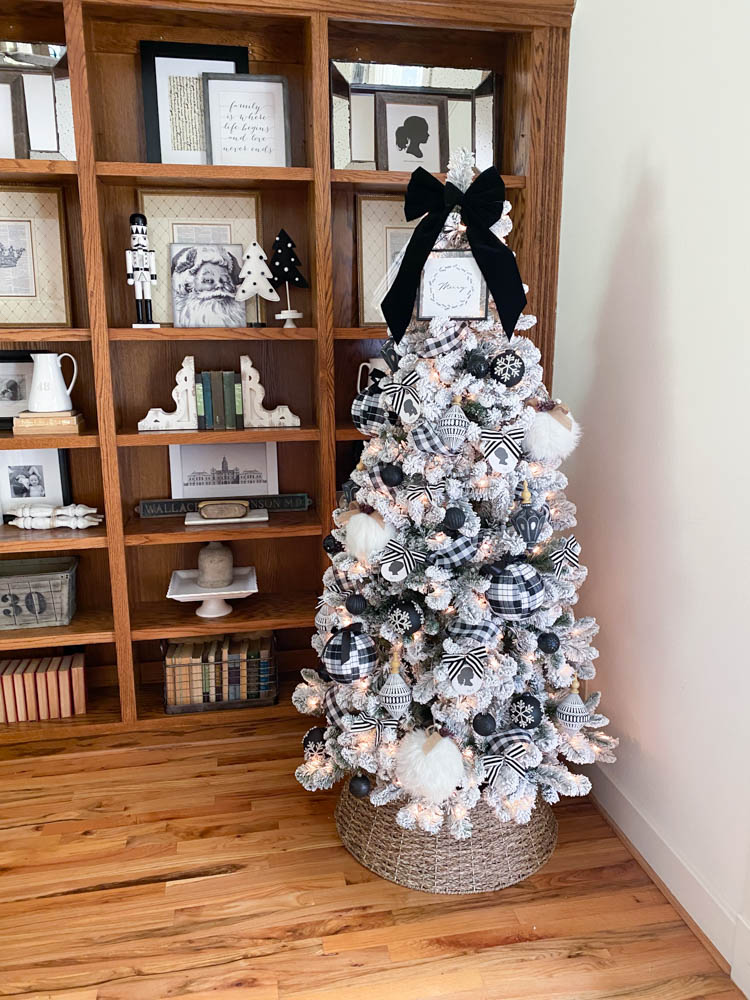
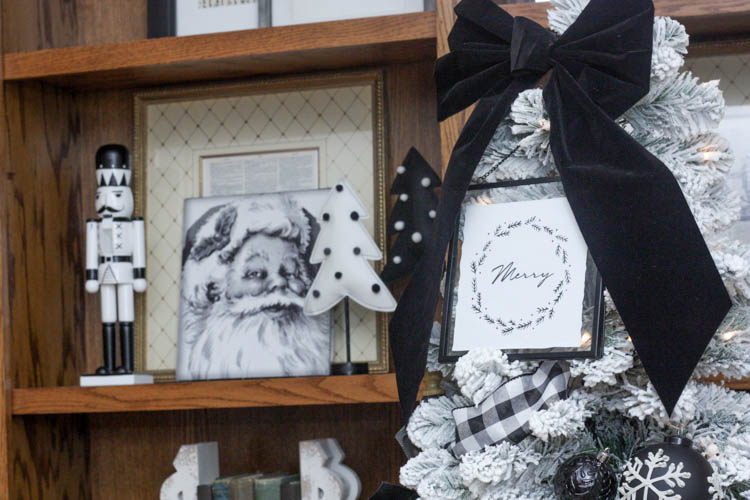
I am super excited about my Christmas tree this year. I had a vision of what I wanted it to look like and it turned out exactly as I was hoping. Yall know I am a fan of neutrals, well this year I really wanted a black and white tree. I also wanted it to have a special, meaningful touches on it so I created these cute DIY silhouette ornaments I cannot wait to share with you! Here are all the details on my black and white Christmas tree and how you can get the look too!
We already have 1 Christmas tree that we have had forever so I wanted this second tree to be very budget friendly. I found everything I was looking for at Walmart and the prices were amazing! They have a great assortment online, but even more selection in store. I am blown away with their designs this year. So many beautiful, well though out styles. Their Clearly Christmas theme went perfectly with my black and white dreams!
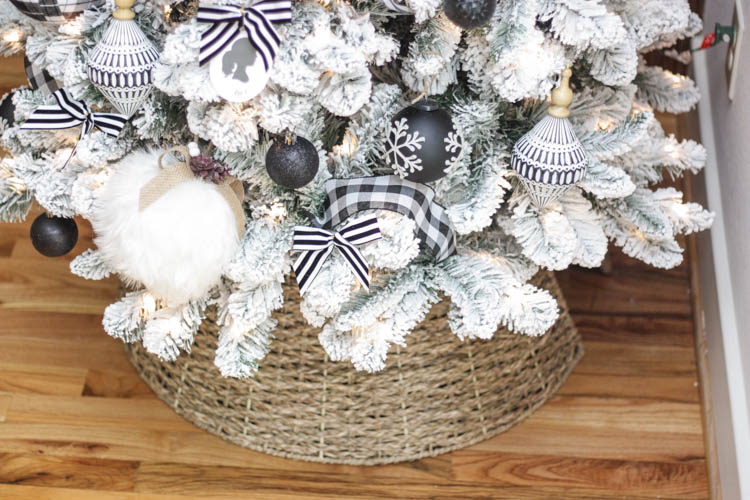
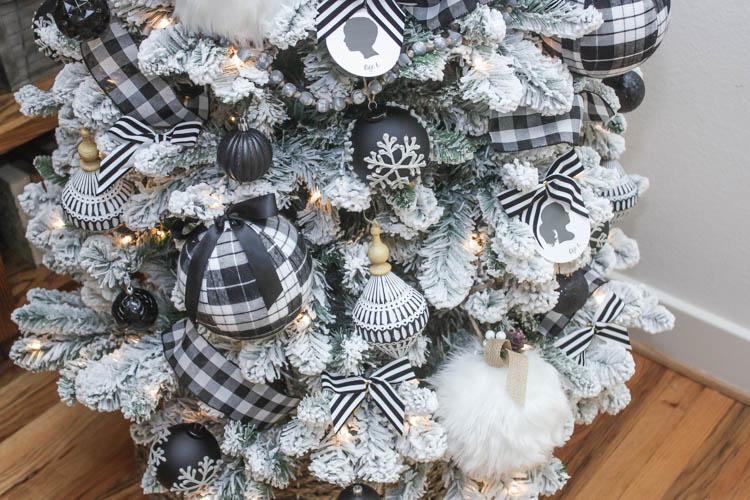
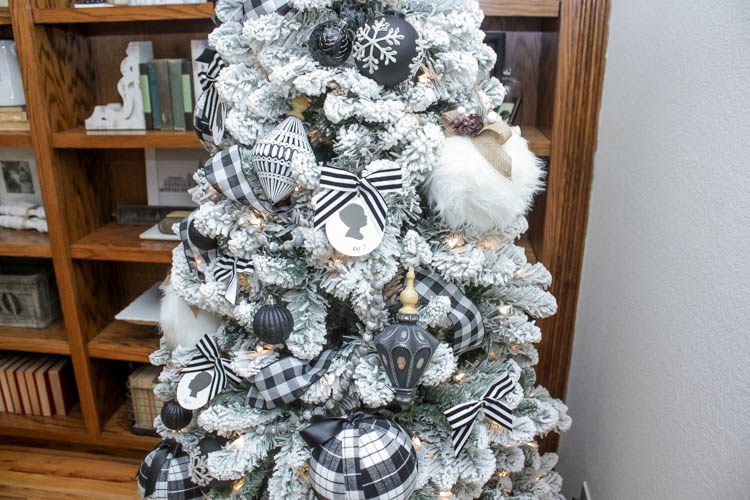
To start I got an amazing 6.5′ pre-lit flocked tree for $69! Then I got the most amazing seagrass tree collar for less than $20! I am telling yall, these will sell out FAST!!! Once I had the basics it was time to decorate. Walmart had a large selection of black and white ornaments. I like to pick several styles and layer for added texture and interest.
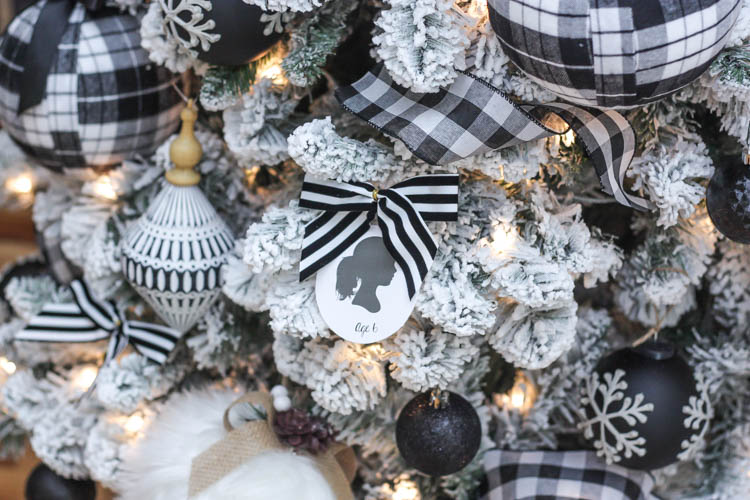
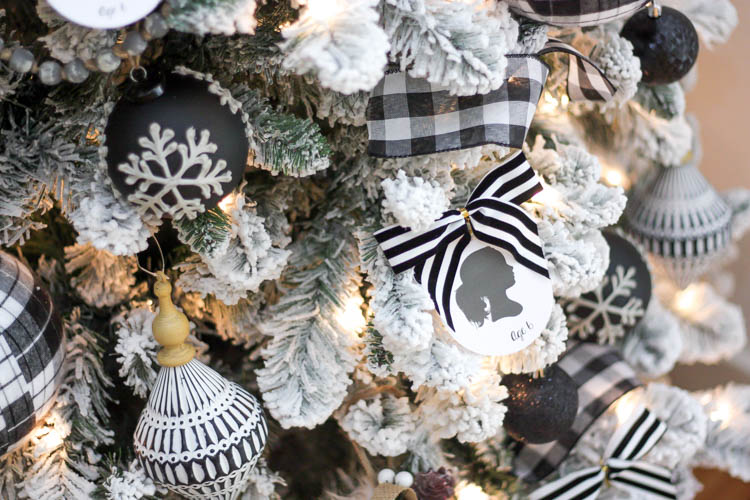
I used some large black and white plaid ornaments, some large furry ornaments and some smaller black shatterproof ornaments that came in a variety pack with glitter, texture, etc. I also layered in some wooden ornaments in both black and white and then some black glass ornaments with white snowflakes. I found some great grey beaded garland that I wove through the tree and then took some black and white buffalo check ribbon and cut into small pieces that I added in spots for more pattern.
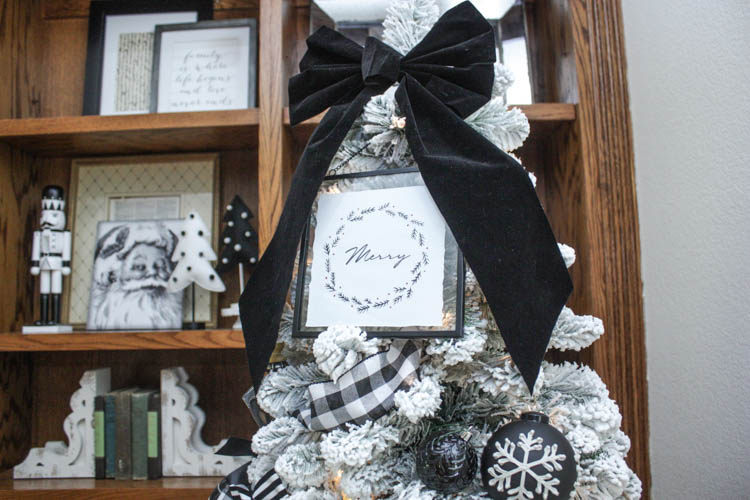
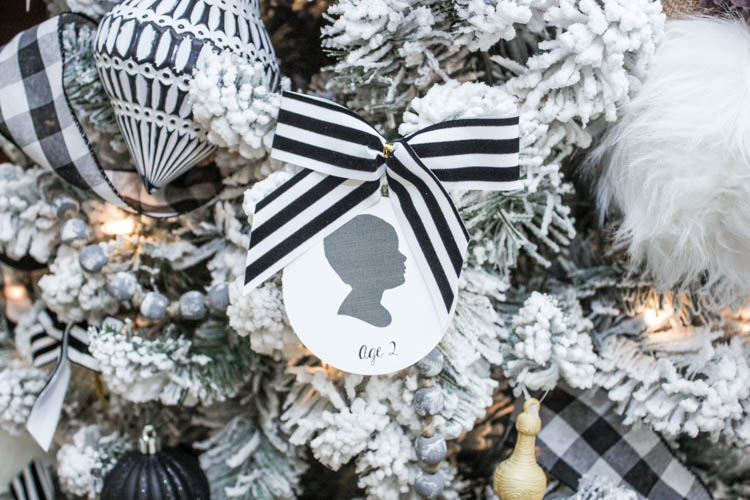
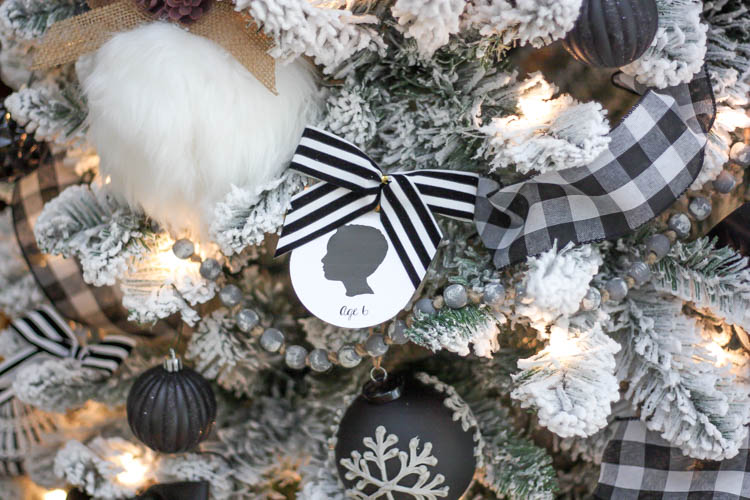
The top of the tree I used a large velvet bow ribbon that was pre-made and a cute metal Merry Sign. I also found some cute black and white items for my self decor! The final item I added to the tree that really made it special was custom DIY silhouette ornaments of my kids. These were super inexpensive and easy to make. I love how personal they are. I am going to teach you how I made them below and this technique can be used for anything. You can add all family members, do multiple ones of each kid at different ages, add your pets, etc.
Here are all the details on how to make your own DIY silhouette ornaments!
DIY SILHOUETTE ORNAMENTS:
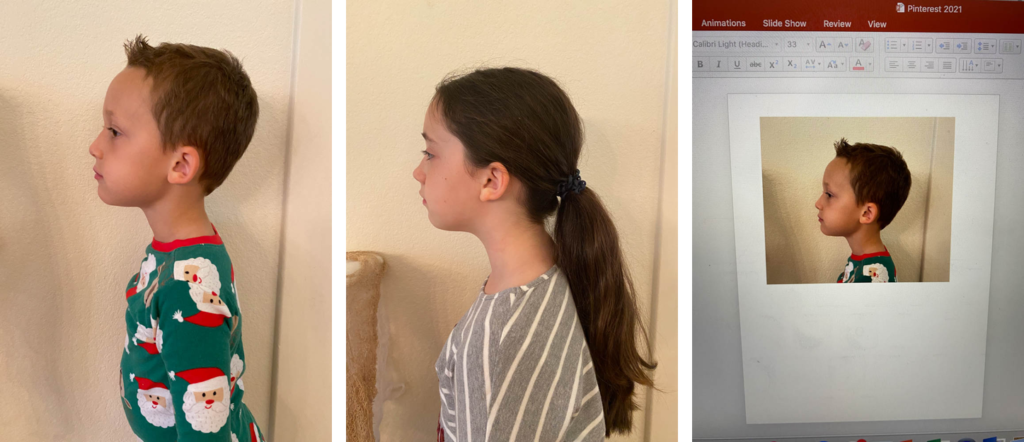
STEP 1: Take profile pictures of your kids (or whatever you are wanting to use…pets, etc)
STEP 2: Upload photo into PowerPoint
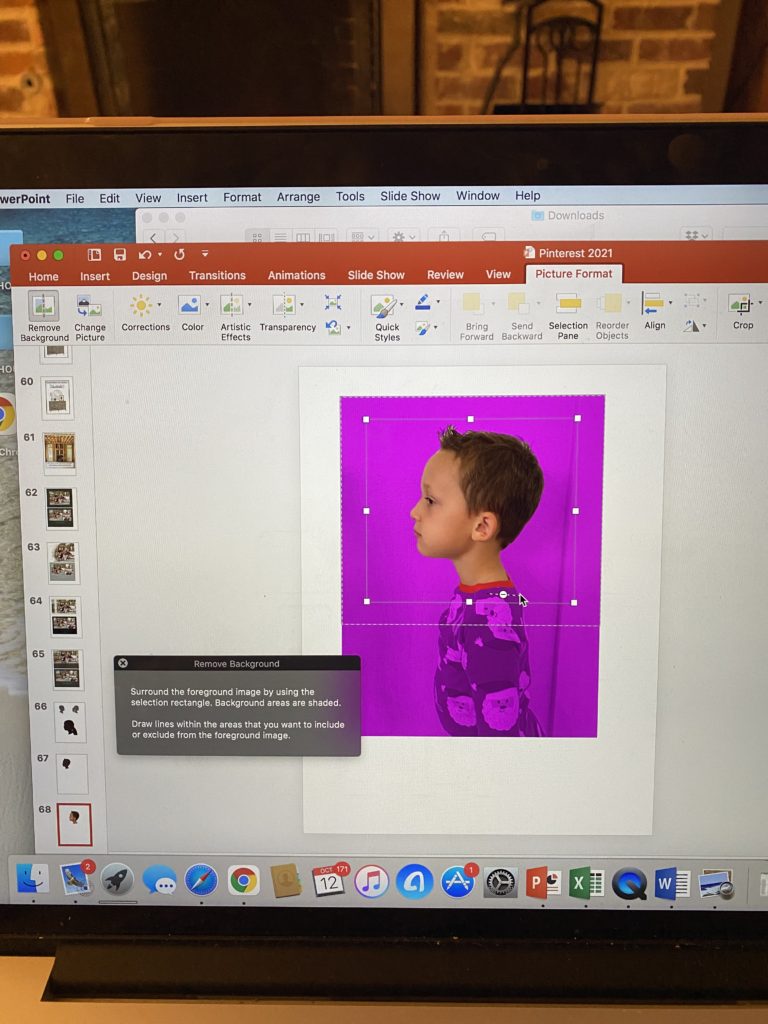
STEP 3: Click on photo, then highlight PICTURE FORMAT at the top right of the screen. Once that is highlighted you will see REMOVE BACKGROUND pop up on the left of the screen. Click on that. It should turn the photo purple and leave part of the photo in color. You can then click on the photo to add or delete until you get the exact image you want showing. Here you see just Braden’s face and neck are showing. Once done you click off and you will see what is remaining. If you need to edit anything just repeat the process and add/delete.
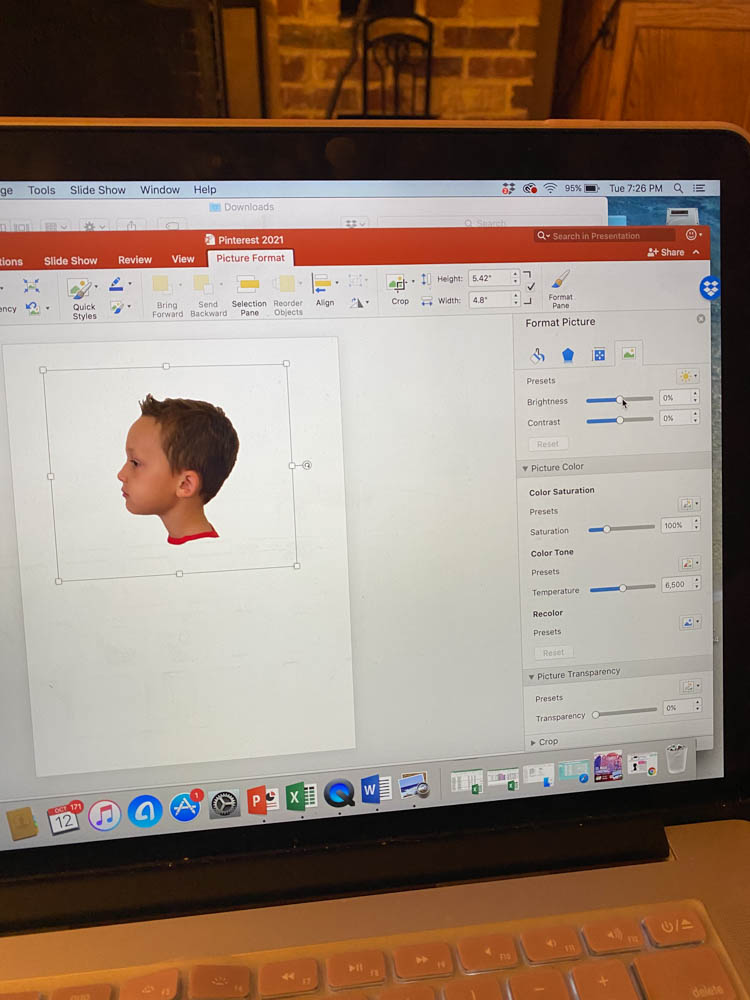
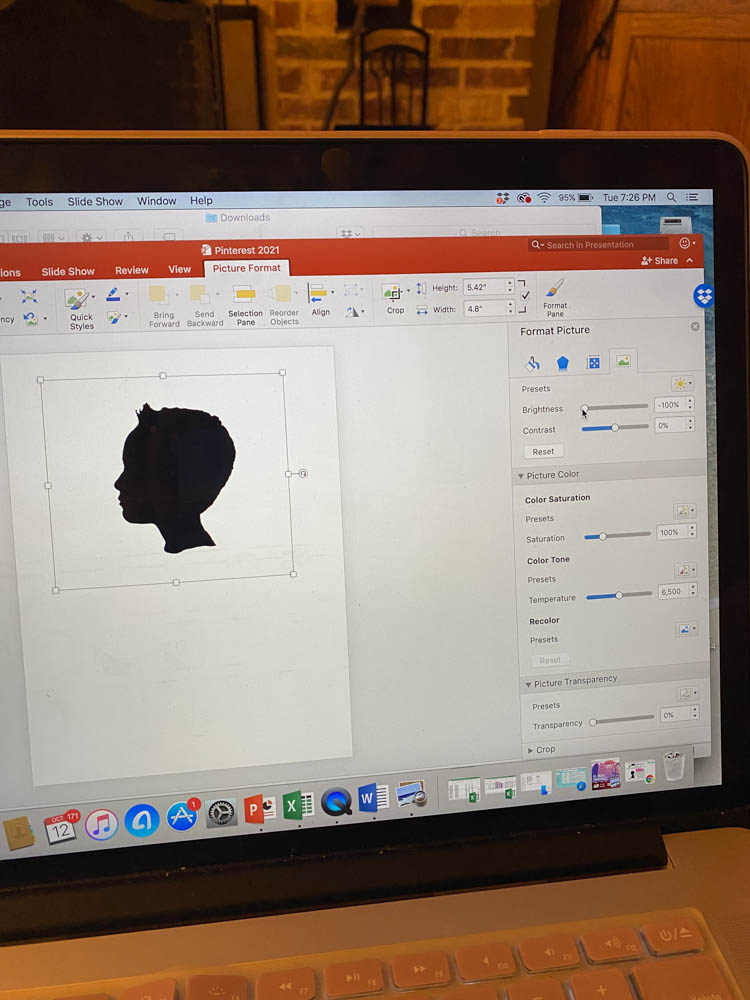
STEP 4: Now you are left with a floating head. Click on the image and then go up to PICTURE FORMAT again, then left click photo and a box will pop up. Click on FORMAT PICTURE towards the bottom of the list. Once you click that this box will appear on the right side of your screen (see above), click on the icon with a green hill (top left) and you will see these different options appear. You are going to click BRIGHTNESS and slide it all the way to the left making your image completely black. You can see in the photo below that you now have a silhouette of your image.
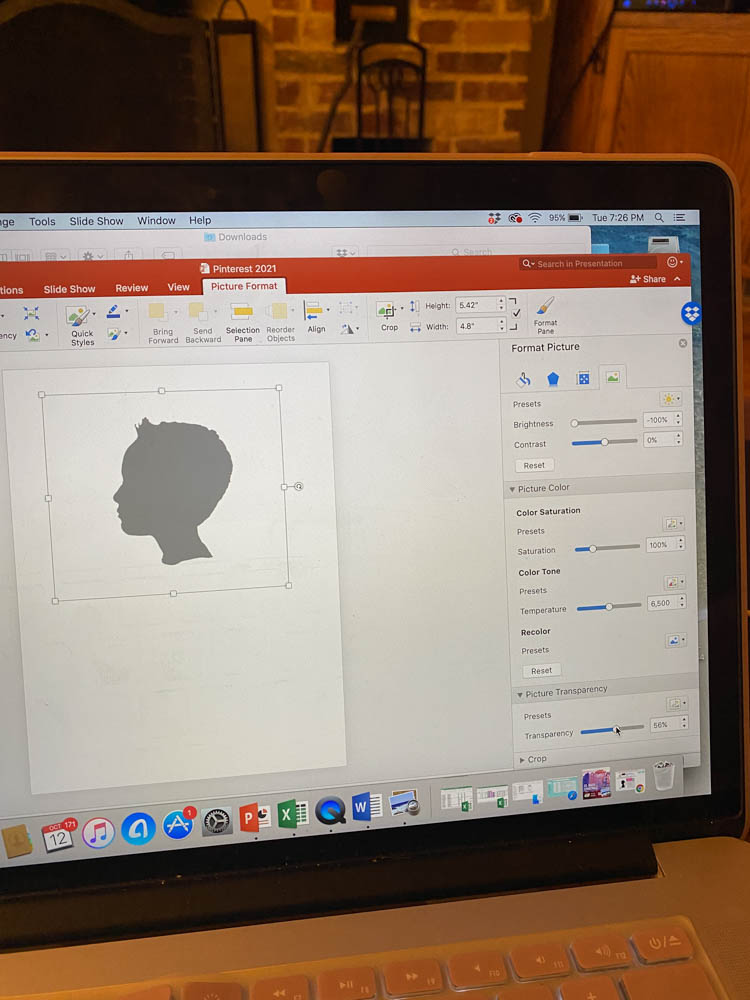
STEP 6: If you want to lighten your image and have it be more of a grey color, you use the same box and go down to TRANSPARENCY. There you can slide the arrow around to achieve the color you want.
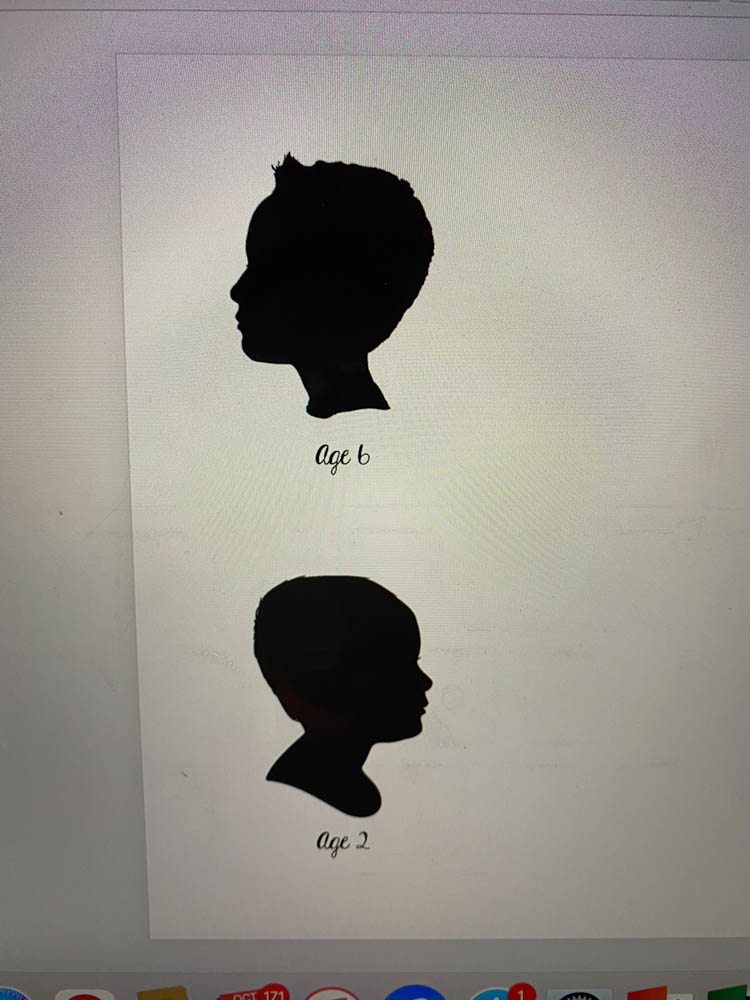
STEP 7: I wanted to personalize mine a bit more so I added the kids age below by adding a text box and font below my photo. You could add names, monograms, dates, etc. Get creative!
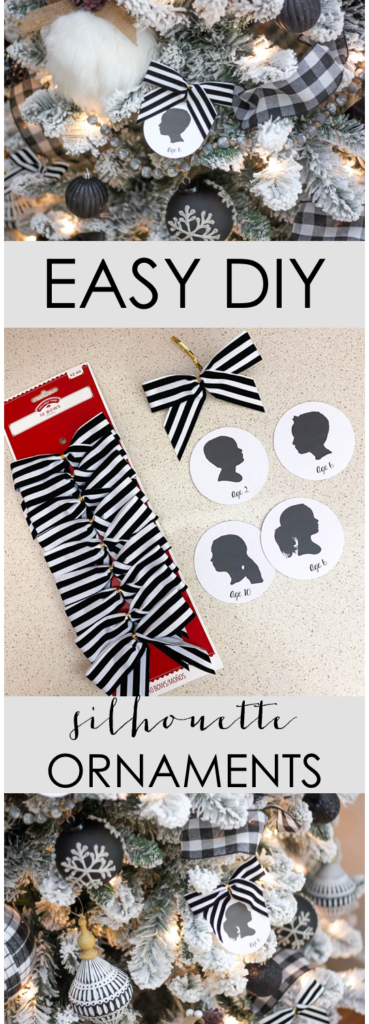
Now all you have to do is print and cut! See how easy that is! You can use this technique for ornaments, art, gift tags, etc. I like to print mine on textured resume paper or scrapbook paper because I like the thickness.
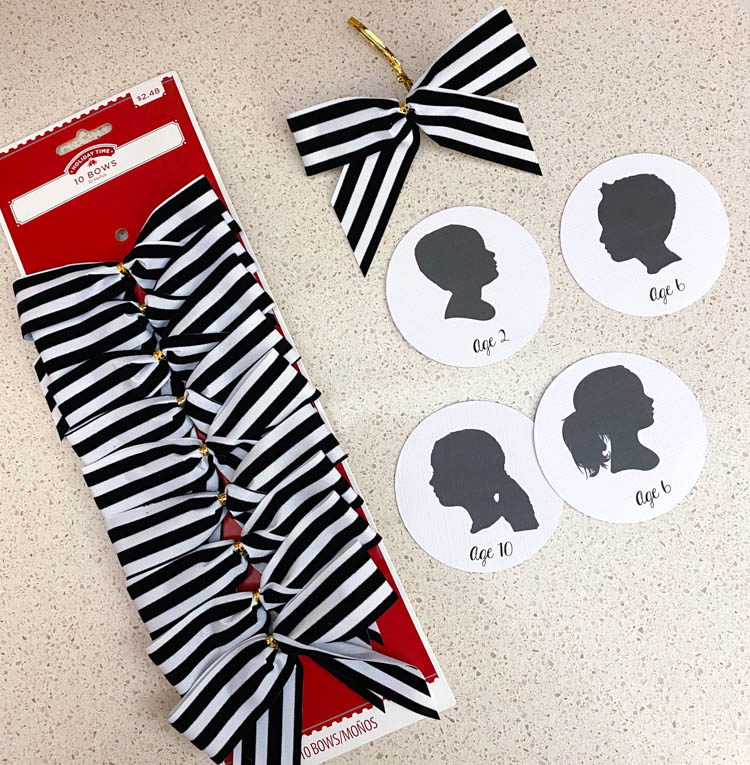
I made 4 of these silhouettes with different ages of my kiddos and them turned them into simple ornaments. I used a circle craft punch to make perfect circles (this scalloped one would also be cute) and I found these cute black and white bows and added them to the top. Cute, custom ornaments perfect for our new black and white Christmas tree!
I absolutely love the way they turned out!
Hope you guys found some great items for your own home and got inspired on ways you can personalize your holiday decor! Head to Walmart for all your holiday needs. They truly have something for everyone!
SHOP BLACK & WHITE CHRISTMAS TREE
PIN FOR LATER
Thank you to Walmart for sponsoring this post. All opinions are my own. This post contains affiliate links. If you purchase I may receive a small commission. Thanks for supporting my blog.


Your tree is absolutely beautiful. Walmart has such a great selection of holiday decor. Great job, I love the personal touch with your children silhouettes. Makes me want to get my Christmas tree out and start decorating.
Awe thank you so much. That is so kind!