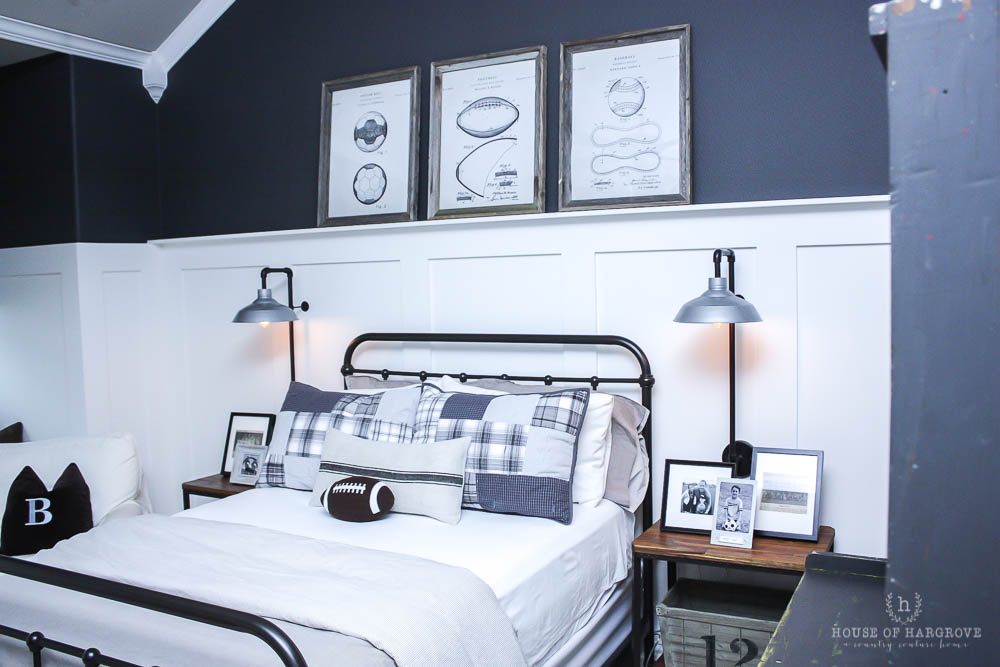
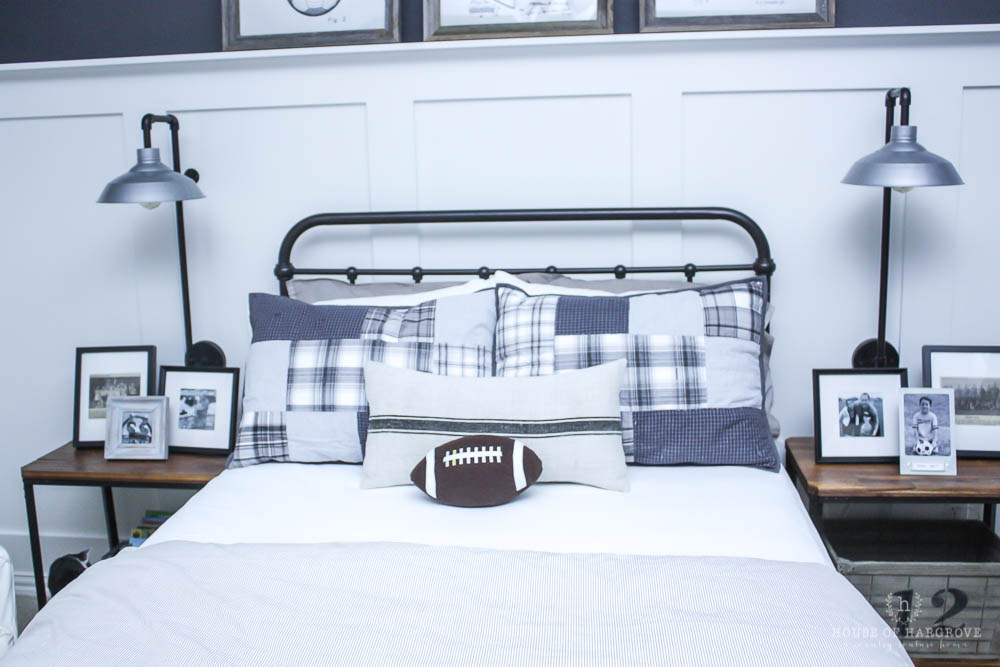
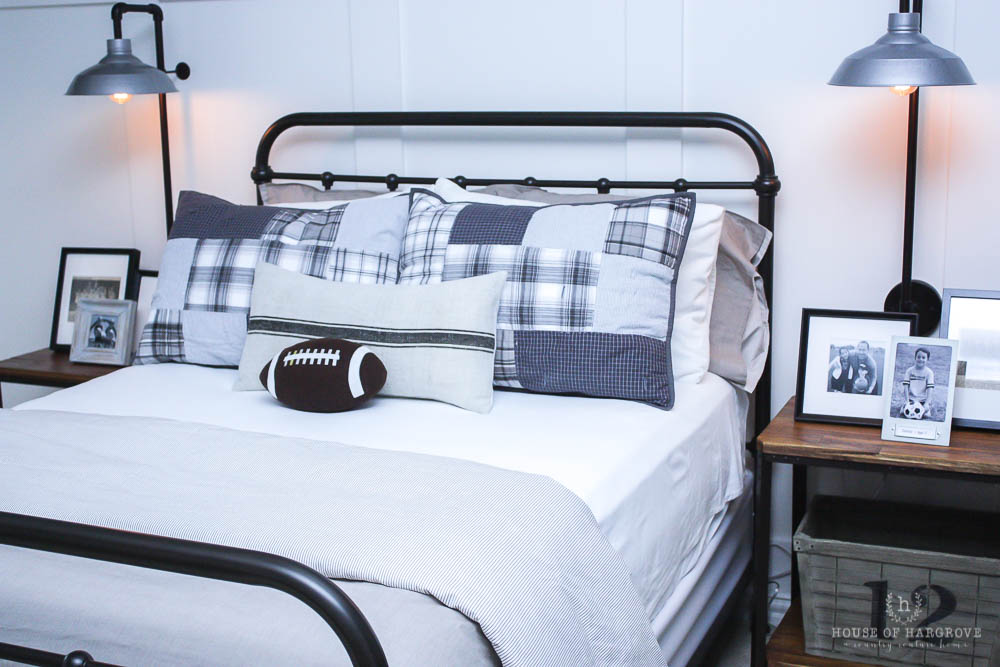
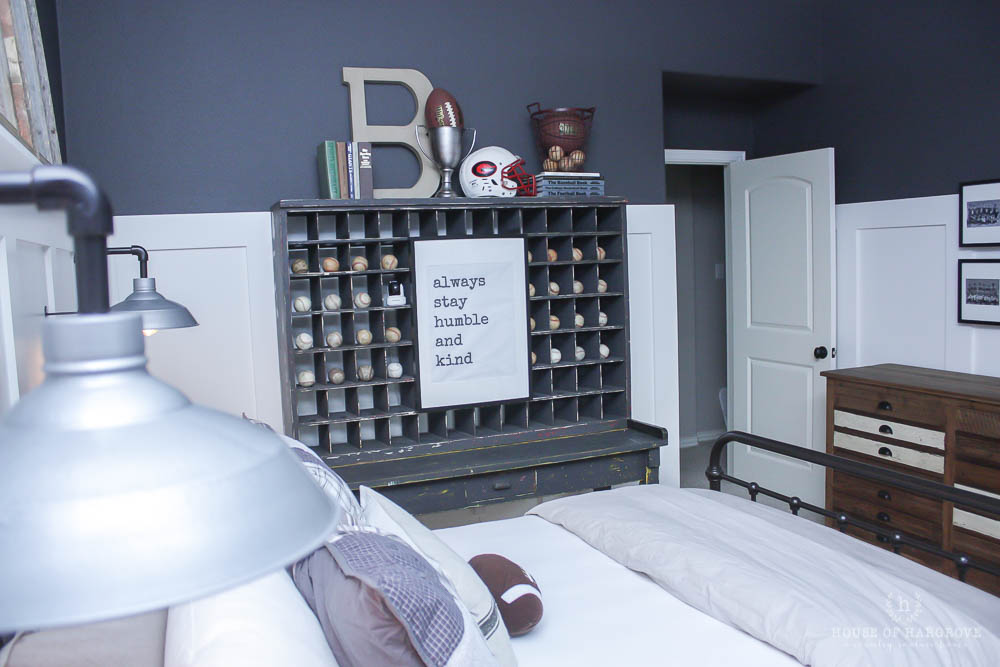
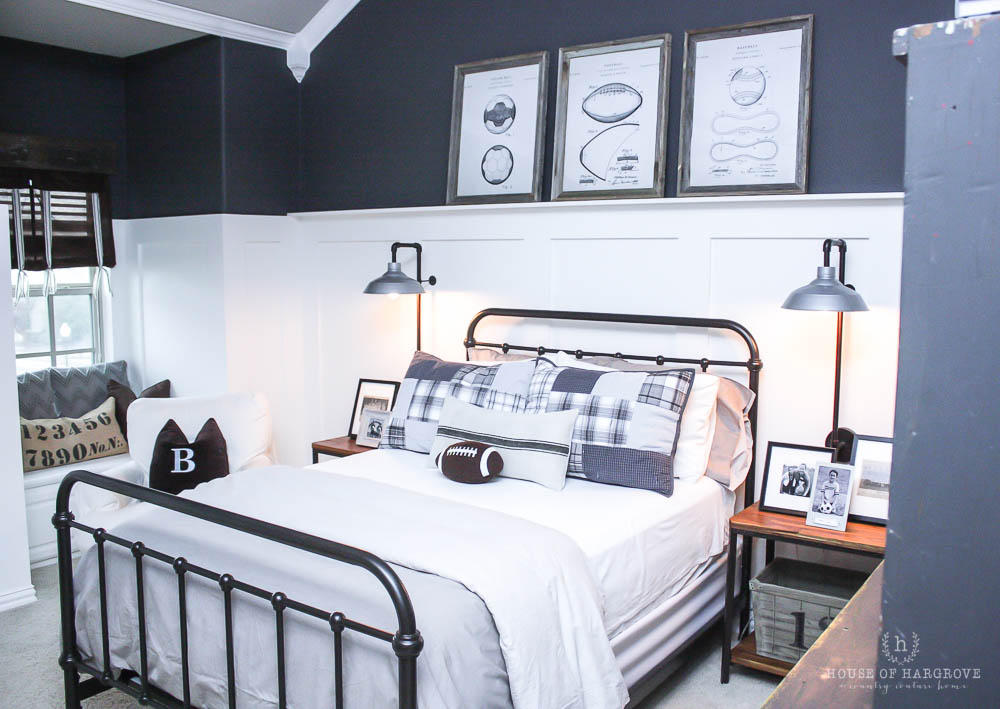
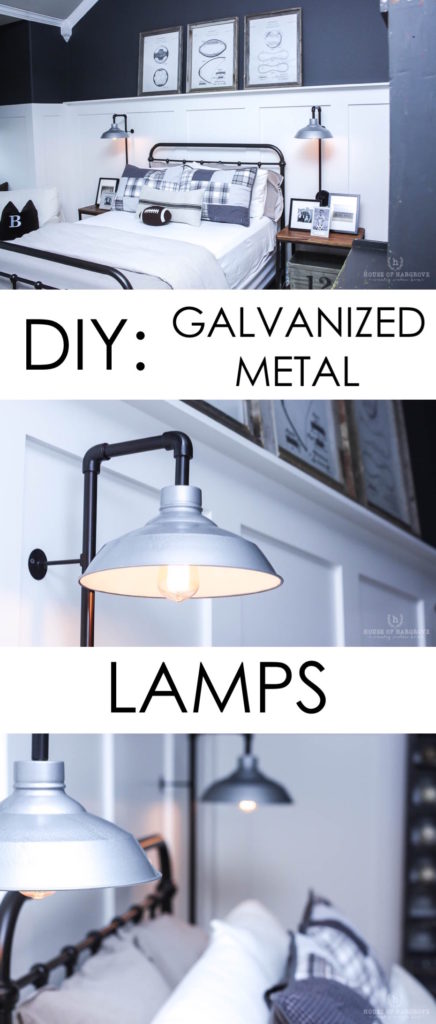
I cannot tell you how much I LOVE the lamps in Braden’s bedroom. They were exactly what I was looking for. His room has a vintage, industrial sports theme and I was looking for some cool industrial lamps that had a farmhouse feel. The lamps I found had white shades, which I LOVE, but he has white molding around his room so they blended in too much. I decided to transform the shades into a galvanized metal look so today, I am sharing how I did that. Here are all the details of Braden’s DIY galvanized farmhouse lamps.
DIY GALVANIZED FARMHOUSE LAMPS
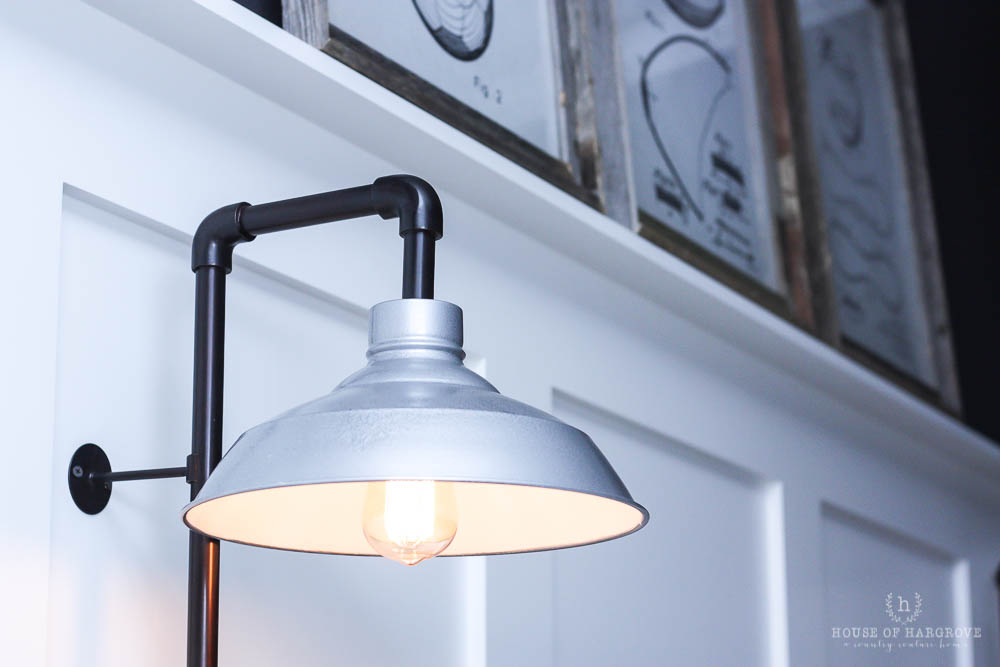
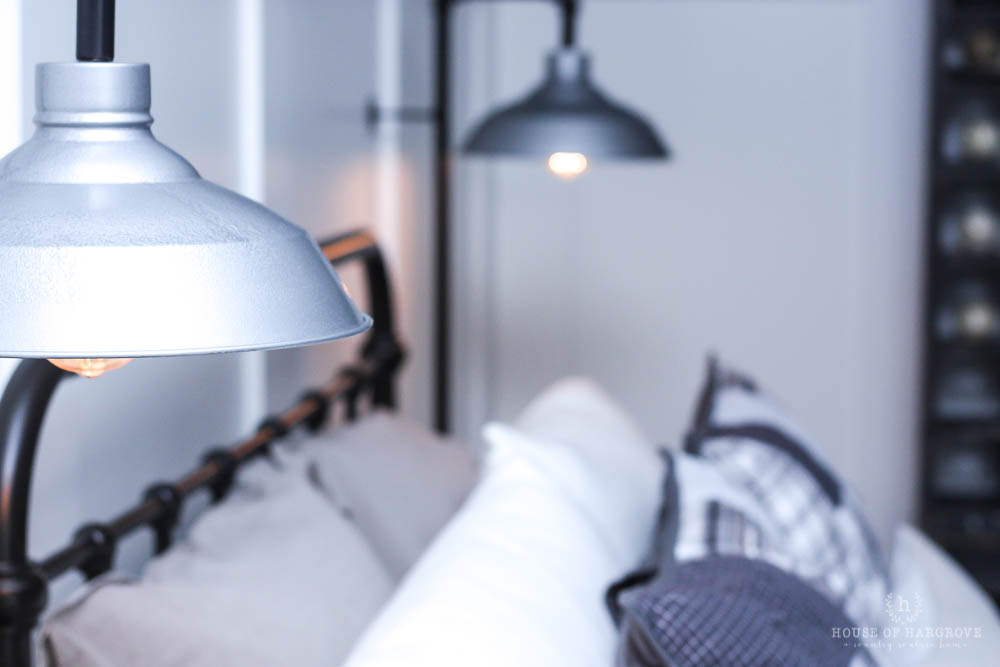
I found these industrial farmhouse lamps on Antique Farmhouse for a fraction of the price I found them anywhere else, but they are currently sold out. Antique Farmhouse gets amazing things in and once they sell out it takes awhile to get them back in stock. You can also find these lamps HERE. Like I mentioned above, I love the combo of industrial with the pipe detailed base and farmhouse with the lamp shade. I also love that they are sconces that hang on the wall. They add lots of height, but don’t take up any space on the nightstands. These are hardwire lamps, but we turned them into plug in lamps. There are several tutorials online. We have an amazing handyman and he did it for us. We plugged each lamp into a dimmer switch that sits on the nightstands so it is easy to turn the lamps on and off. . .I also love that them dim so we can use them as a nightlight. So, the shape, style and everything of the lamps was perfect, but I wanted to make the shade look like galvanized metal so it stood out more from the molding. I used Rustoleum Universal Hammered Spray Paint in Silver to created the galvanized metal look. I am really happy with the finish and the way they turned out.
HOW TO:
- I covered the base of the lamp and the inside so I didn’t get any paint on those areas. If you are painting an entire object you don’t need to worry about the prep part.
- I used light sweeping motions with the paint to cover the shade.
- The shade was metal so there were areas where the paint started to run, but I just used a towel and blotted those areas. It worked great and didn’t mess up the finish at all.
- After the first coat dried I did a second coat. This is where I think there could be some improvements with the paint. The nozzle got very clogged and the spray that came out started to mess up my original finish. I just blotted over it with the towel like I mentioned above and it fixed it, but this was not good. I tried cleaning the nozzle, etc, but it did not work. Luckily I had a second can so I just used that one and all was good. I was wondering if maybe the first can was faulty, but I waited awhile and tested the 2nd can and it did the same thing. So. . .my advice, spend a little more and buy multiple cans because you don’t want to mess up the finish.
All in all I LOVE the outcome and would definitely use this again if I wanted to get the galvanized metal look. This technique can be used on many different things and finishes! They also sell this paint in several other colors.
Instagram Stories Video sharing all the details

Wow! That is a really cool room!