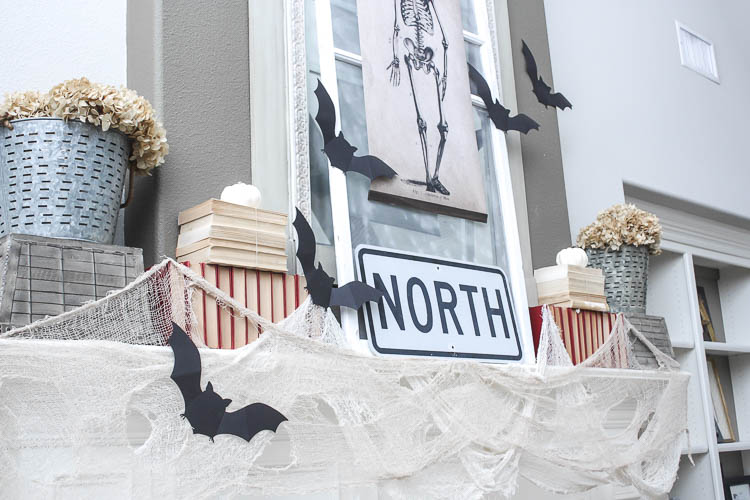
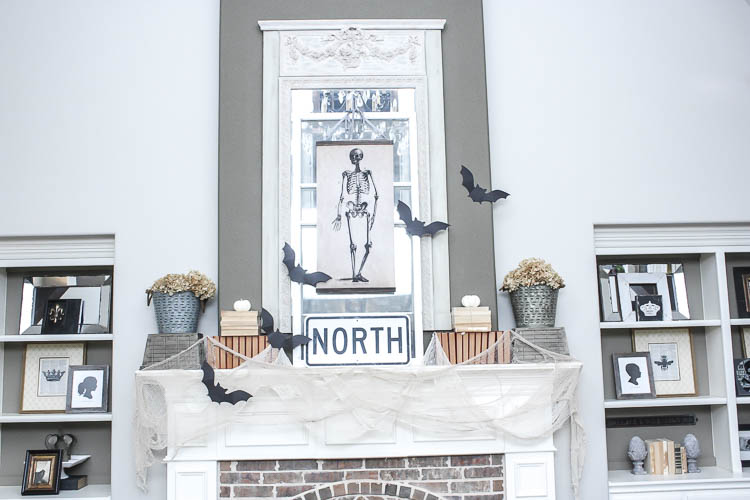
I needed new Halloween art above my fireplace in the family room. I have shared my love of engineering and poster prints with you before and I am back at it today with a DIY hanging Halloween art project. I made one for Christmas, year round and now I needed one for Halloween. I love the way it turned out and it cost me less than $30!
DIY HANGING HALLOWEEN ART
SUPPLIES:
- engineering print
- wood
- stain
- staple gun
- eye hooks
- ribbon
STEP ONE
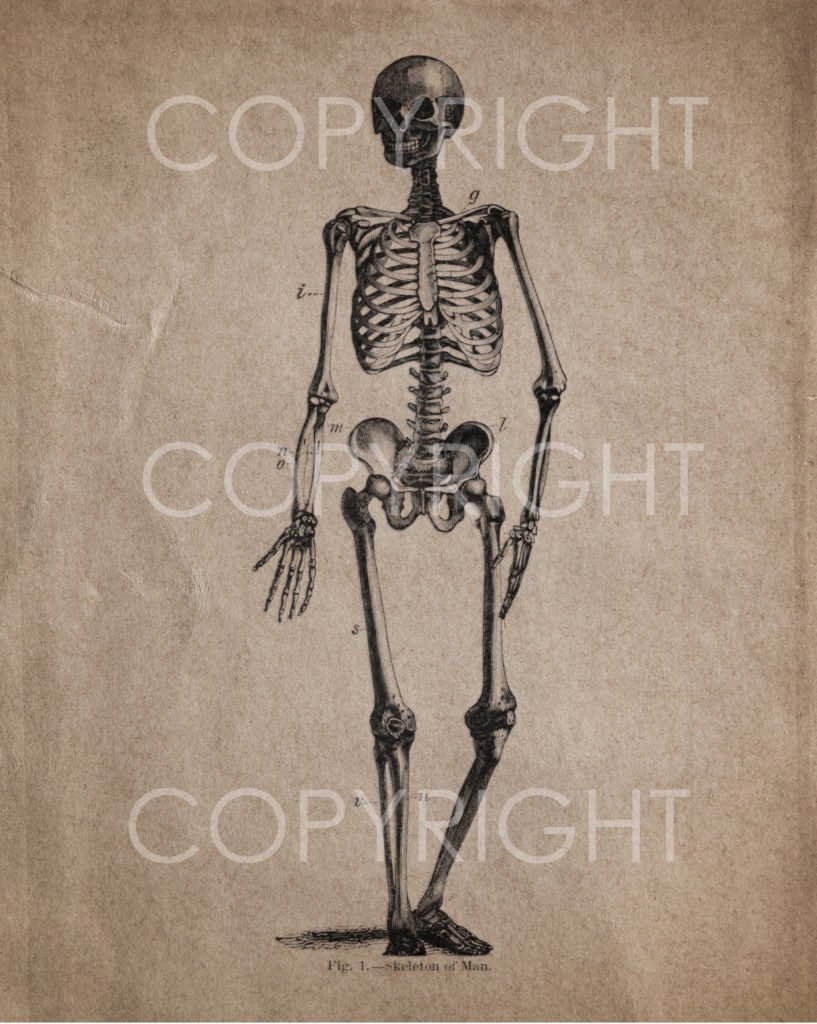
Pick the art you want to print. I have been really into patent prints lately. They can be themed, but have a more stylish look. I did some in Braden’s big boy room and thought they would be perfect for this project as well. I came across coffin patent prints, jack-o-lantern patent prints and lots of skeleton patent prints and ultimately decided on this one.
It was a $4 instant download from ETSY. You can get it HERE. Once I picked the print I sent my order over to Staples. I will tell you, my staples has become very particular. They used to print colored engineering prints for me for around $5! Now they say if it has color it has to be a poster print?? Those are more expensive. I printed an 18×36 poster print and it was around $24. You can try your local store, or any other store that does engineering prints and see if they will do it for you. The quality of the paper is thinner on an engineering print, but for a project like this it doesn’t matter. Either way, $24 was an inexpensive way to get a large piece of art.
STEP TWO
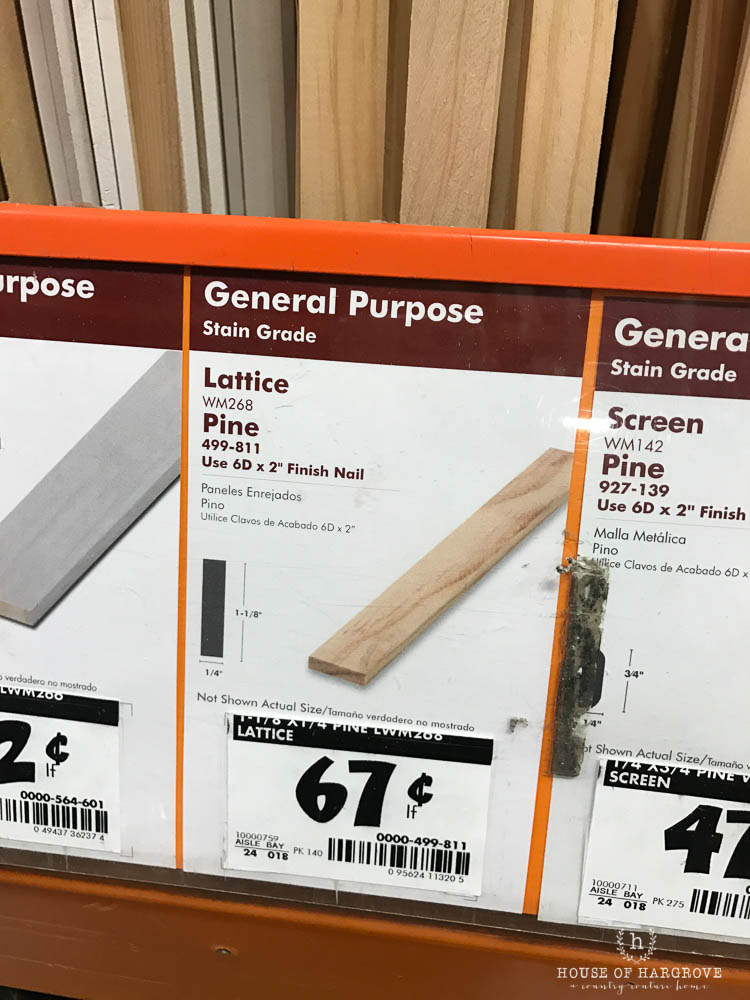
I headed to Home Depot to get wooden board pieces for both ends of the art. Below is the board I chose. It was $0.67 a linear foot. I had them cut it for me at the store. I needed 2 18″ pieces. So the boards cost me $2.
STEP THREE
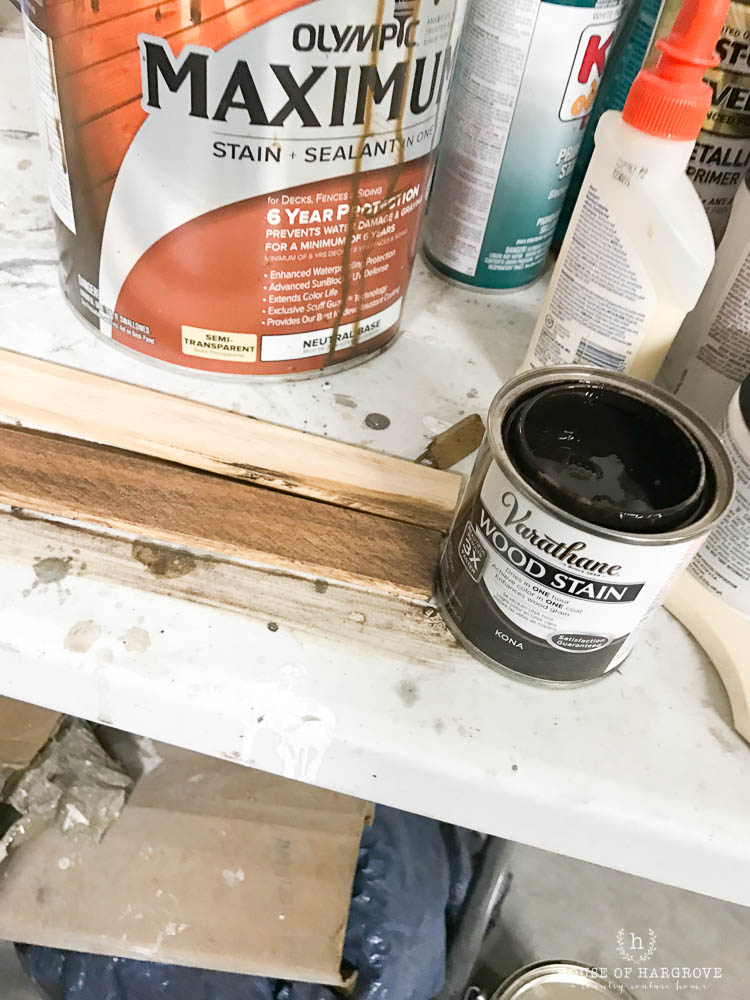
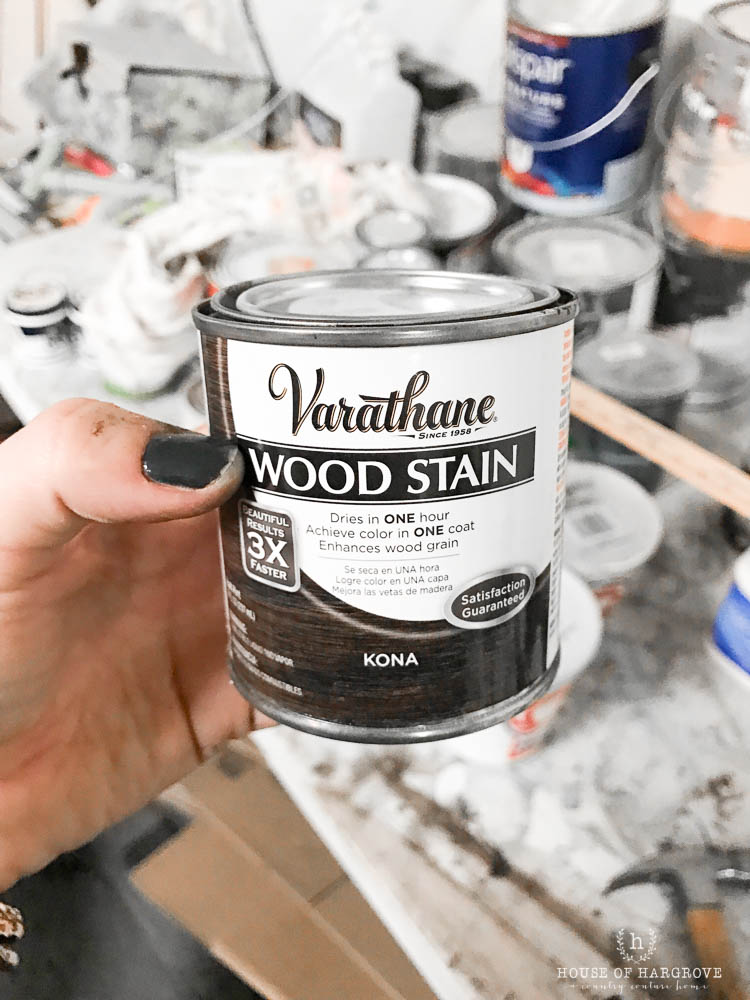
Stain your precut wood pieces. I chose Varathane in Kona. This step took about a minute! Just rub it on with a towel or brush and wipe off until you get your desired color!
STEP FOUR
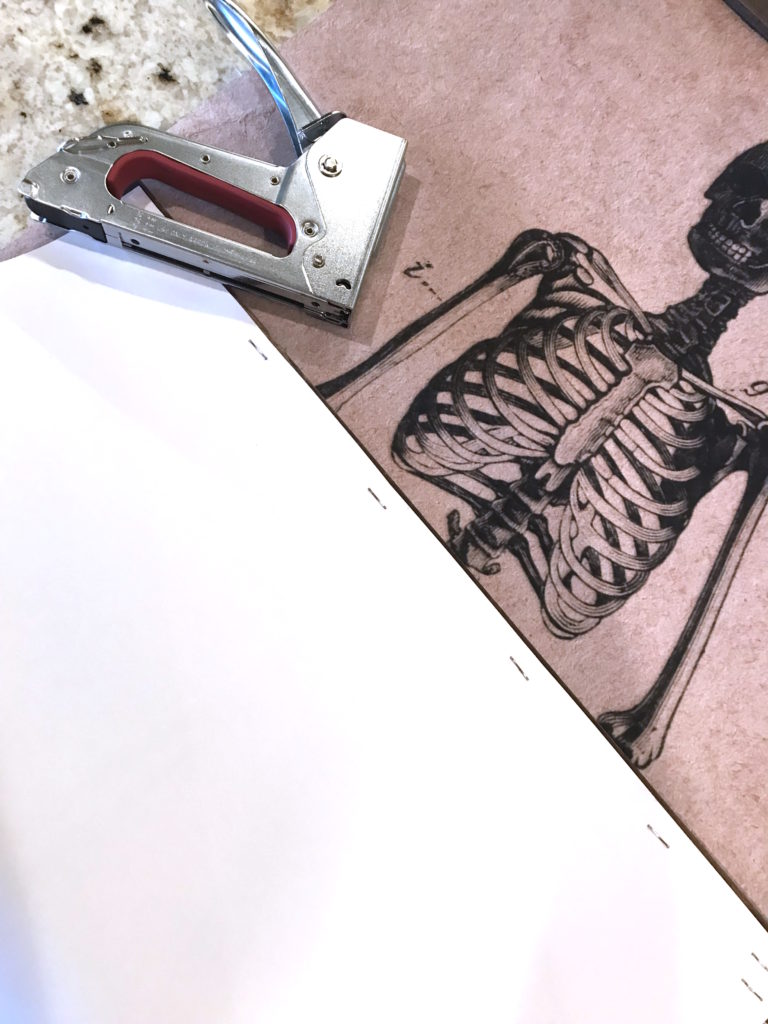
Take your stained boards, place them at the ends of each paper (front side) and then staple them onto the paper from the back side.
STEP FIVE
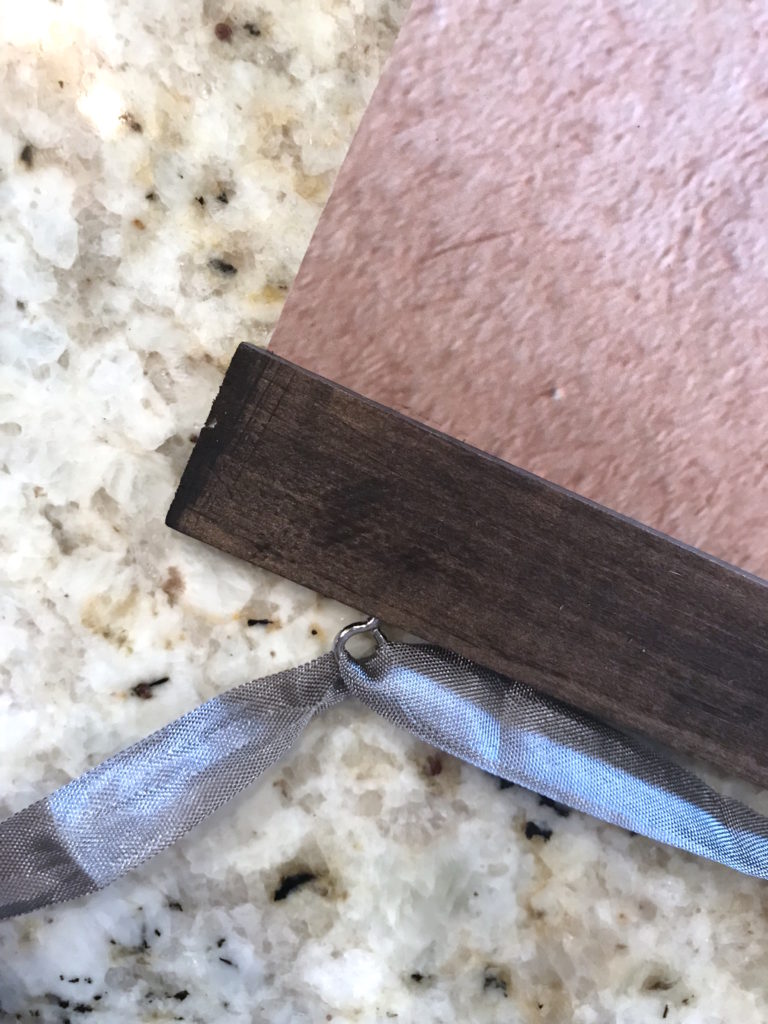
Now it is time to add these screw eye hooks at the top. It is super simple….just place them where you want your ribbon to hang from (I chose about 2 inches in from each side) and then hand screw them in.
STEP SIX
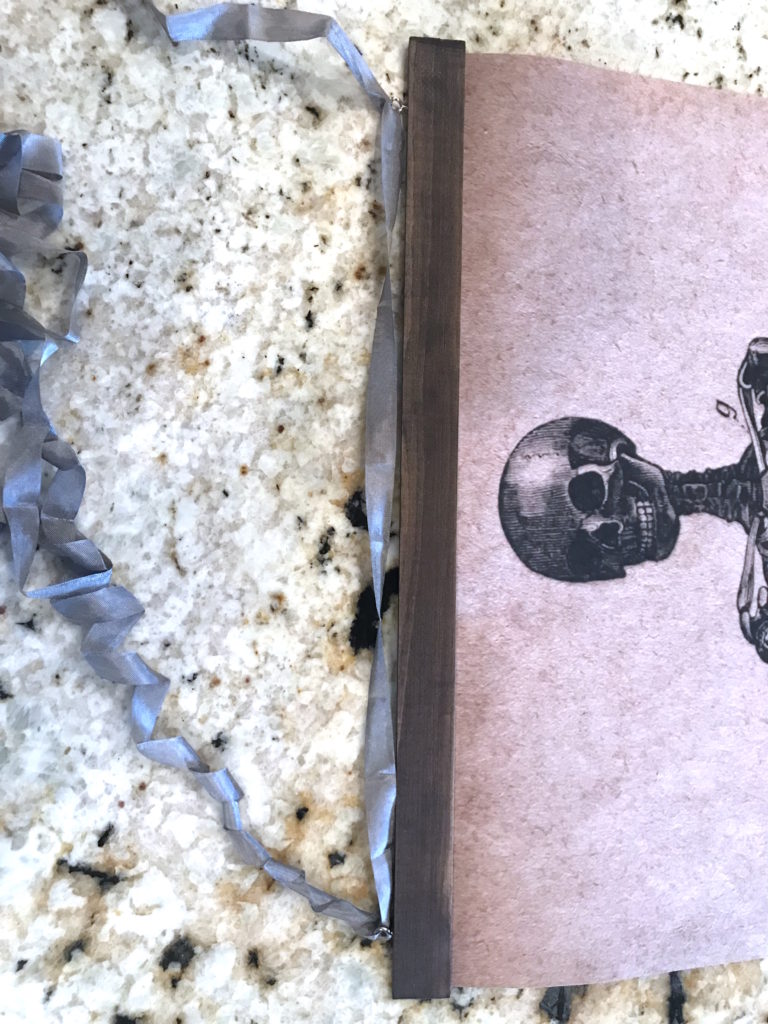
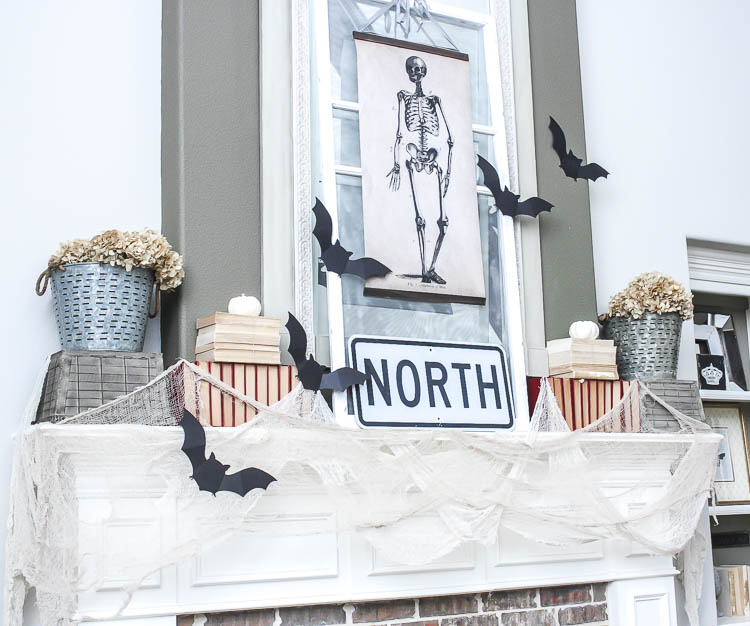
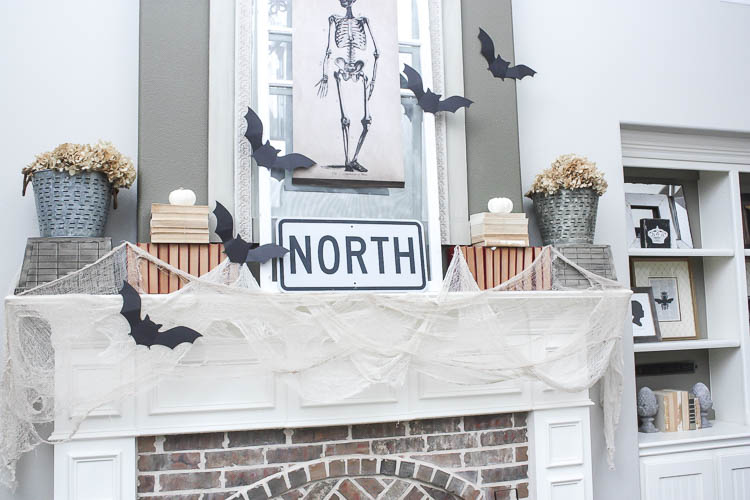
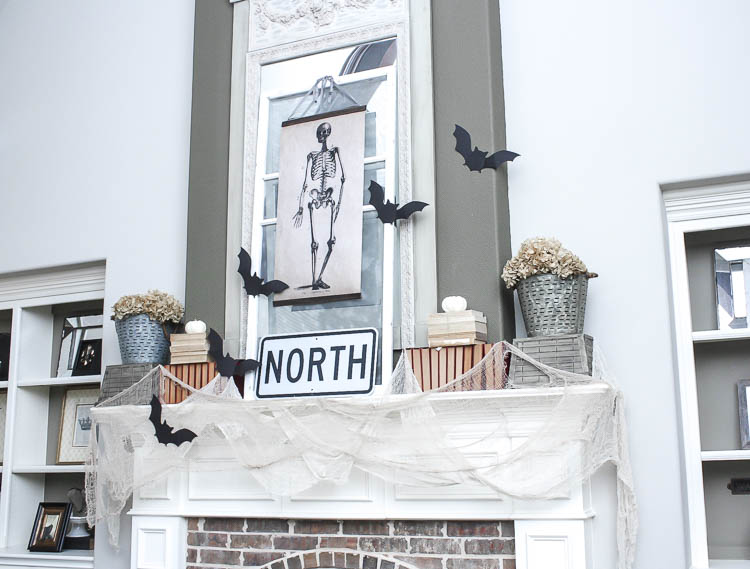
Pick the ribbon you would like to use and run it through the hooks. Now it is all ready to hang! You can hang these anywhere. I chose to hang them on an old screen window. I needed something to add height on the mantle so I found this old screen at an antique shop and it was perfect!
I am loving my new Halloween art. The kids have named him Mr. Bones. This entire project cost around $30! Such a deal!! Like I said you could use any printable or photo you find and love. You can also print whatever size you need. This technique can be done so many different ways.
I hope you love this DIY hanging art tutorial and can use it somewhere in your own home!
This post contains a few affiliate links. If your purchase I may receive a small commission. Thanks for supporting my blog.

YOU ARE SO INNOVATIVE AND TALENTED! Thank you.