When we started designing our new home I knew that millwork was a huge priority to me. Trim and molding details add so much charm to a home and I love it. Some women love shoes and jewelry. . .I love millwork. Here are the details of the millwork in our home.
Since we were going for an older Cape Cod style home, millwork was extremely important. Not only do I love it, but it is a huge design element in this style of home. When you look through catalogs, etc, a lot of times the reason the furniture and decor look so good, is because of the amazing rooms they are in. Have you ever bought something and then put it in your home and it just doesn’t look the same? Typically that is because the style of the home they shoot the items in is incredible. It is never just a room with drywall. . .typically there is tons of trim and occasionally overlooking the ocean or something ;). Anyway, the bones of a home are extremely important to me. I told my husband I would rather wait on new furniture and get the architectural details of the home right. Once you have that you can layer in other items later.
Having said all of that millwork is pricey. Especially these days with the price of lumber. I am going to share the styles we chose and also ways you can get the “look for less”. There are tons of different styles of millwork and it is important to pick out a style that fits with your home. For example, farmhouse homes are heavy with nickel gap shiplap. . . coastal homes tend to have a tighter shiplap. There are so many options like tongue and groove (also called V groove), beadboard, picture molding, applied molding, board and batten, etc, We used a variety of trim options throughout our home to fit with the style and purpose of the room.
PICTURE FRAME WALL MOLDING:
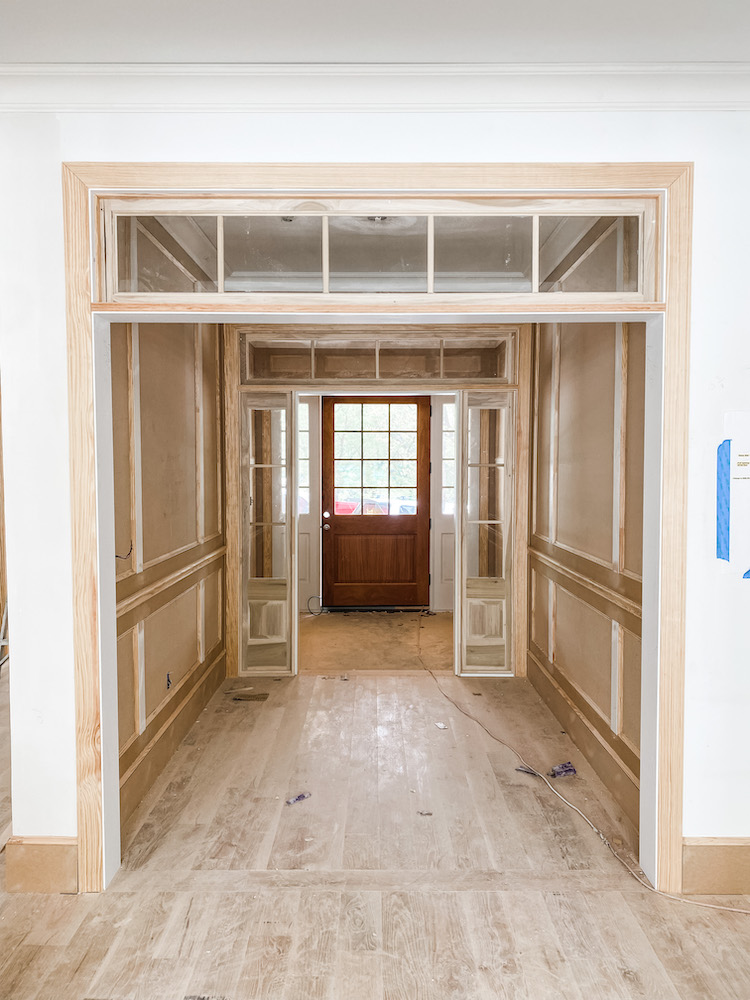
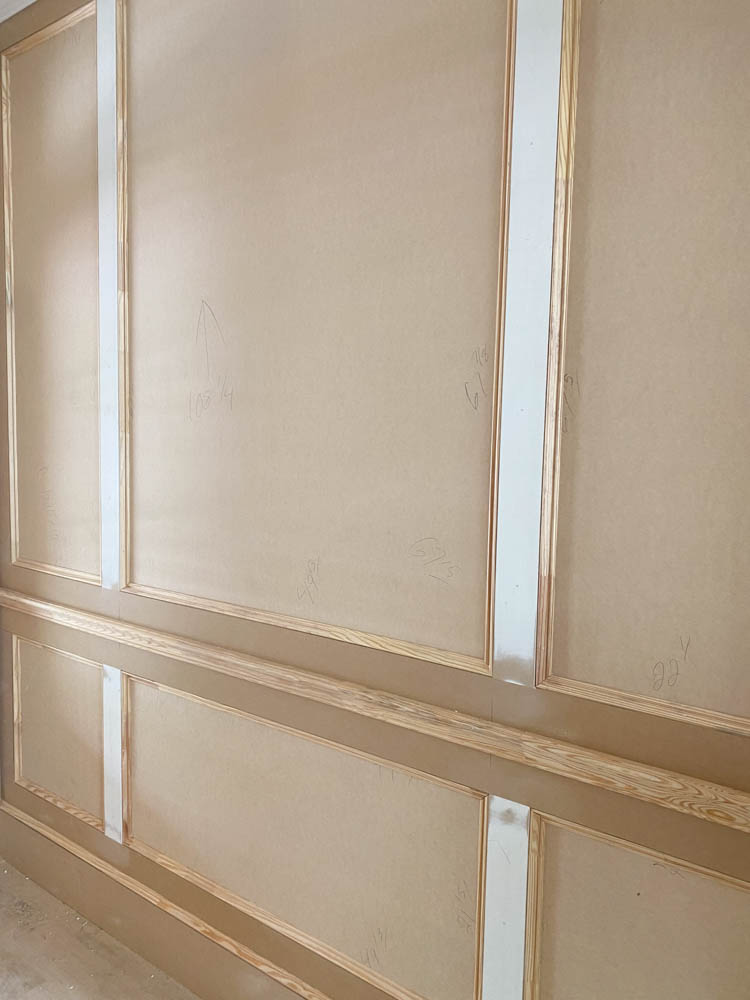
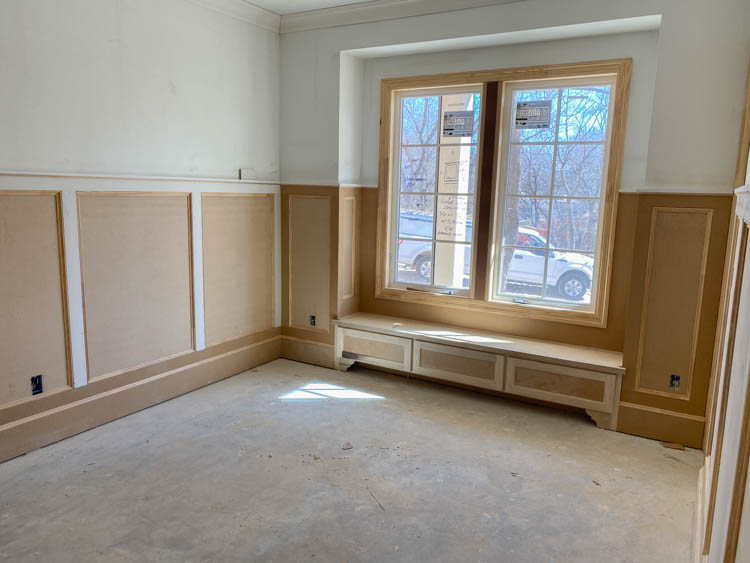
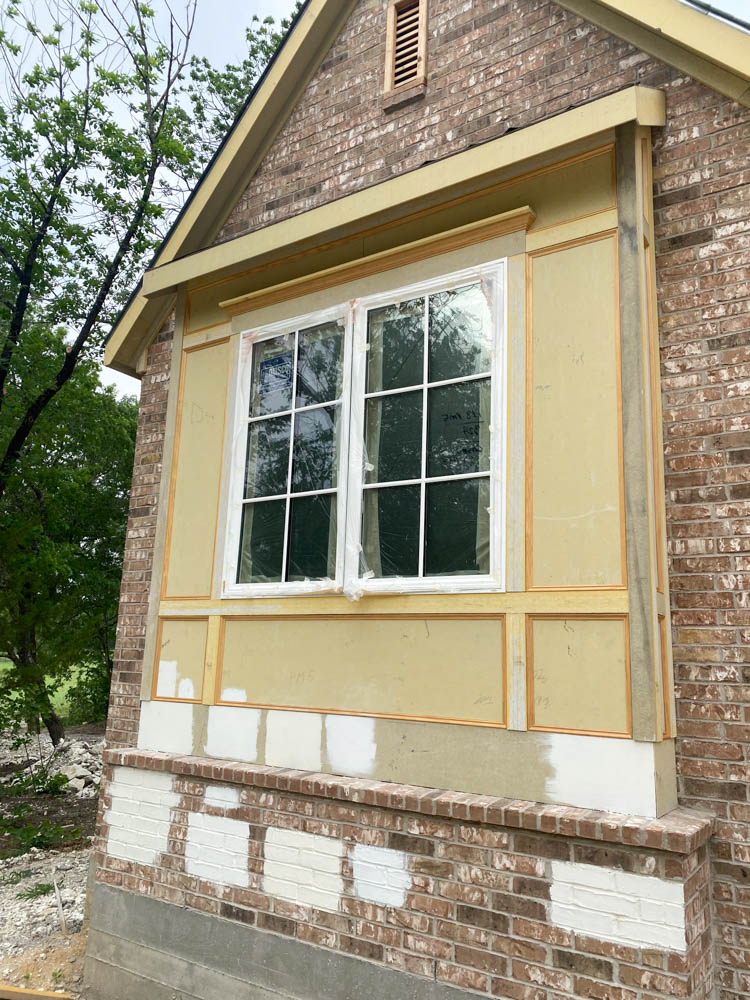
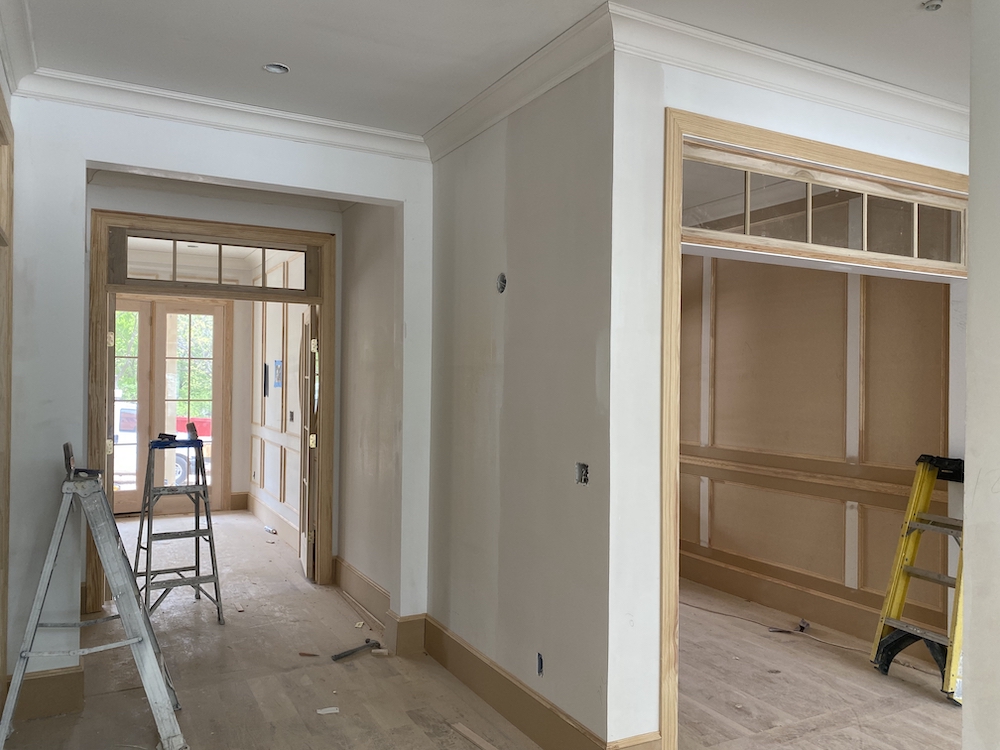
Picture frame wall molding is a more formal look. It is also a bit more expensive. They apply full panels on your wall to cover the drywall and then trim it with smaller boards and then trim those out with even more molding. It takes a lot of wood. There are many different ways to do it, but the most common way is a very traditional look. We did this type of millwork in our entryway and halfway up the wall in Braden’s bedroom. We also included a similar detail to sections of our exterior.
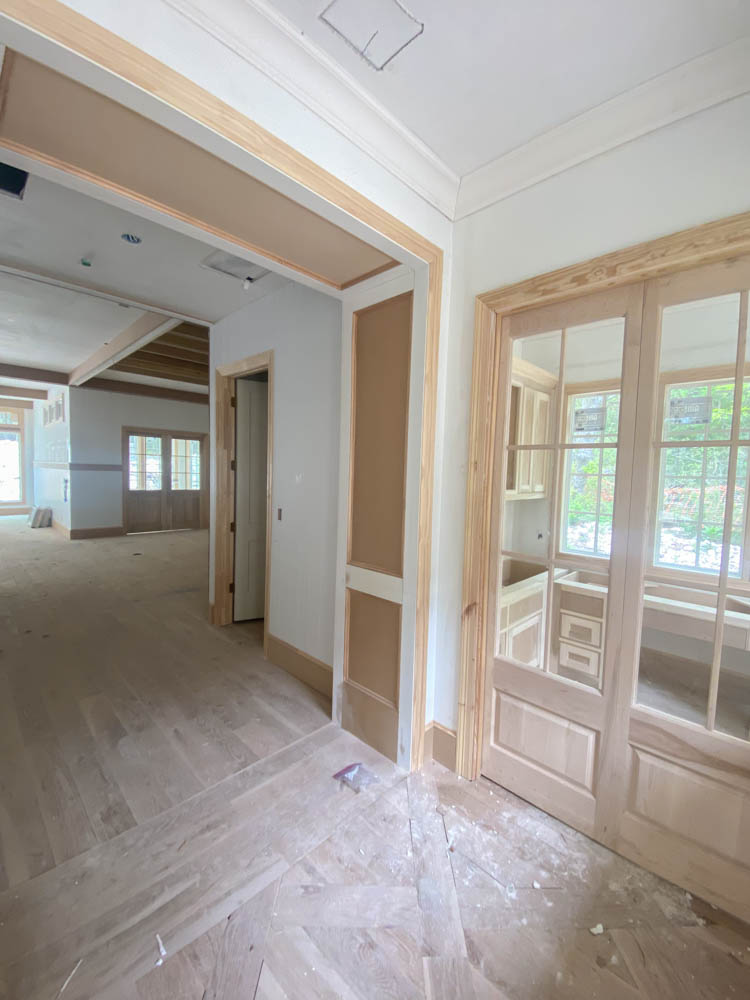
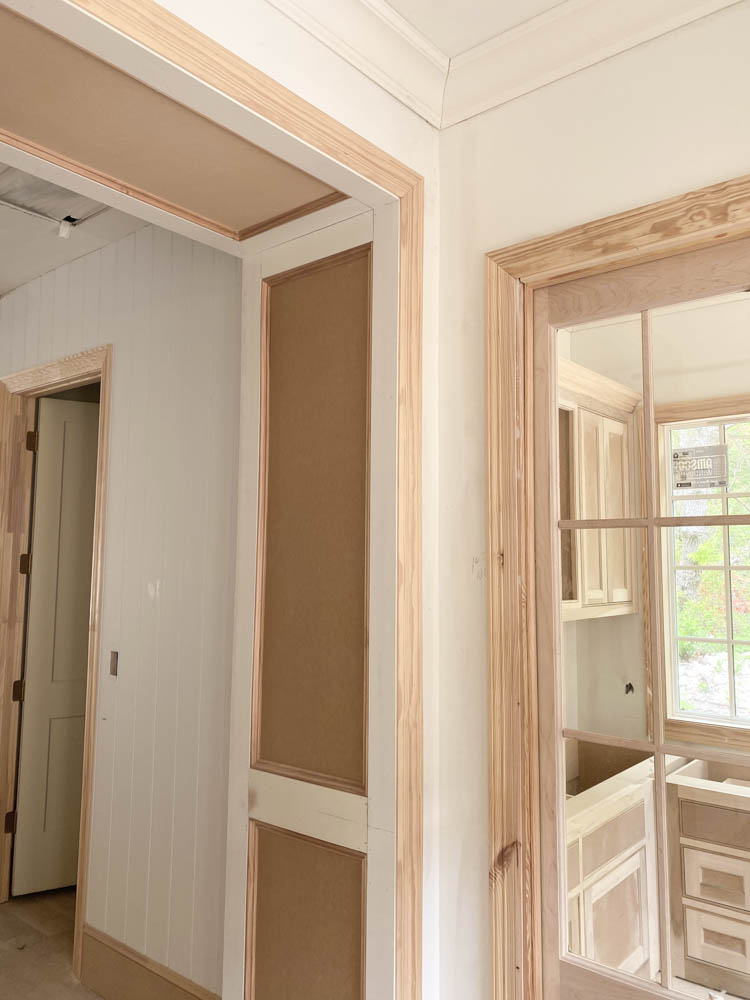
Our 2 entries have picture molding on the entire walls. It will be in a semigloss white paint. I am thinking of doing the ceiling in a high gloss white paint. We shall see.
Here you can see the detail. Zero dry wall is showing.
In Braden’s room we did it halfway up the walls. The upper wall will be painted Hale Navy and the trim will be white. I wanted a very classic coastal look in this room.
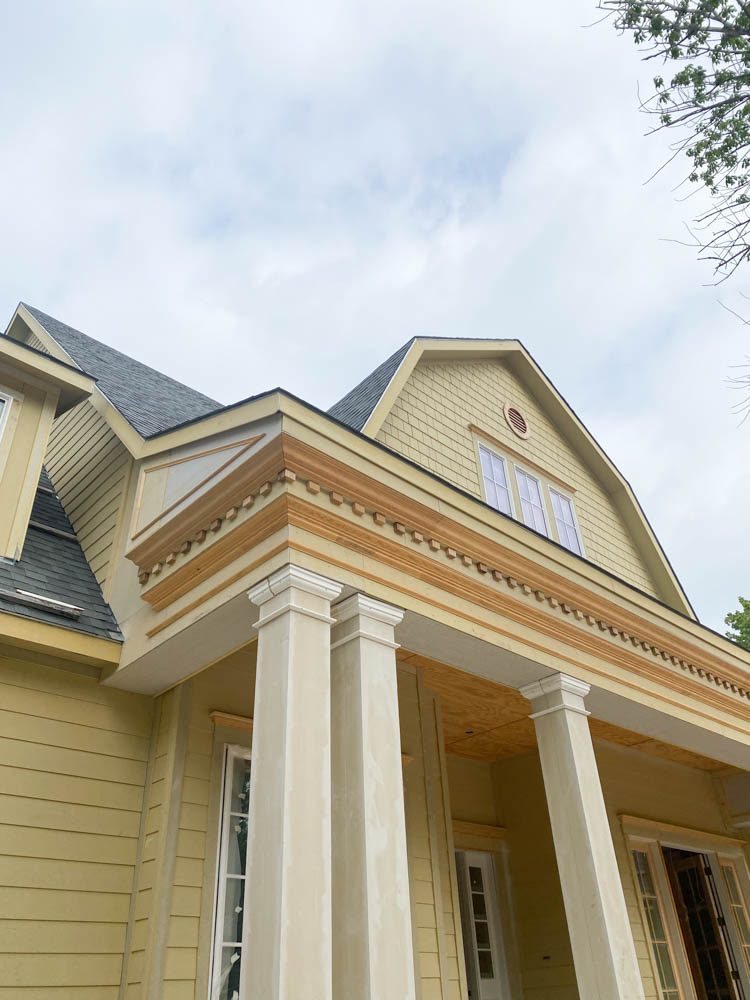
On the exterior you can see a similar treatment. Everything will be painted white when it is complete.
APPLIED MOLDING:
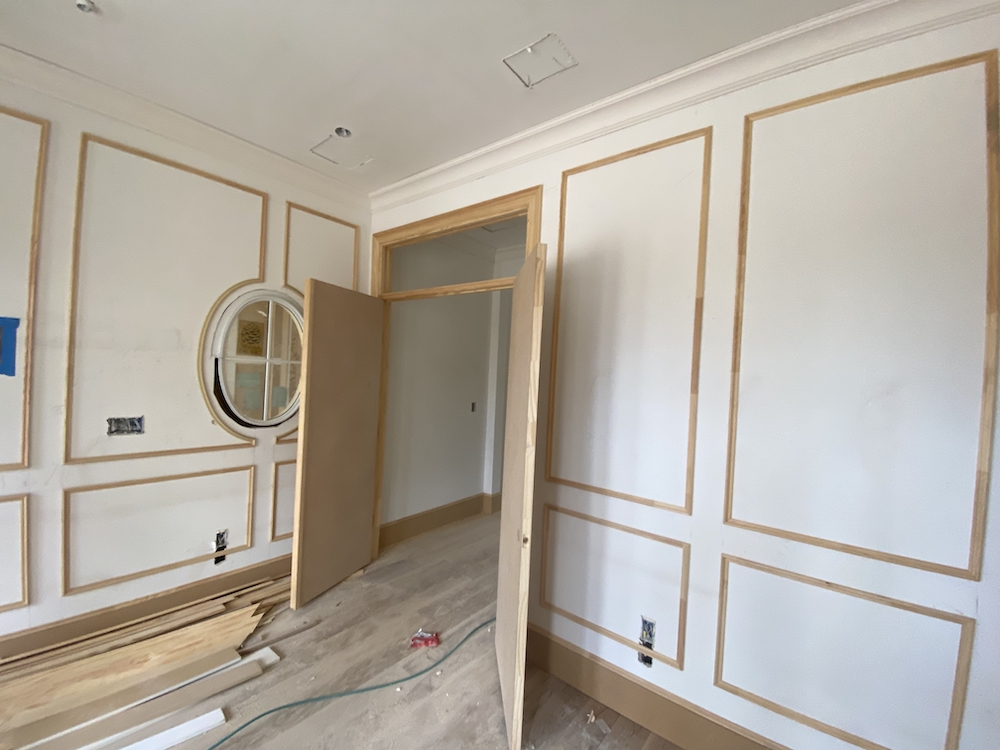
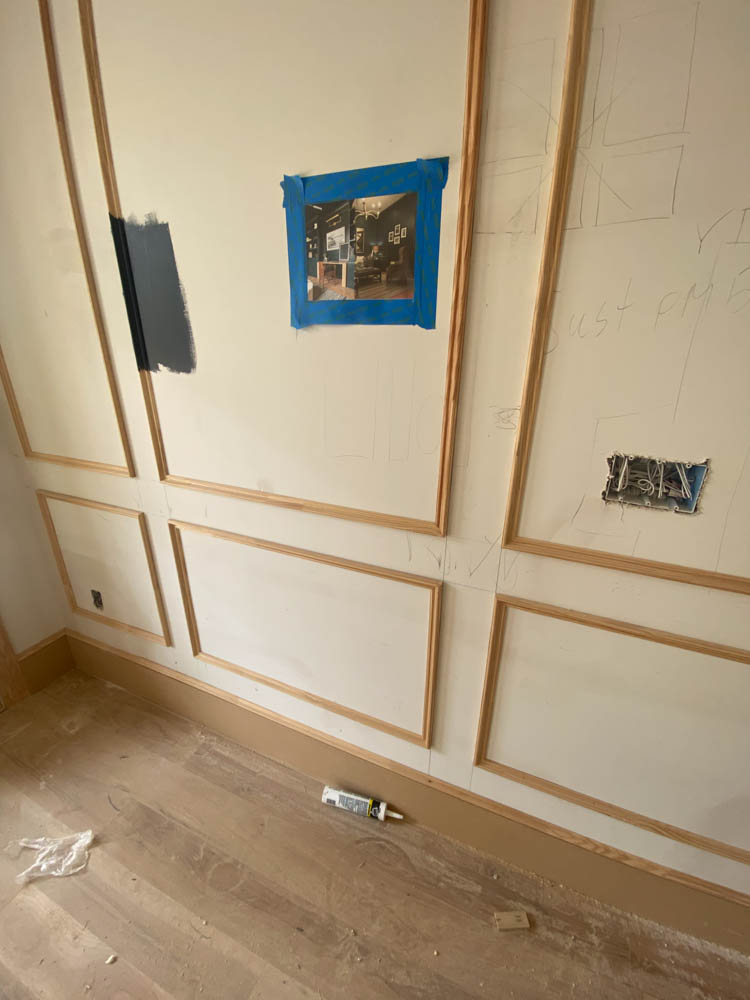
Applied molding has a similar look to picture molding, but is less expensive. We used this in a few rooms as well. Here you apply the molding trim directly to the drywall. It involves a lot less wood. We chose to do smooth walls in our home, which makes applied molding look much better. We did this treatment in Geoff’s office and our primary bedroom.
Geoff’s office will be painted dark navy when all is said and done and we will do it all in semi gloss so it has the appearance of wood paneling everywhere. You can see that the trim is applied directly to the drywall. This saves you on the backing piece and all of the divider pieces.
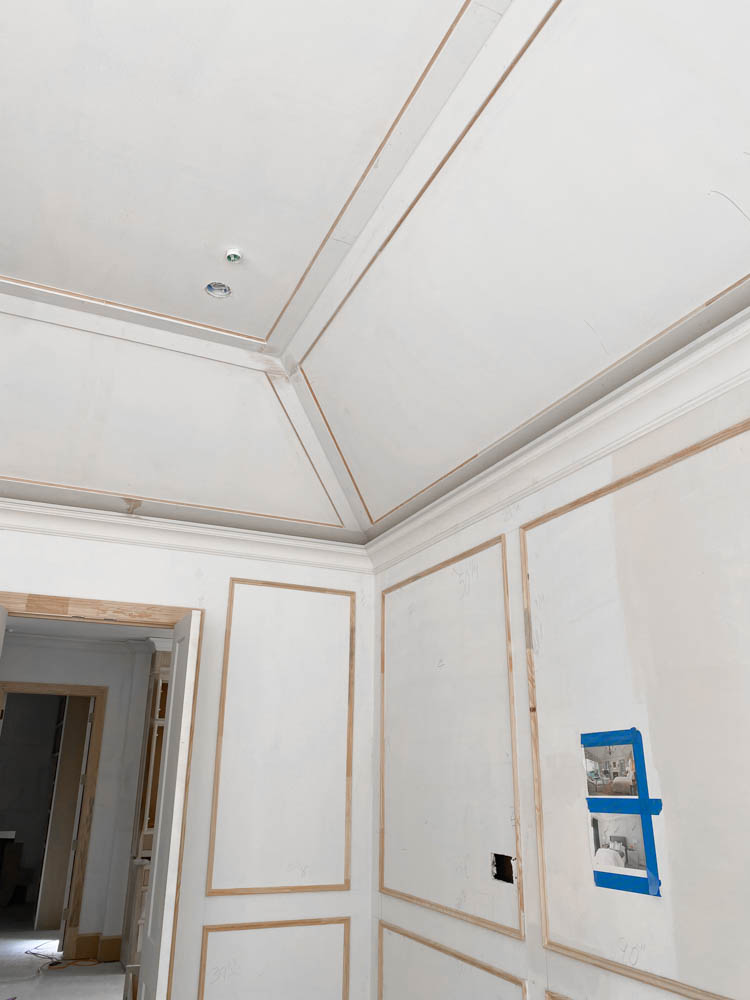
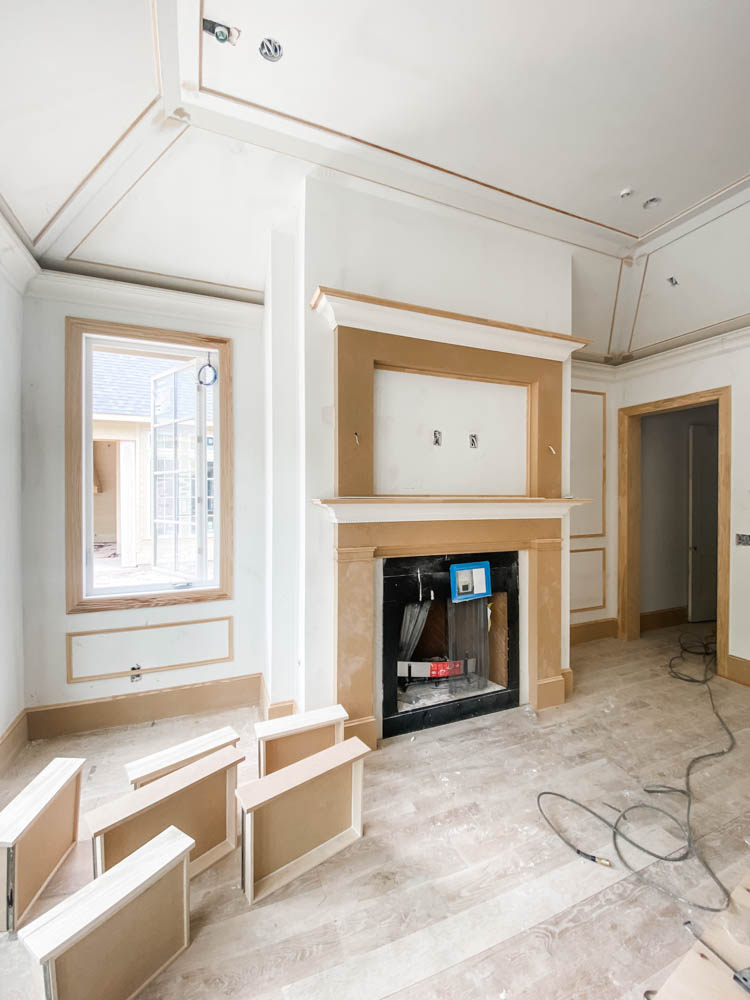
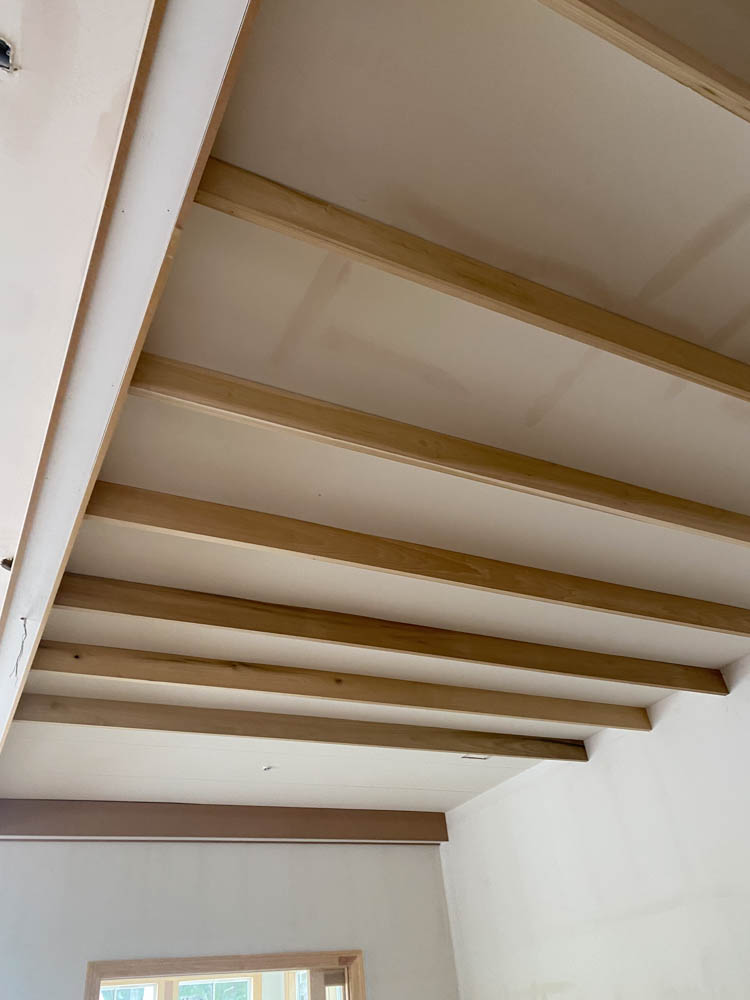
Below you can see it in our primary bedroom. We also did a unique ceiling treatment. This applied molding treatment is one of the easier DIY molding options.
TONGUE & GROOVE:
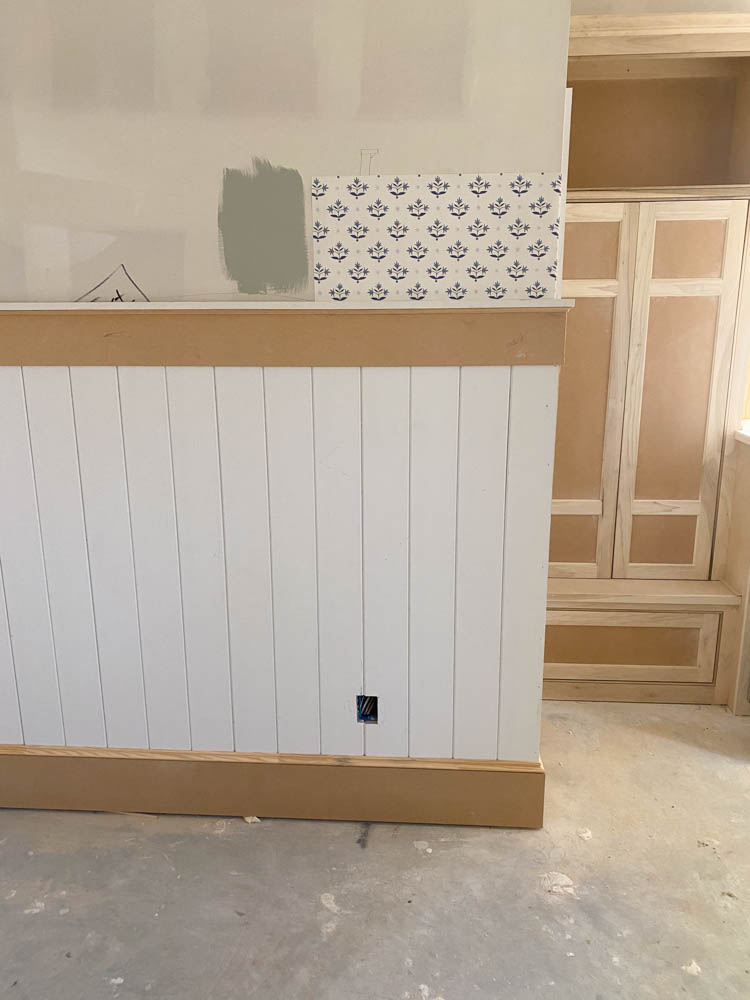
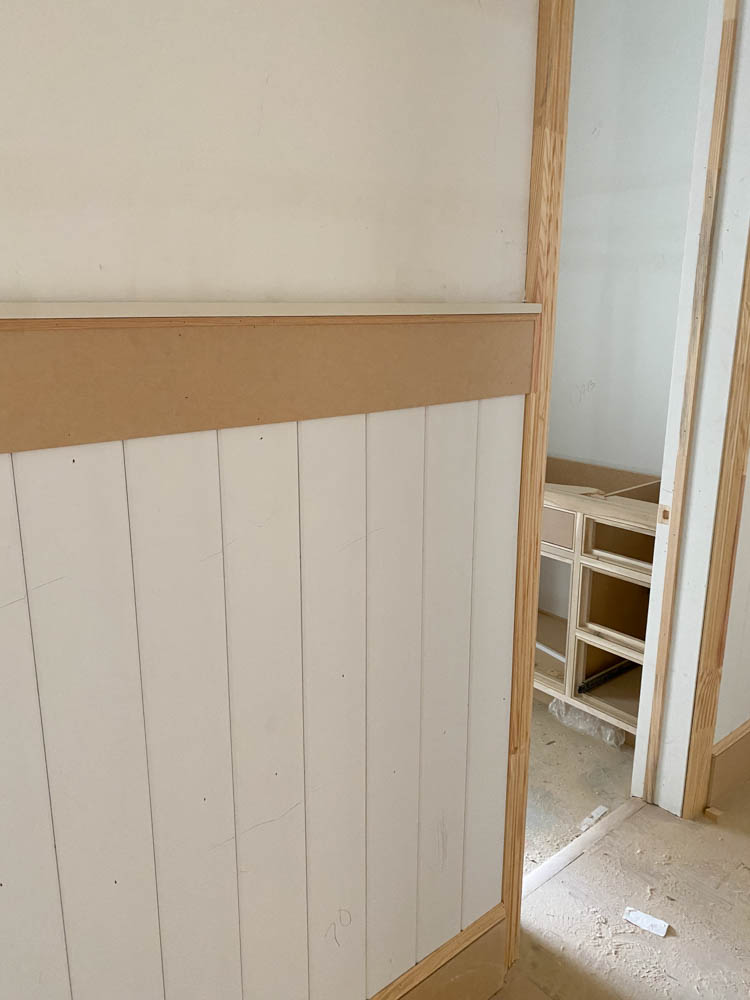
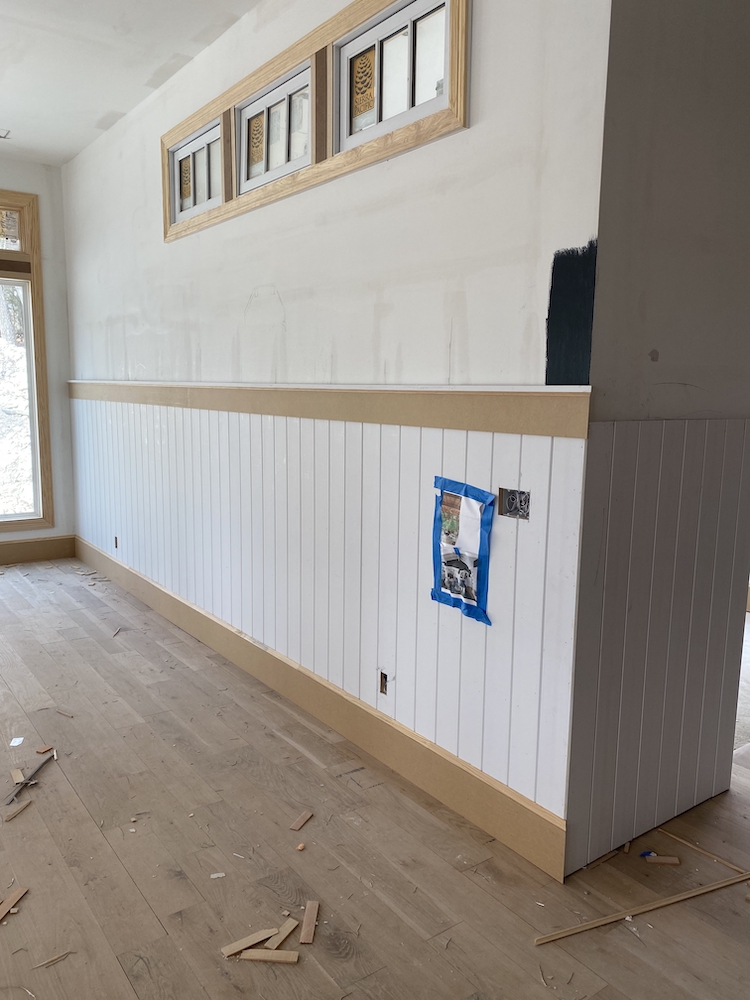
I love tongue and groove, also called V groove. It is a very classic wall treatment that is less formal. We did this down our back hallway, mudroom and a section of our game room. They used to use this treatment in older homes to protect the walls. That was the inspiration behind doing it down our back halls.
Tongue and groove are planks that actually “lock” together creating the groove. There are varying sizes and it can be done vertically or horizontally. We chose to do them vertically.
BEADBOARD:
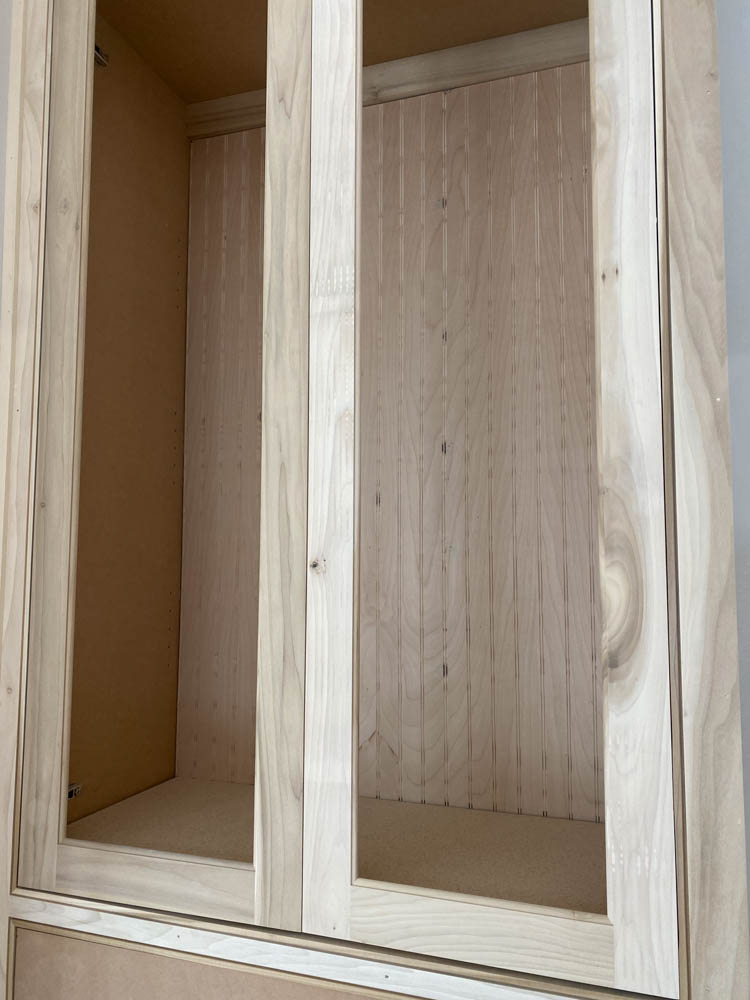
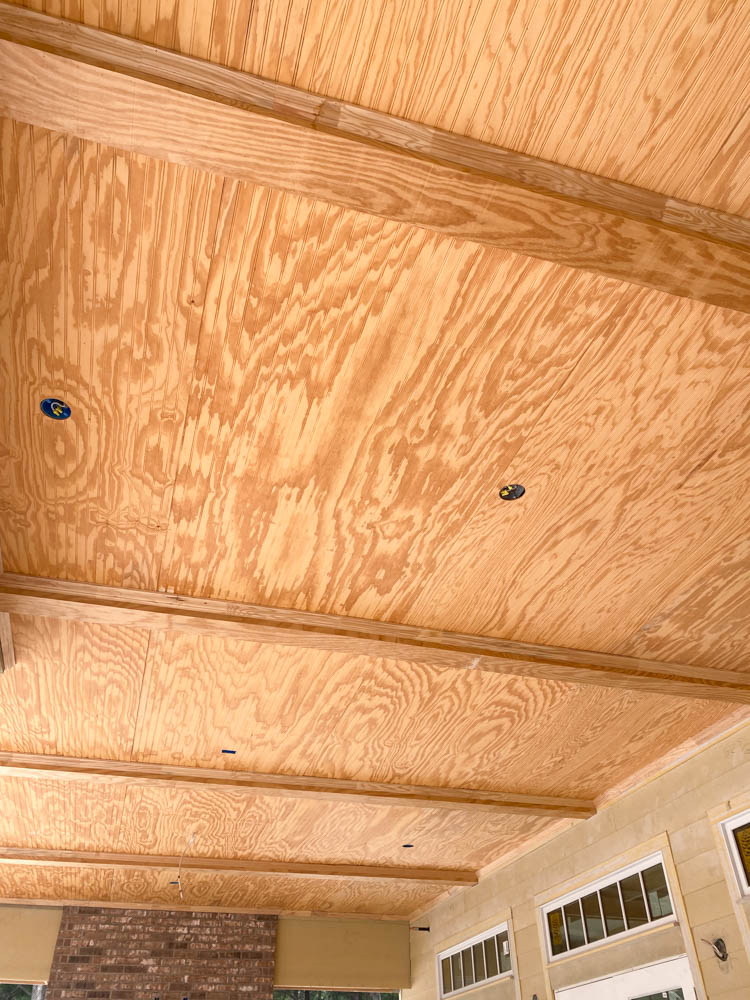
Beadboard has a similar look to Tongue and groove, but it is a sheet of wood with the groves in it. It comes in many different sizes. We chose to use this treatment in the backs of cabinets and as backsplash in our kitchen and butlers pantry. We also used it on the ceiling on our porches.
SHIPLAP:
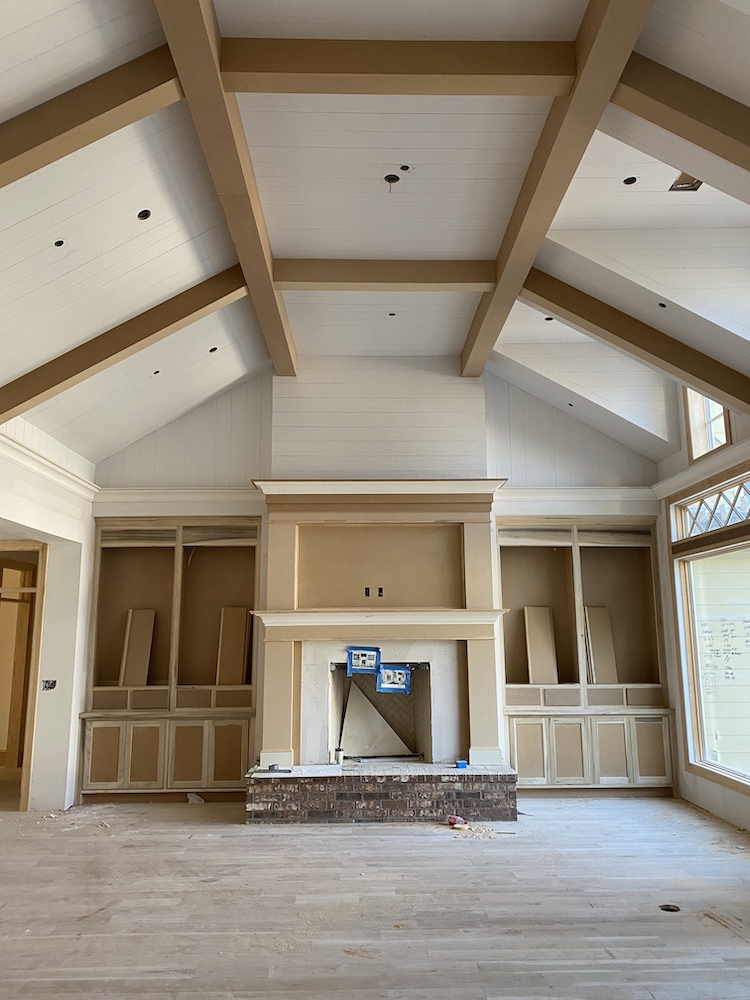
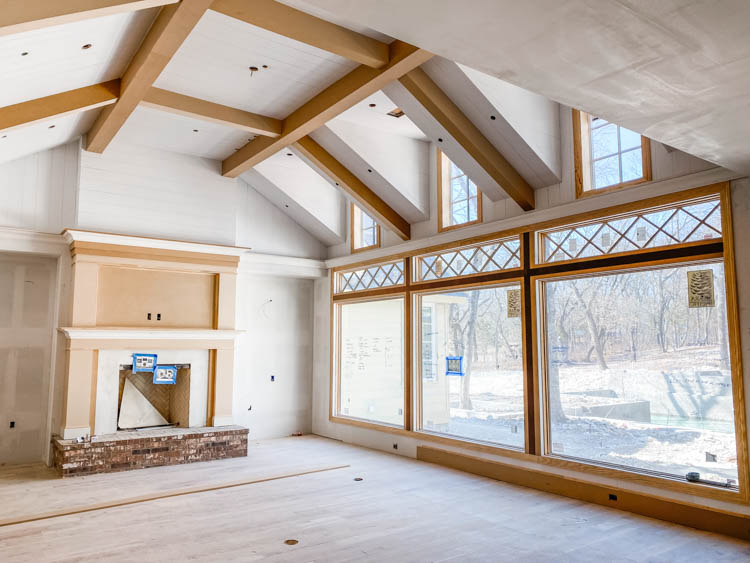
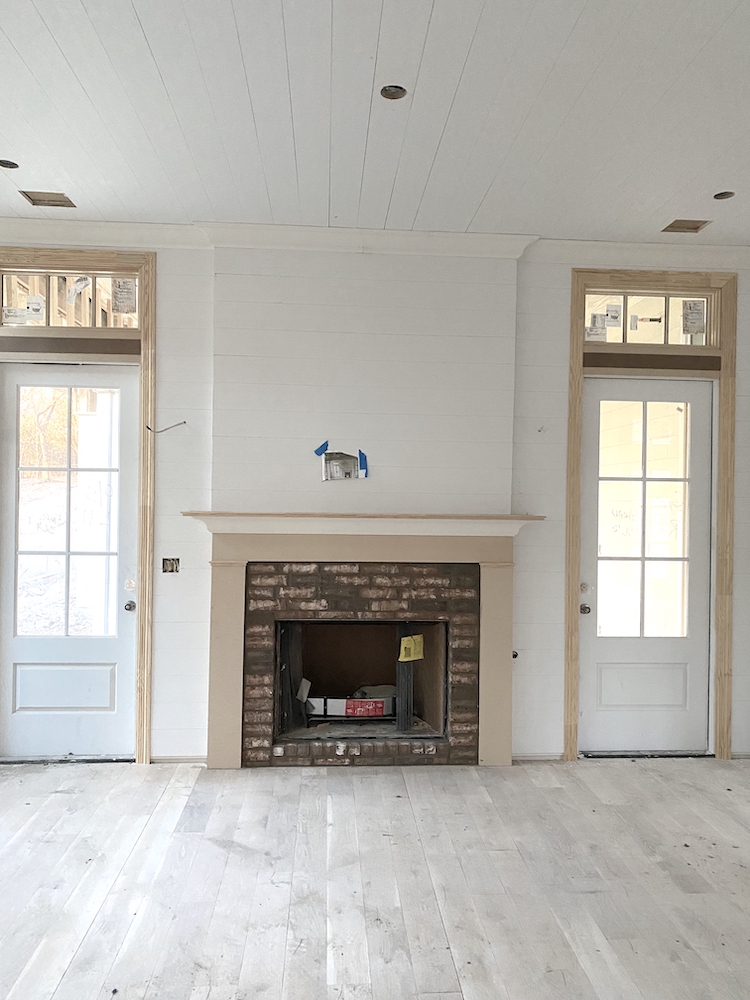
Shiplap became very popular with the farmhouse look and Joanna Gaines. Old home used shiplaps to build their walls back before drywall, etc. There are many ways to use shiplap. The farmhouse look is typically “nickel gap” which means there is a space between each board that is about a nickel thick. I didn’t want our home to feel farmhouse. It is a beautiful look, but not the style I am going for. “Shiplap” also used in coastal homes often, but with a much tighter feel. That is the look we wanted. We placed the boards very closely together and then overtime as the house shifts, etc the gaps will expand and shift. It will show character over time instead of being a perfect gap and I love that look. We did this on the ceilings of our family room and on all walls/ceilings in our hearth room.
Below it is hard to even see the gaps on the wall. After we paint and the house settles, they will show up more. I love a home that gets character over time. That happens with wood, unlacquered metals, etc.
CROWN MOLDING, BASEBOARDS:
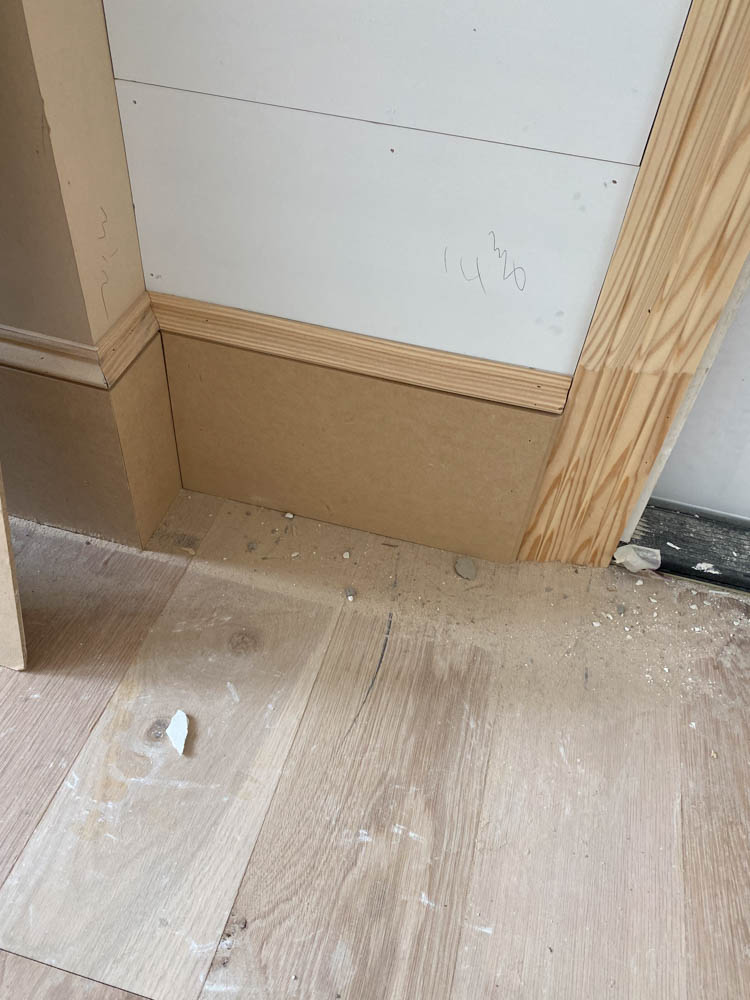
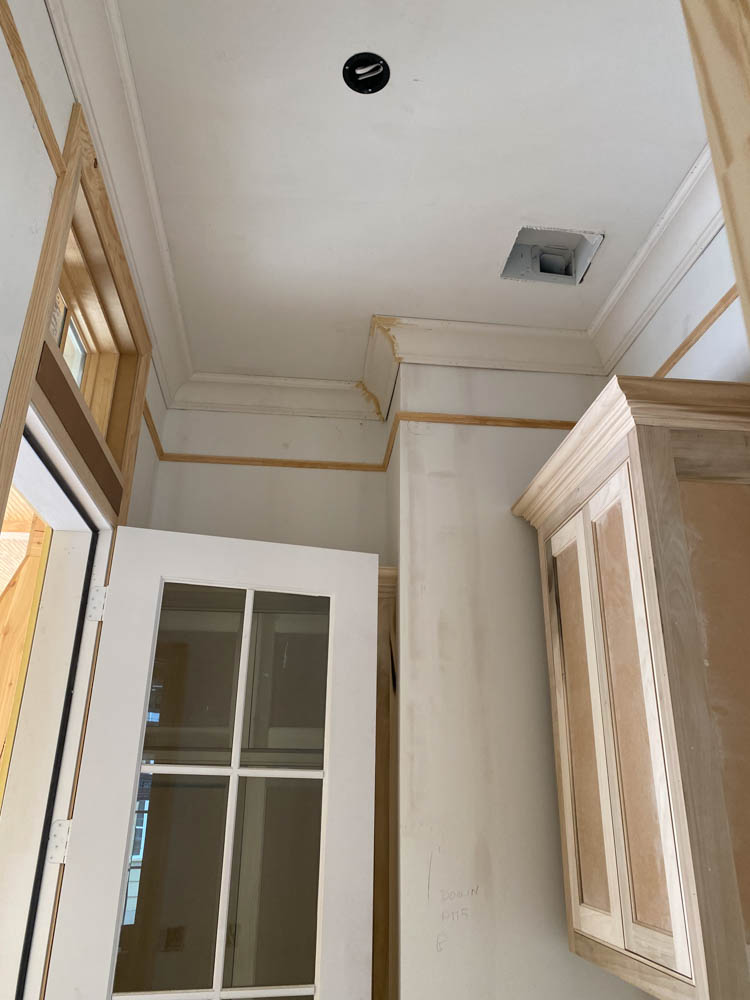
We used crown molding and larger baseboards throughout the house. You can see it in all of the photos I have shared. To save money on larger baseboards we used flat MDF pieces with a crown trim on top, vs a really thick single piece of wood. This is a great way to achieve the “look for less”!
CASING:
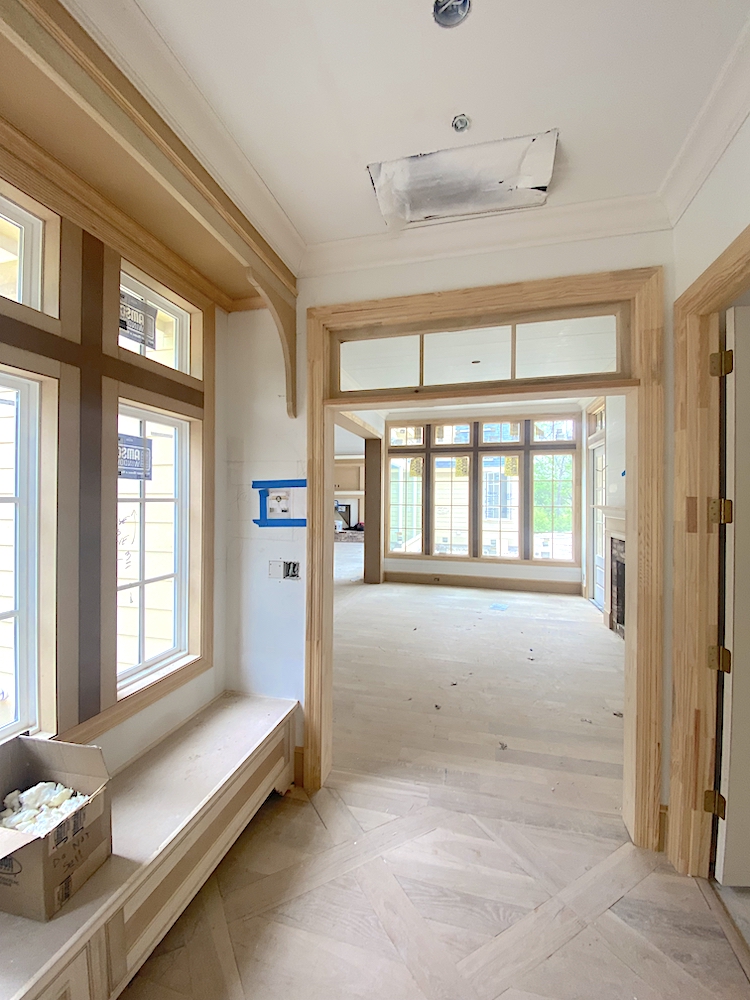
We put casing around all of our doors and windows. Again, you can look through any photo above and see them. We also did a special picture mold casing as you enter our game room. This was a thicker transition so we wanted to make it more special. You can also see just past the opening we did tongue and groove all the way to the ceiling in the game room entryway.
TRANSOMS:
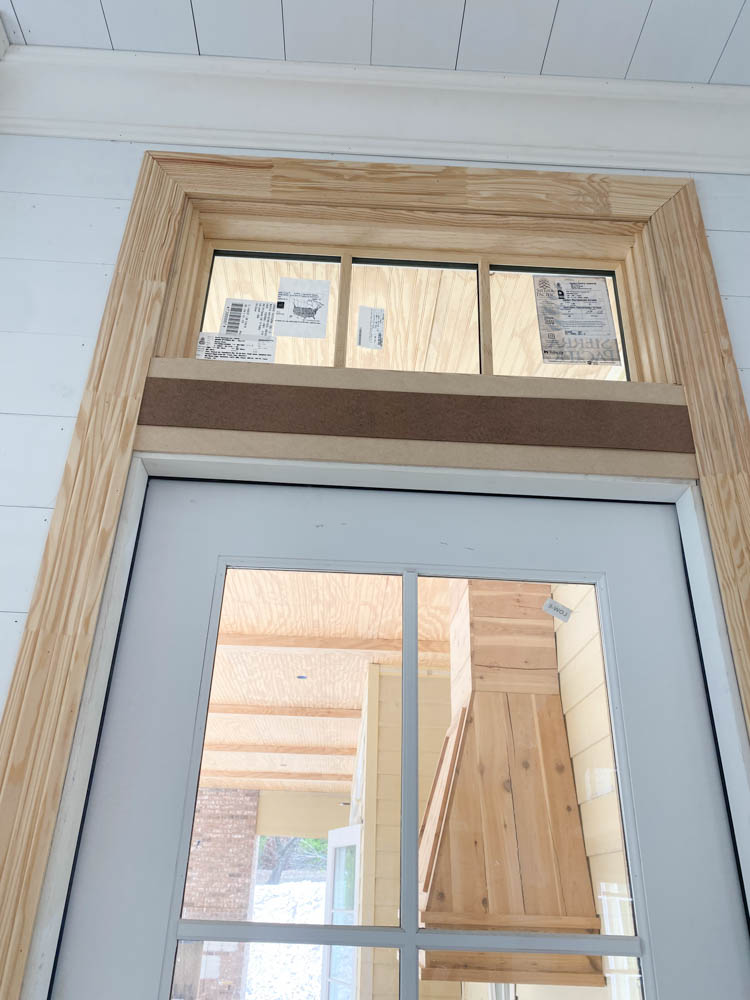
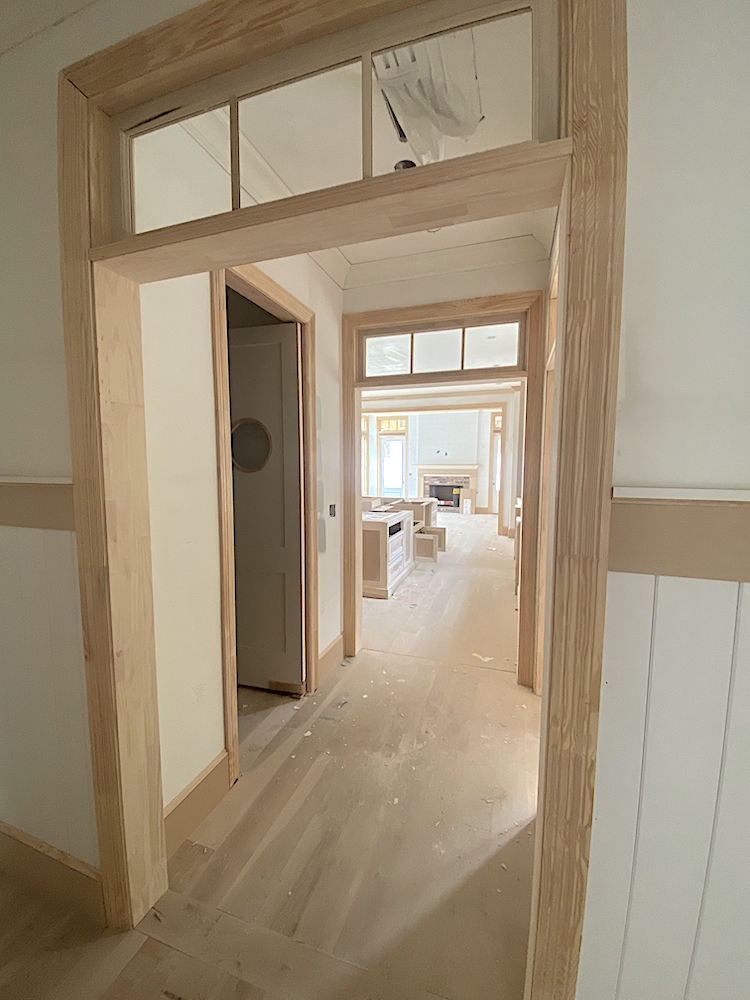
I think transoms really make a home feel old and charming. I LOVE THEM! I tried to add them every place I could!
Below you can see we even did side transoms.
OTHER MILLWORK:
There are many other kinds of millwork. Board and batten is a very popular one, but that tends to lean more farmhouse so we didn’t use it. Below are some more examples of trim we used to add more character.
Our entire home will be white with the exception of the front door and shutters so it was important to add a lot of texture. You can see the trim details we did around the front gambrel below.
Our game room ceiling treatment is not complete, but you can see the start of it below. We are trying to make it feel like rafters.
This bench is in the hallway off the courtyard and we added extra trim to make it more special.
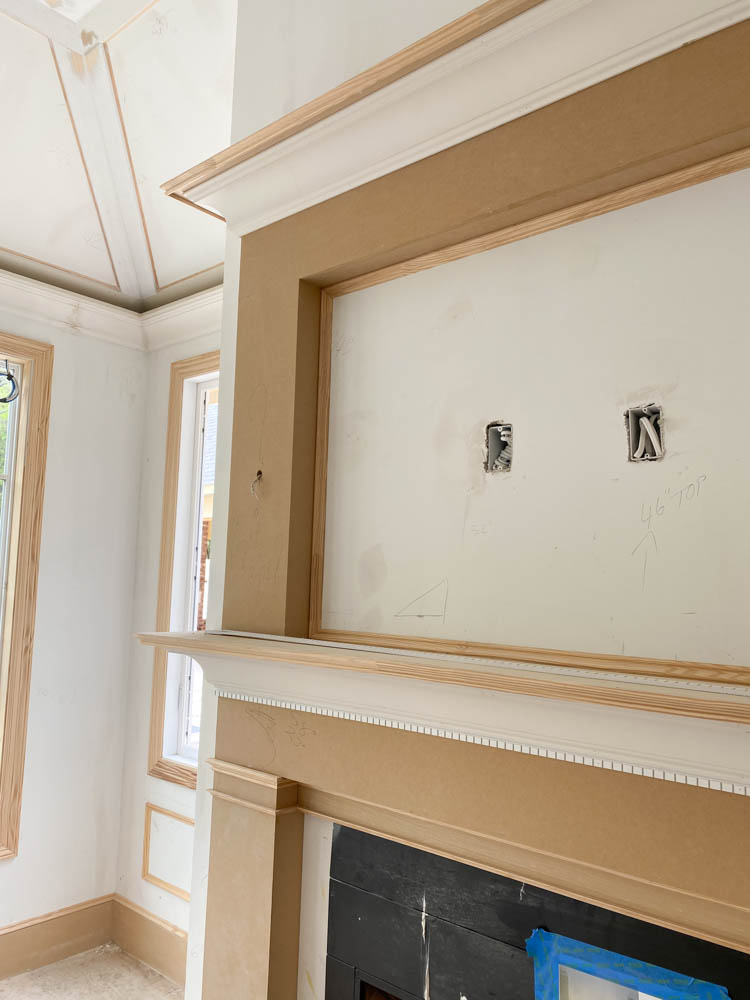
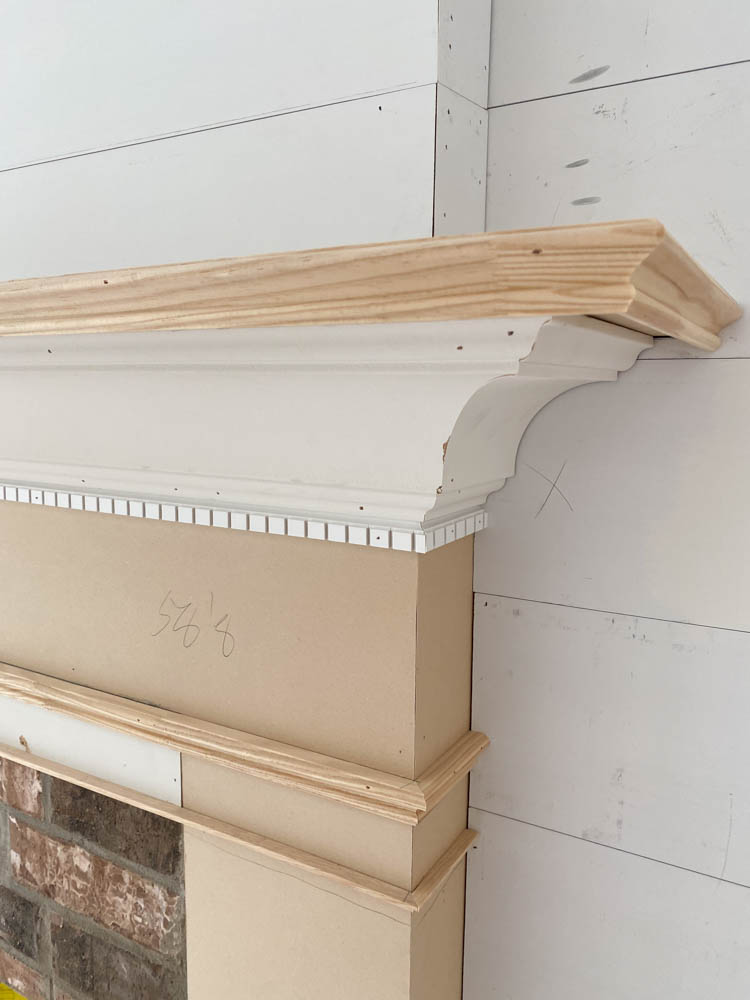
Little pieces of tiny decorative trim go a long way to spruce up something like a mantle. You can see the little pieces we added all over to give it a little extra. I also love dental molding. I got that strip from Home Depot!
I used the dental molding on all of our fireplaces. Above was in our primary bedroom and below is in our hearth room.
This is our pool bath and to make room for the transom above the door we had to make these ceiling very tall. It is kind of a small room, so it felt a little unbalanced. I will be doing wallpaper in this room so I didn’t want it to go up too high. We added a piece of trim around the wall to lower the feeling of the ceiling. I will bring the wallpaper up to that trim piece and then probably paint the ceiling a darker color to make it feel lower.
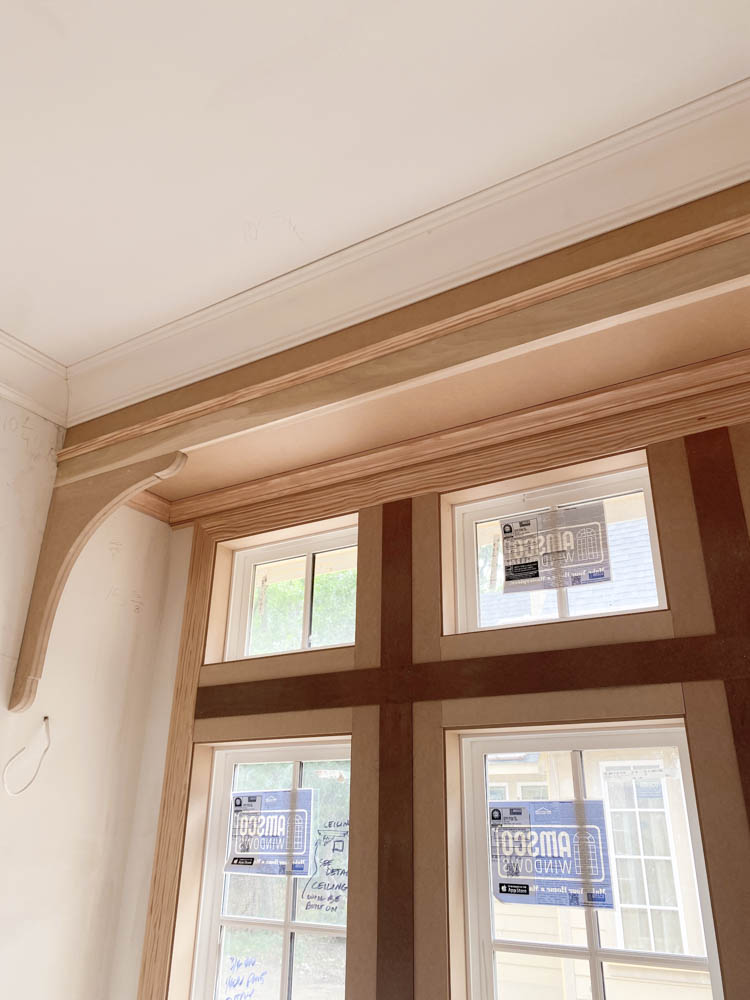
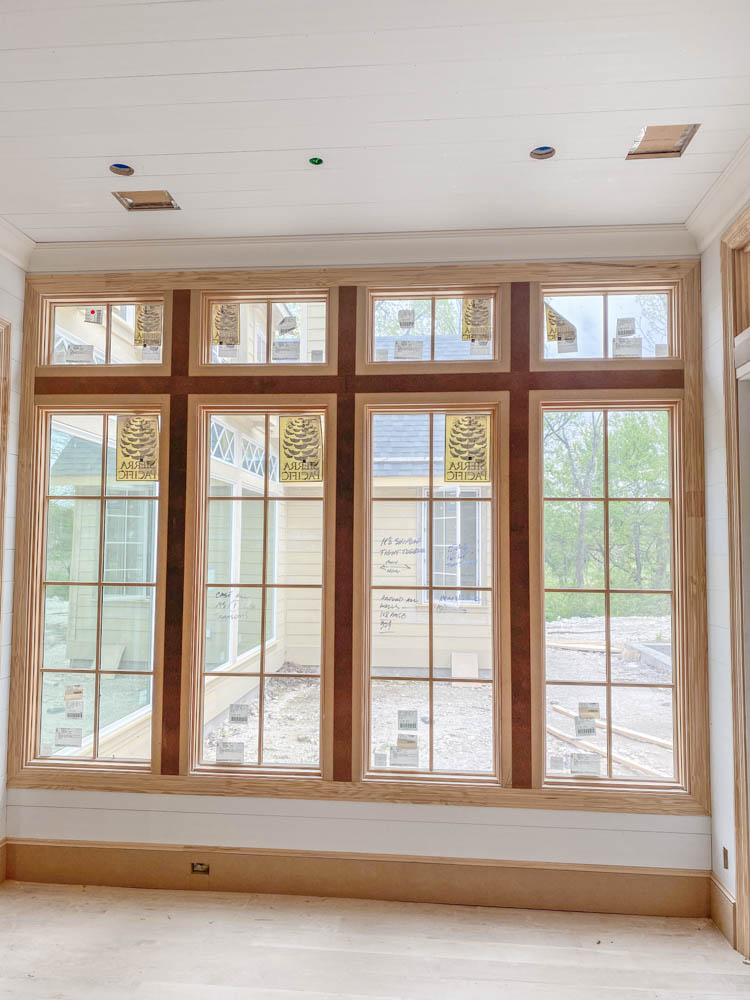
Another way we saved money is by doing individual windows in spaces instead of large window units. Window units are where multiple windows are installed in one piece complete with the molding. This is very pricey. We used individual windows and then molding to tie them all together and look like it was one large unit. This saved us a ton of money and when painted, it will be hard to tell the difference. Below we used 4 individual windows and 4 individual transoms. Drywall is in between them, but we covered all that with wood trim and cased the entire thing.
Whew, ok that was a ton of info. Hope you found it helpful when planning for your own homes/remodels. I really feel like millwork is one of those things that separates a home from a cookie cutter home and gives it character. There are very affordable DIY ways you can add some of these details to your home and help elevate it!
FOR ALL #HOHSOUTHERNCAPECOD DETAILS CLICK HERE.
**We are building our home with Joe Vastano with Joseph Paul Homes. The Joseph Paul Homes website is under construction. You can see his work on his Instagram and Facebook **


I was wondering what company you are using for your screens on the back porch. Thank you
His name is Victor. Email me at houseofhargrove@gmail.com and I will send his contact info. Thanks
Do your transoms above the doors open or are they for aesthetics only?
Aesthetics only
Hi Elaine,
Your home is coming along beautifully! You have an amazing design sense and are so talented. Your patience and ability to connect with your audience is very much appreciated. We live just outside of Boston and love Cape Cod and the islands. We have two vacations planned in Nantucket this year including one for my niece’s wedding. I’m a big fan of old world charm and styling. Wishing you all the best, Linda
Awe, thank you so much. That is so kind. Oh I love that area! Nantucket is on my bucket list to visit!