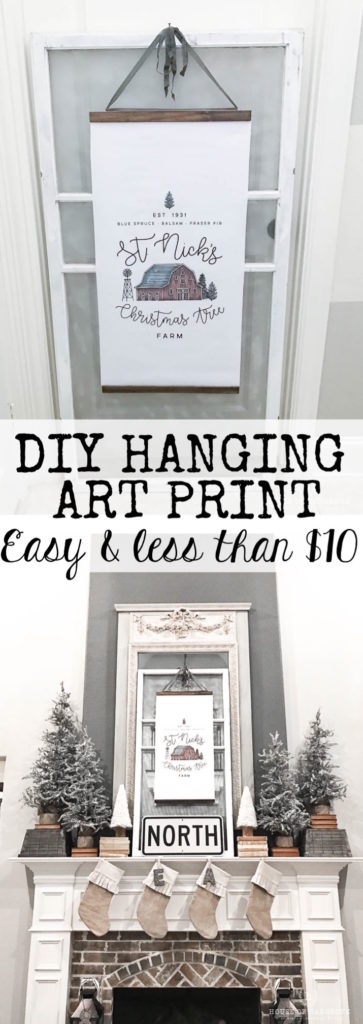
This year I decided to change up my fireplace mantle and do something completely different. We have very tall vaulted ceilings so my fireplace is tall and I needed something large, that would make a big impact, but I didn’t want to spend a lot of money. I ended up making my own art and I am in love with it!! Today, I am going to teach you how to make a DIY hanging art print too.
DIY HANGING ART PRINT
Like I mentioned, my ceilings are tall so I needed something HUGE. The print I made is very large, but you can make it any size that works for your space. I also made holiday art, but you can use this technique to make any type of art!
SUPPLIES:
- engineering print
- wood
- stain
- staple gun
- eye hooks
- ribbon
STEP ONE
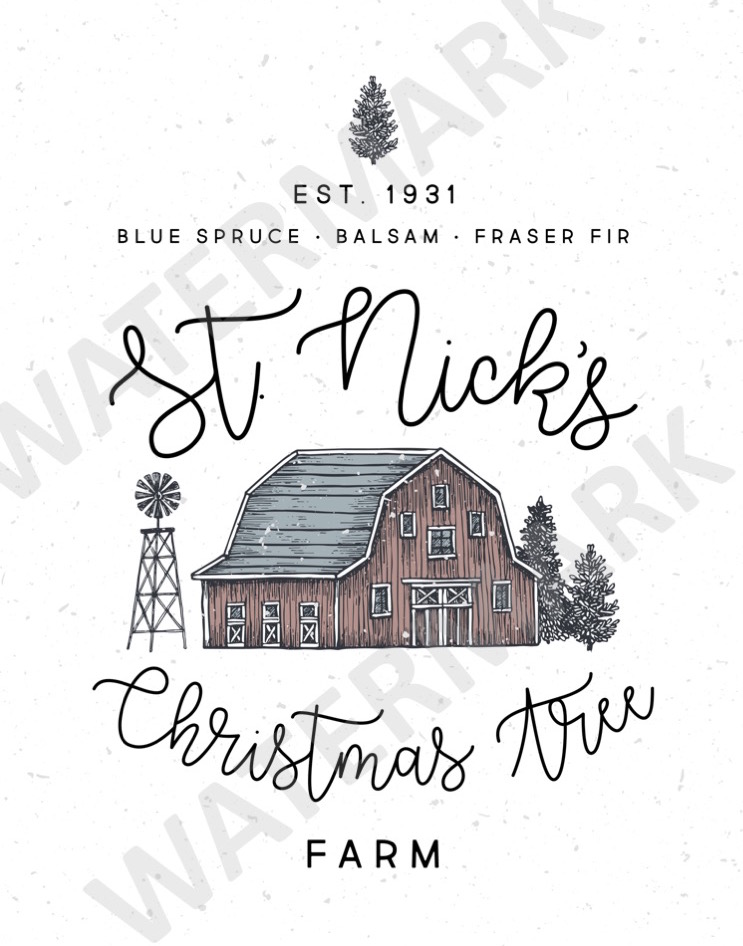
Search online to find some art you like. You can use anything. A quote, a photograph, a sketch. . .anything you like. I wanted a farmhouse print that was holiday themed and I found the perfect one HERE. I love that it had writing and a barn! It was exactly what I wanted. The original download was a little brighter than I wanted, so I just reduced the saturation to 33%.
Once you have your image you can bring it or email it to Staples and have an engineering print made. If you haven’t heard of engineering prints they are a game changer. The paper is thin. . .kinda like a blue print, but you can print pretty much any size you want. . .and it is CHEAP!!!!! I got an 18×36 print and it was $3 for black and white and $6 for color! There are so many things you can do with these prints. . .frame them, put them on canvases, etc. The quality is perfect for what I needed. Staples had it ready the next day and I was ready to get started on my art!
STEP TWO
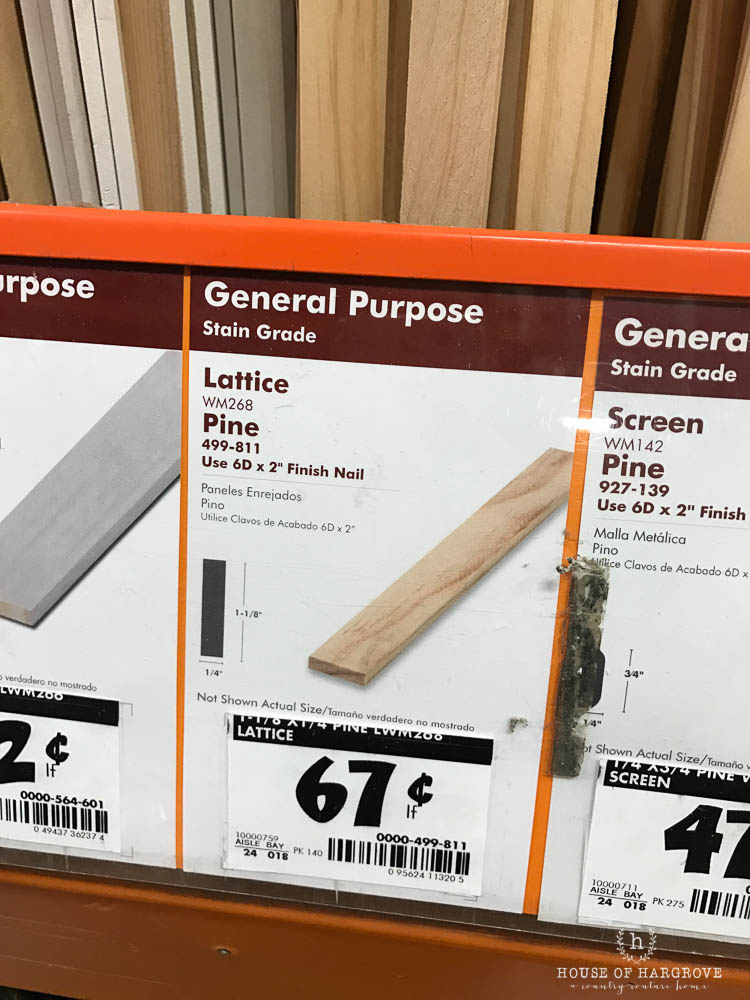
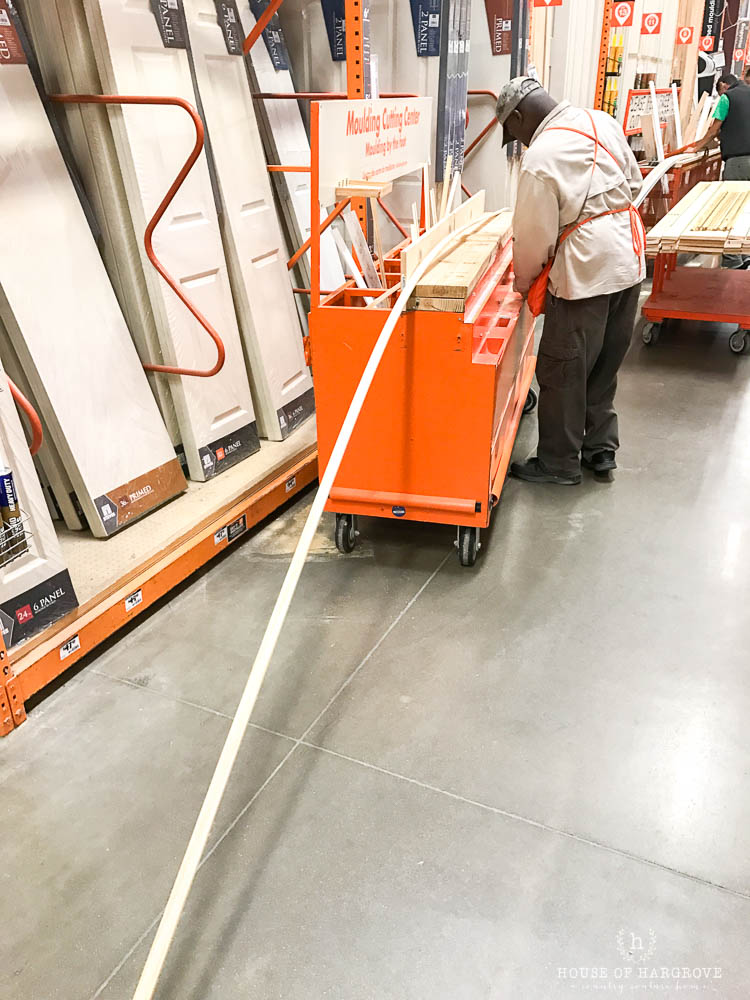
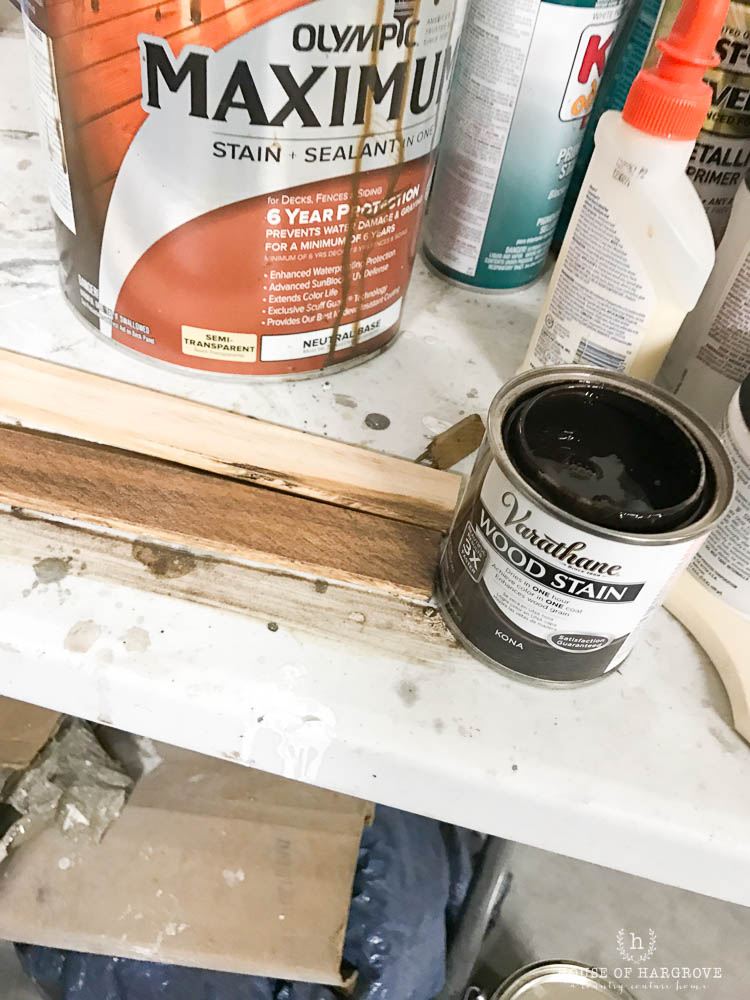
I headed to Home Depot to get wooden board pieces for both ends of the art. Below is the board I chose. It was $0.67 a linear foot. I had them cut it for me at the store. I needed 2 18″ pieces. So the boards cost me $2.
STEP THREE
Stain your precut wood pieces. I chose Varathane in Kona. This step took about a minute! Just rub it on with a towel or brush and wipe off until you get your desired color!
STEP FOUR
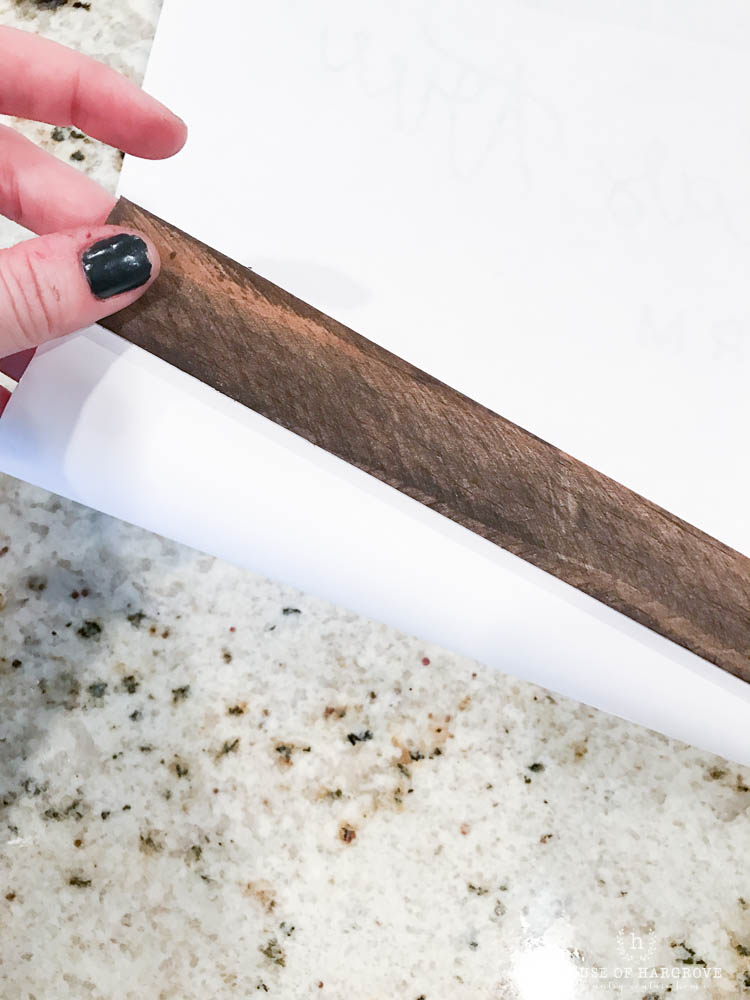
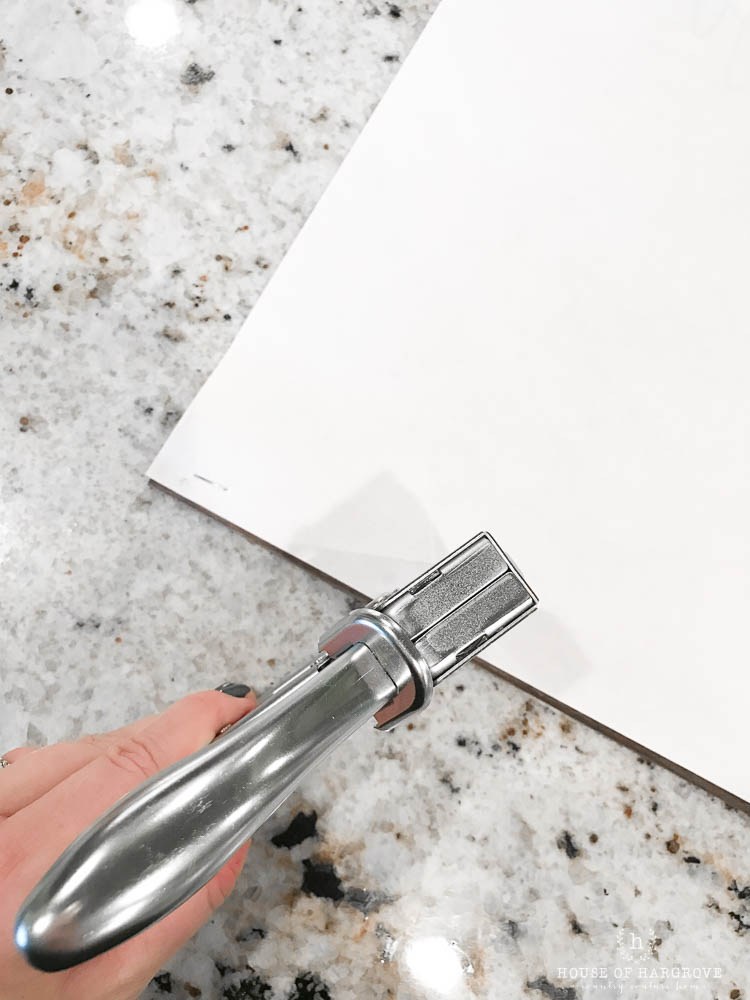
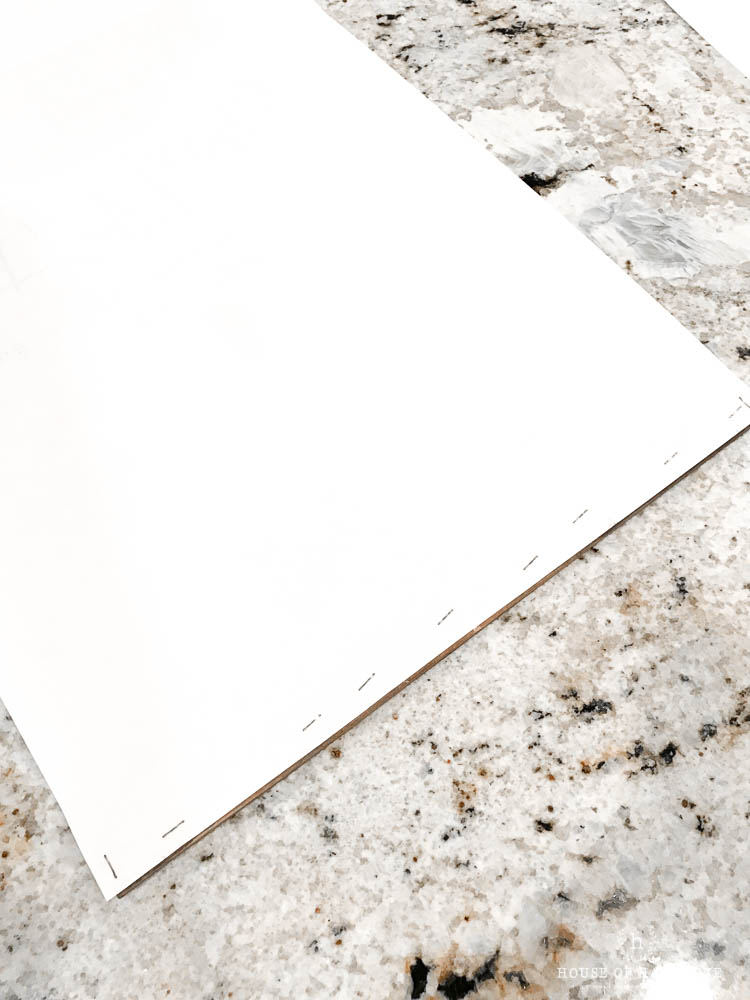
Take your stained boards, place them at the ends of each paper (front side) and then staple them onto the paper from the back side.
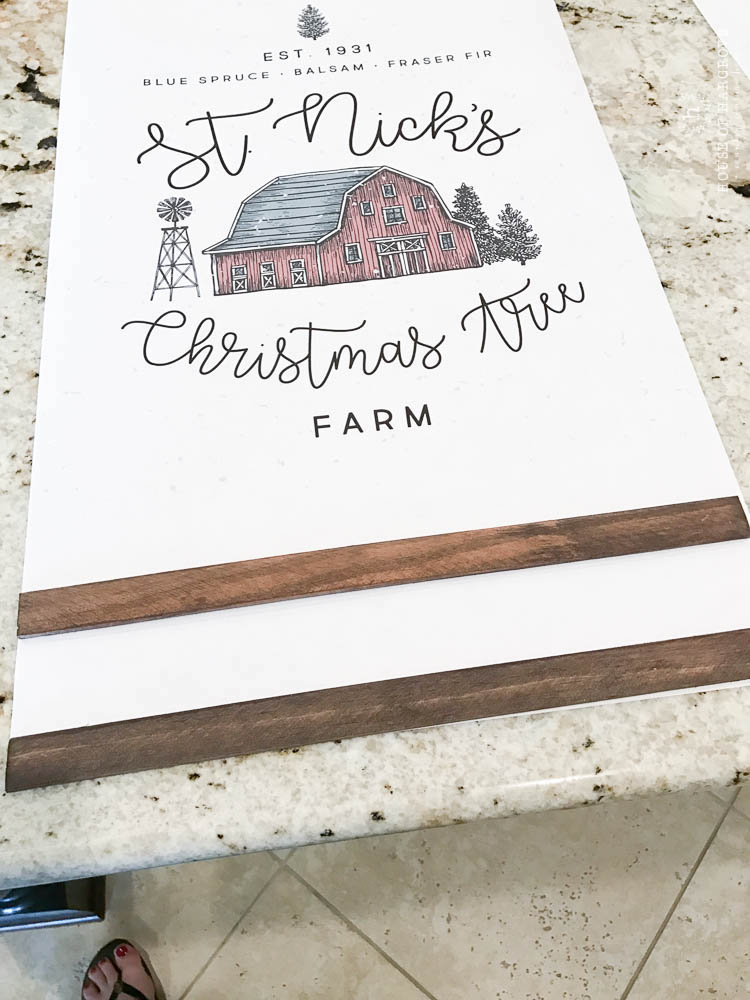
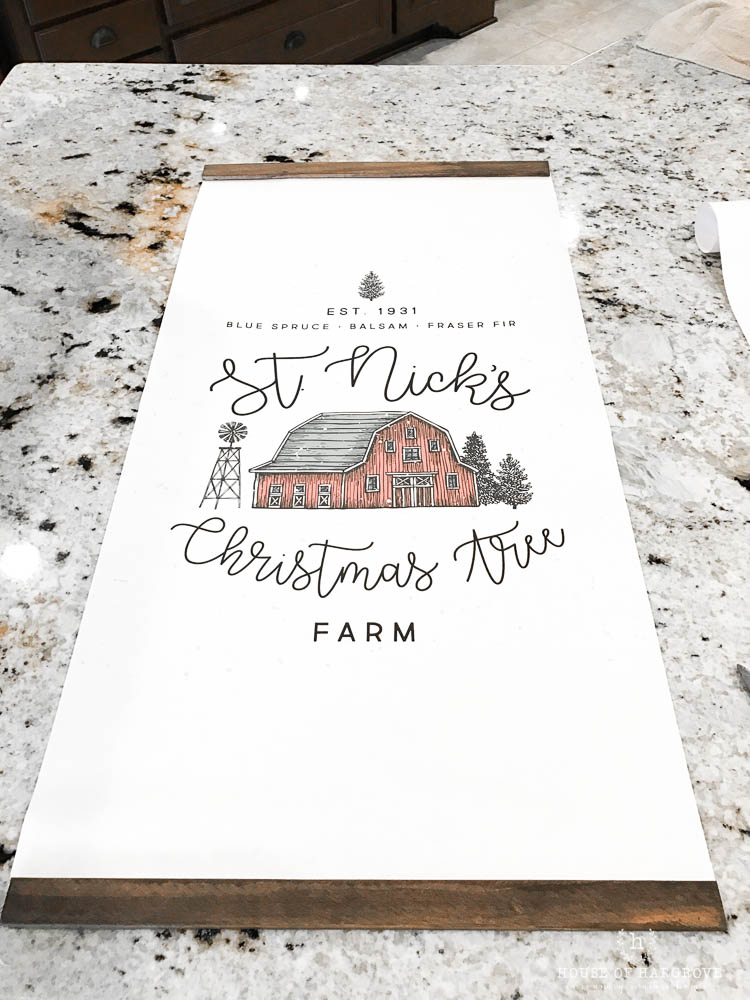
Now your paper sign will look like this! Boards stapled on at the top and bottom!
STEP FIVE
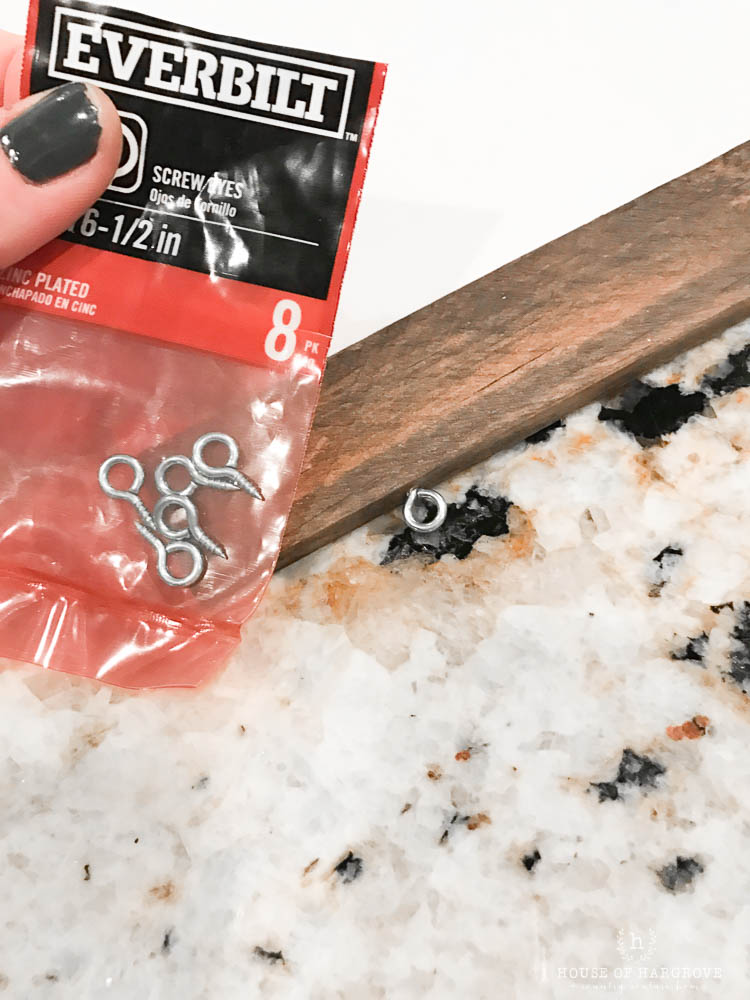
Now it is time to add these screw eye hooks at the top. It is super simple….just place them where you want your ribbon to hang from (I chose about 2 inches in from each side) and then hand screw them in.
STEP SIX
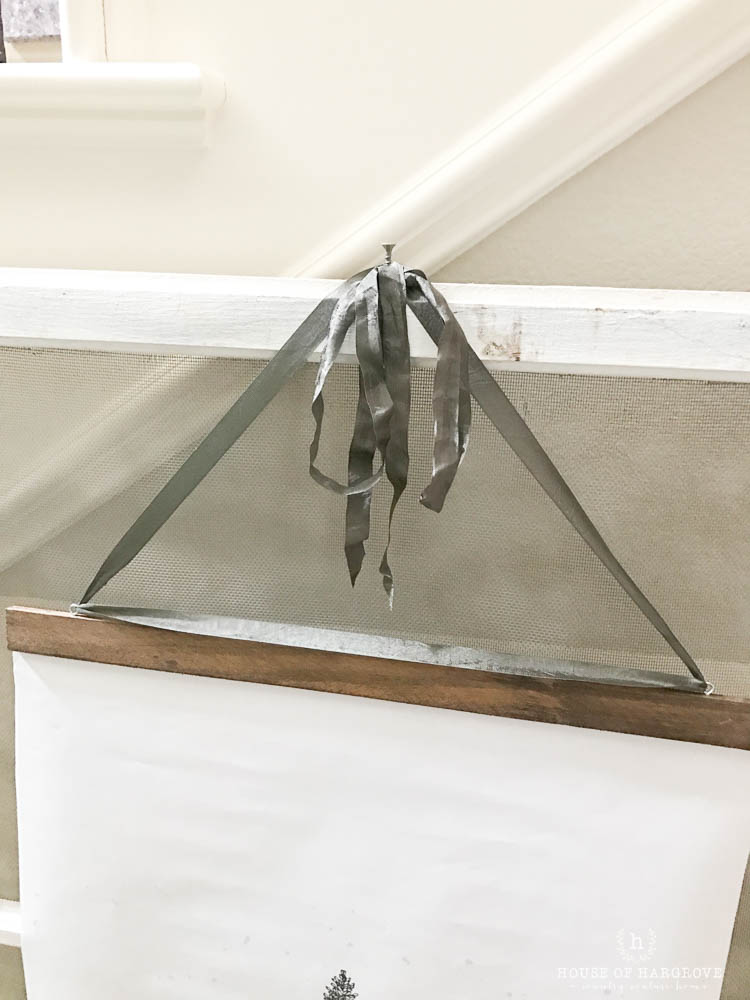
Pick the ribbon you would like to use and run it through the hooks. Now it is all ready to hang! You can hang these anywhere. I chose to hang them on an old screen window. I needed something to add height on the mantle so I found this old screen at an antique shop and it was perfect!
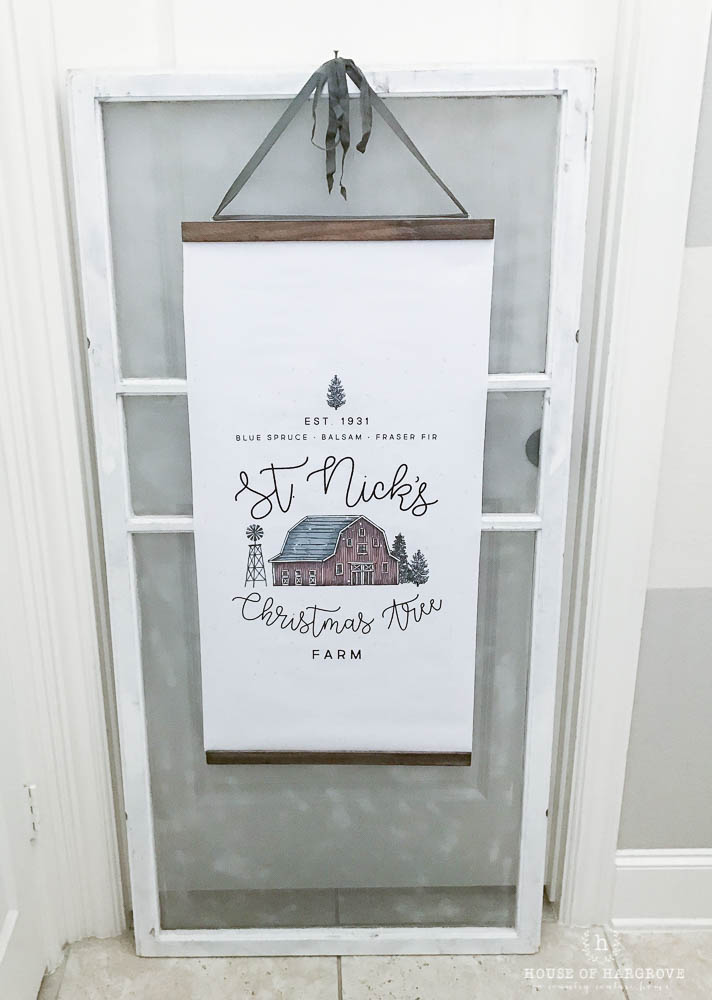
Here it is all complete and hanging on the screen. It is ready to add to the mantle!
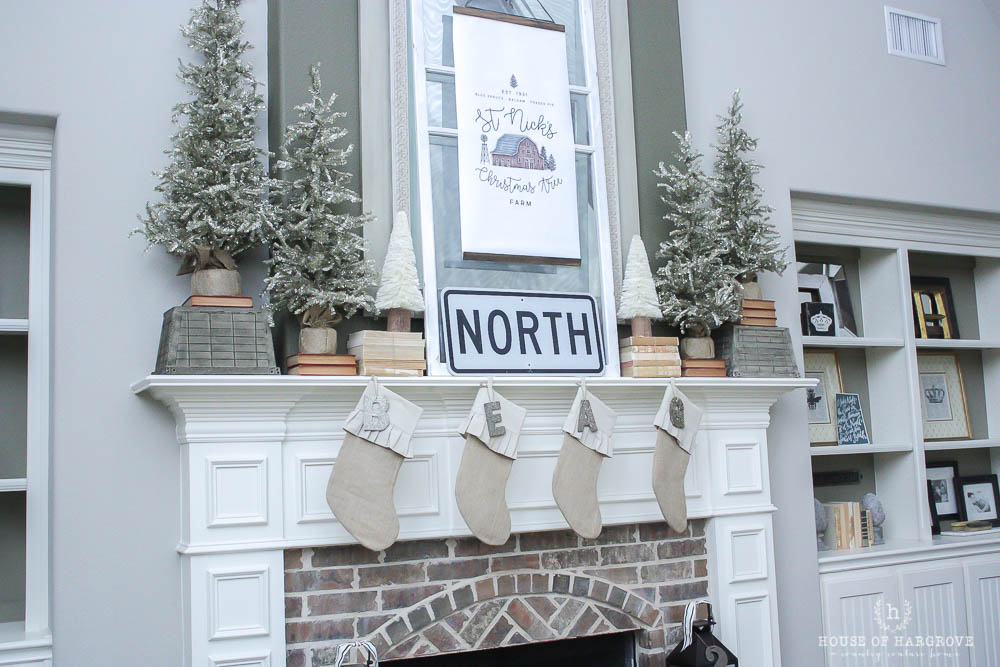
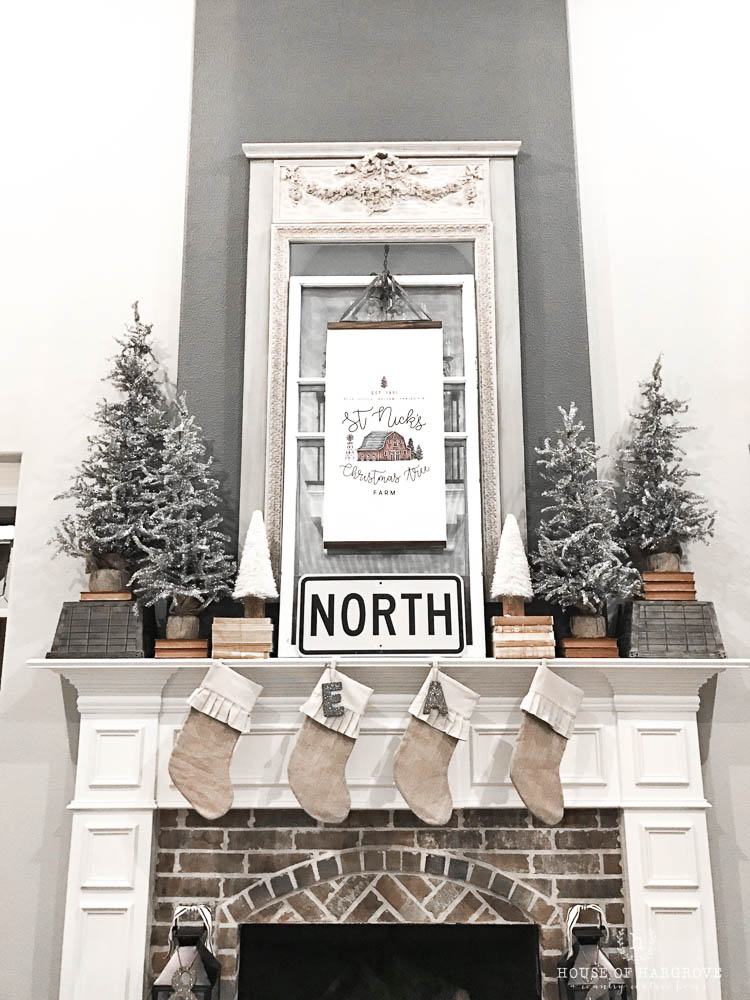
TA DA….the final product! I just love it!
This is an older photo before I had all the letters for our stockings!
This entire project cost less than $10! Such a deal!! Like I said you could use any printable or photo you find and love. You can also print whatever size you need. This technique can be done so many different ways. Here is a huge list of Christmas printables. You might find something you love here.
I hope you love this DIY hanging art tutorial and can use it somewhere in your own home!
This post contains a few affiliate links. If your purchase I may receive a small commission. Thanks for supporting my blog.

