I love creating my own art and today I am going to show you how to transfer lettering to make custom art. I bought some vintage flash cards at an antique store and I love using these to decorate. They sell the same brand HERE. You can see some of my other flash card art projects HERE
I needed a new sign for my entryway and my handwriting is not the best, so I used a simple stencil technique to achieve this look.
STEP 1:
Design the look you want. I use powerpoint for mine. The fonts I chose are Jaques & Giles and Andulus.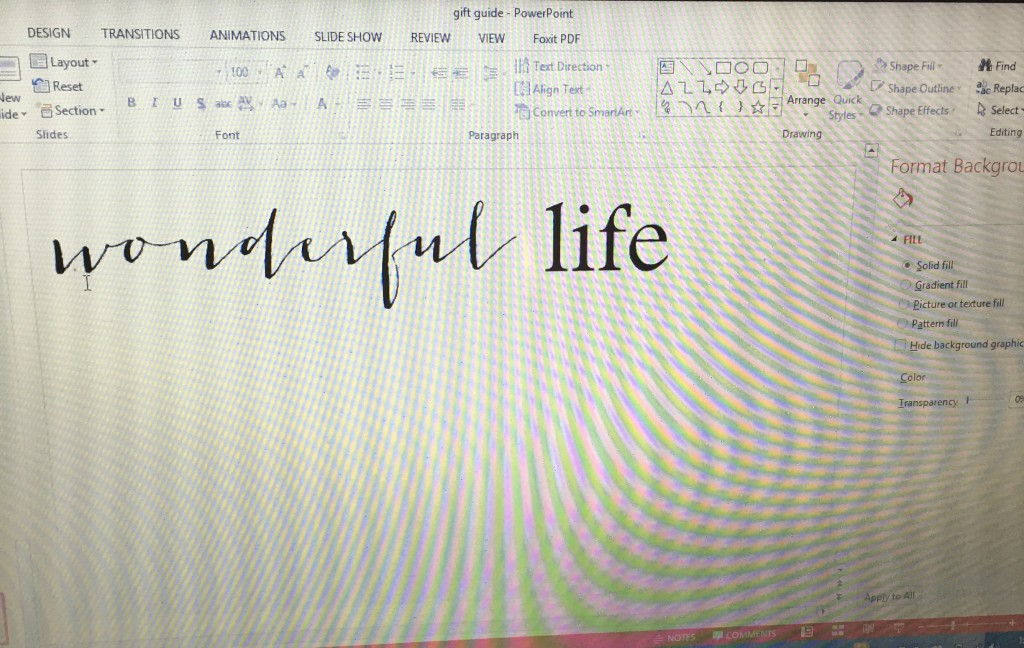 STEP 2:
Print out your saying making sure it is exactly the look you want and is the right sizing you need to achieve your look.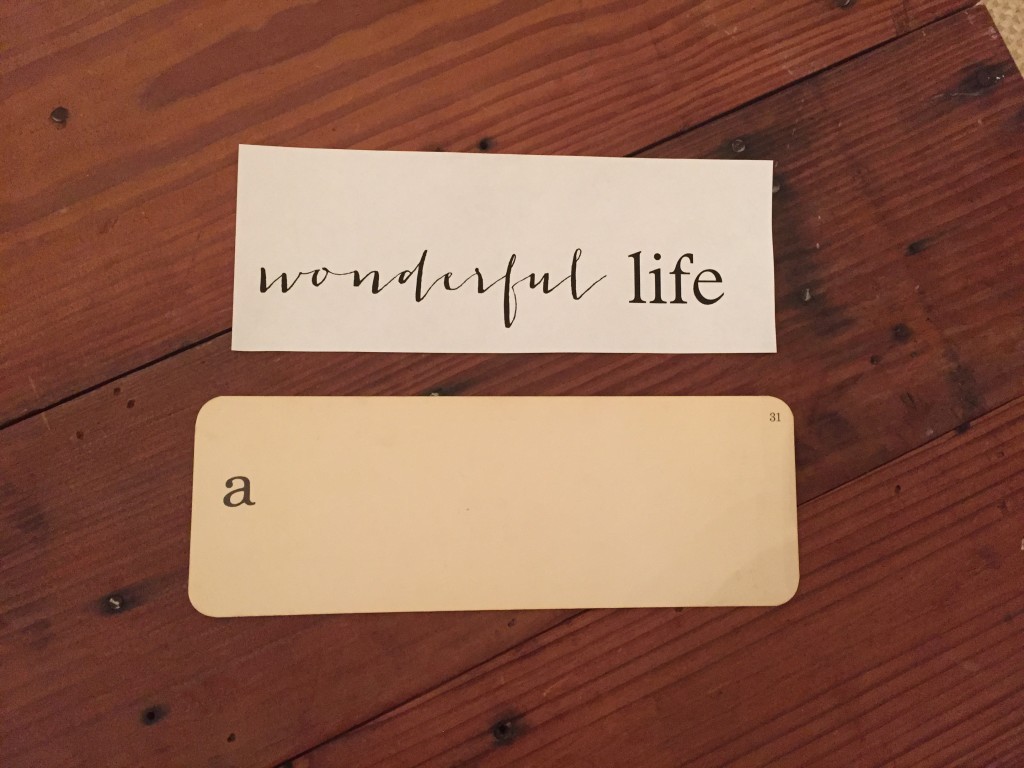 STEP 3:
Color the back of your printout with pencil. Make sure to cover the entire area. If you are transferring lettering onto a dark surface you can use this same technique with chalk. Just color the entire back with chalk.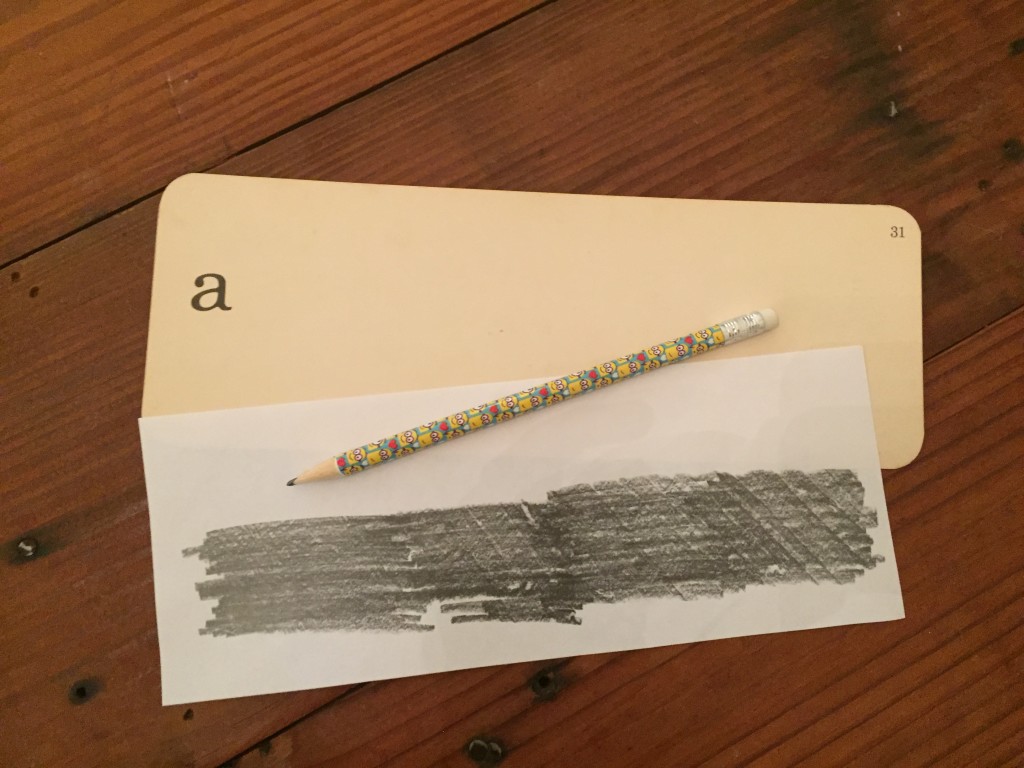 STEP 4:
Tape your design exactly where you want it to be when you are done. It is important you get the placement exact.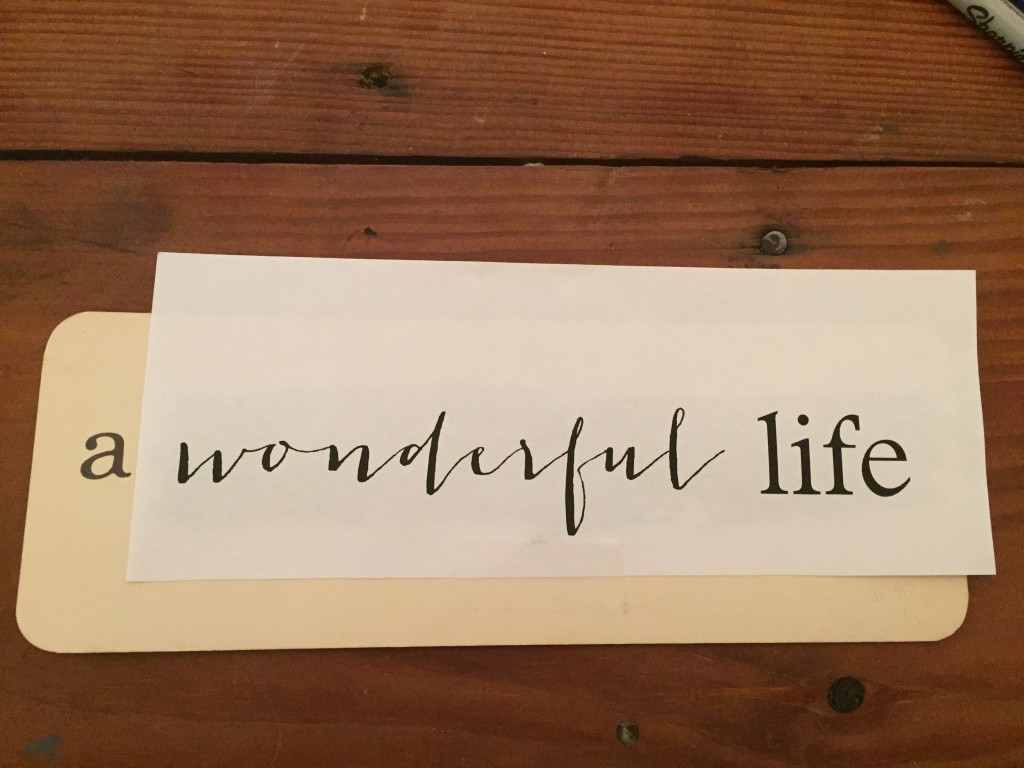 STEP 5:
Trace over your printout using firm pressure. Be sure to trace all the areas. This is pushing the color on the back to the flashcard giving you a stencil to color in later.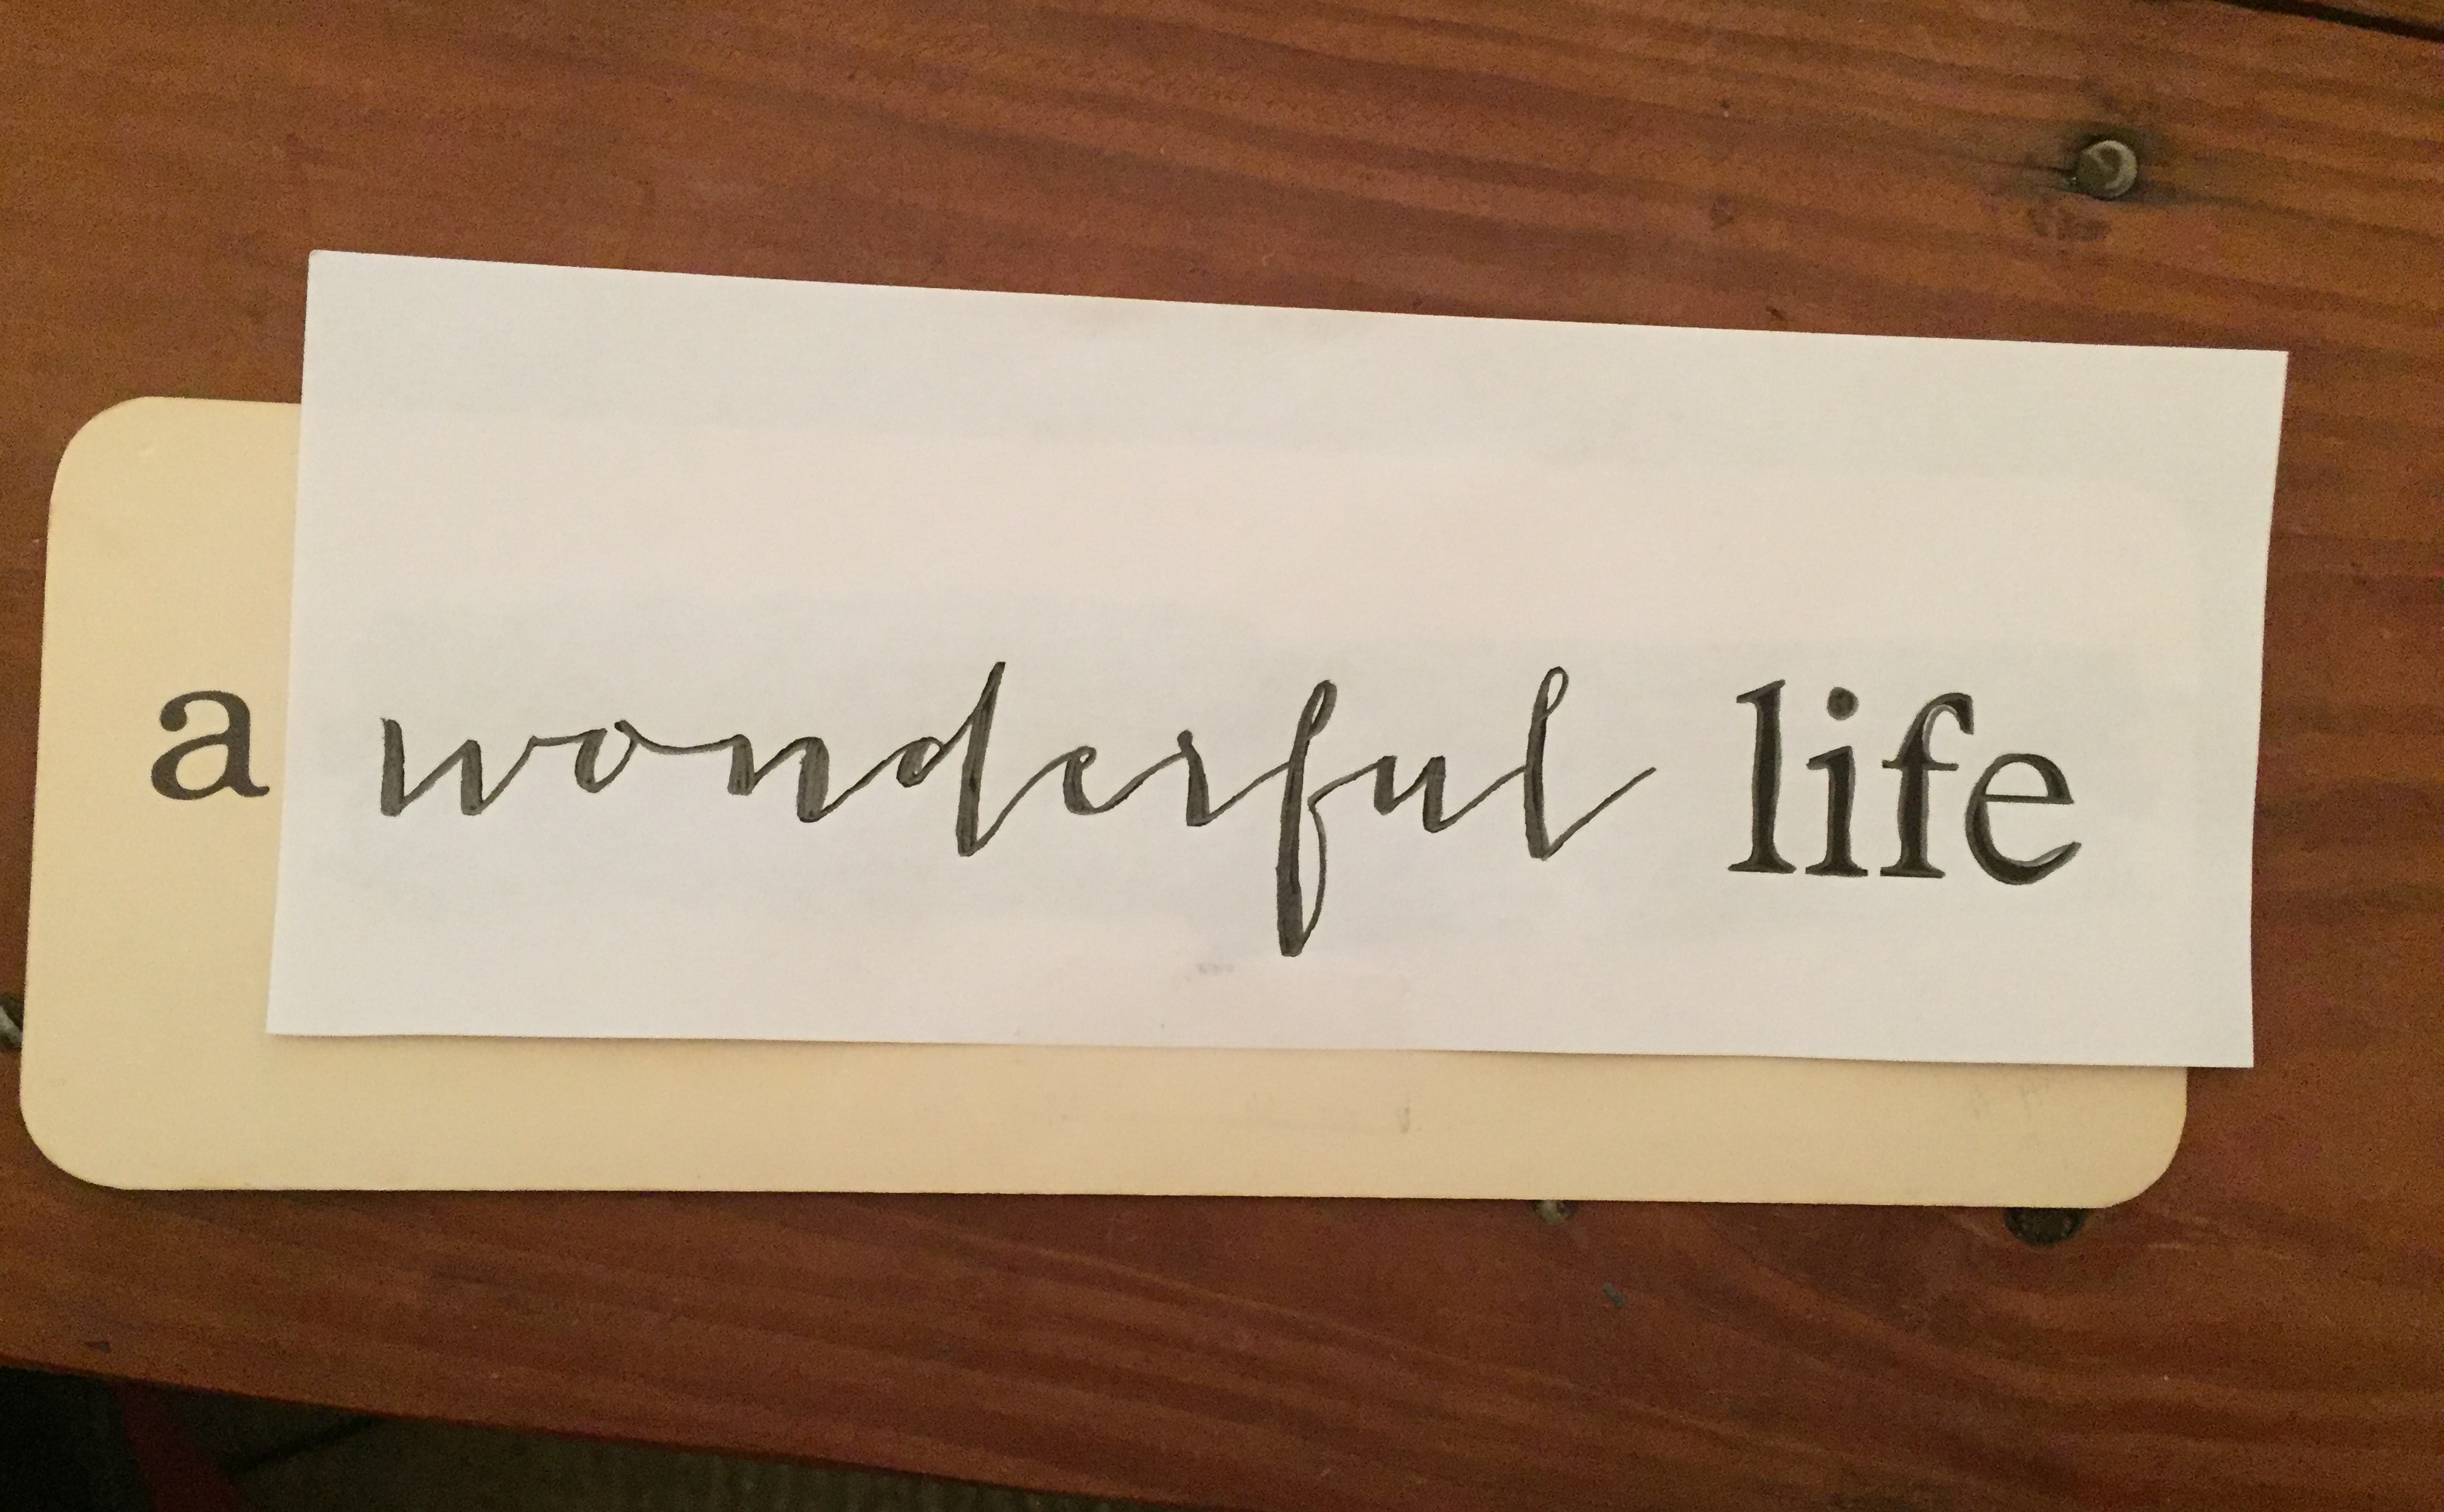 STEP 6:
When you are done it will look like this! Now you have the perfect template to color in!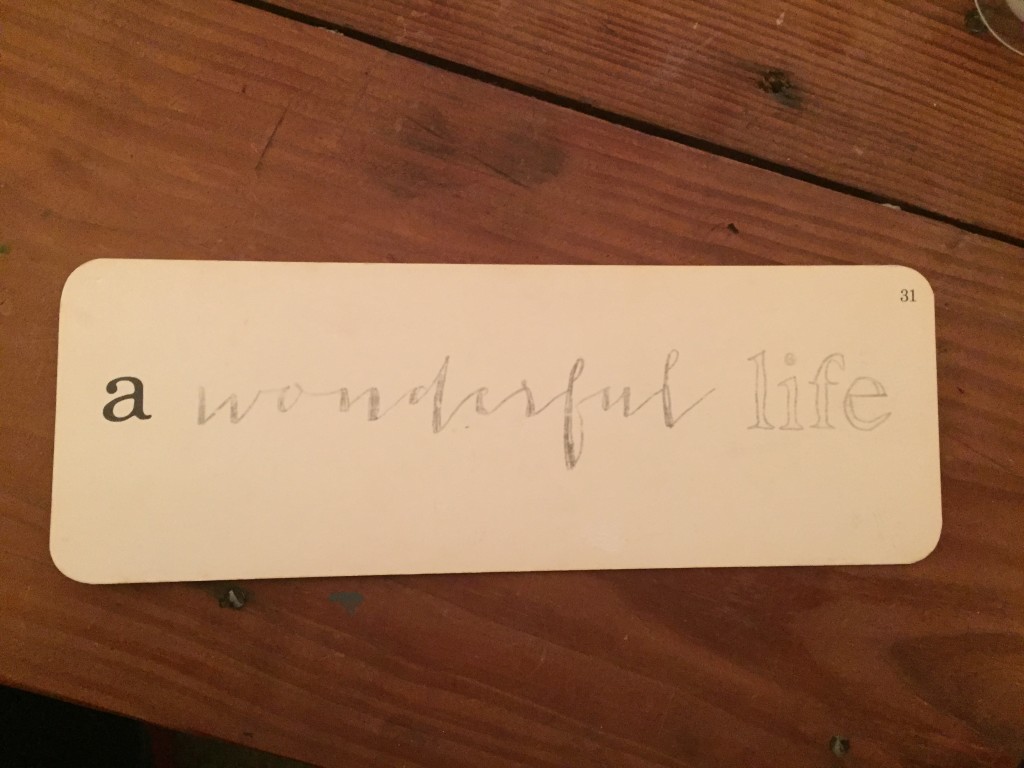 STEP 7:
Fill in with sharpie marker! I like to use the thin one so I can get it very precise.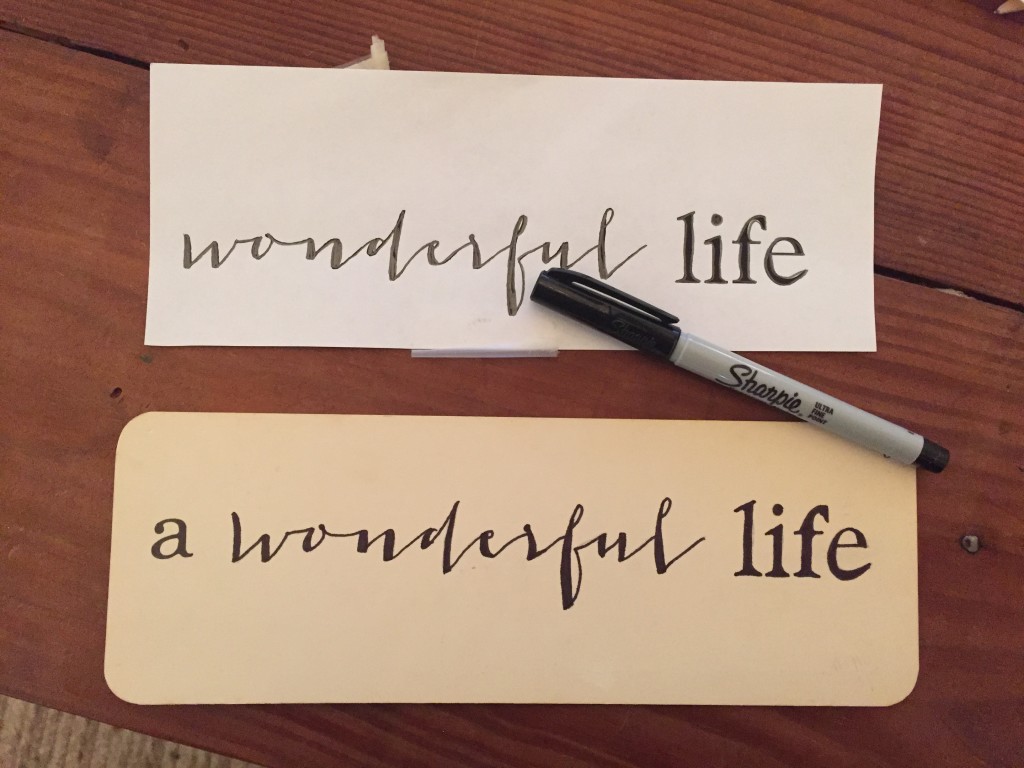
You transfer lettering to make art for many different things. Make a palette sign, write on wood, a door, etc.
You can see how I used this simple stencil technique on my Pantry and Garage Door.
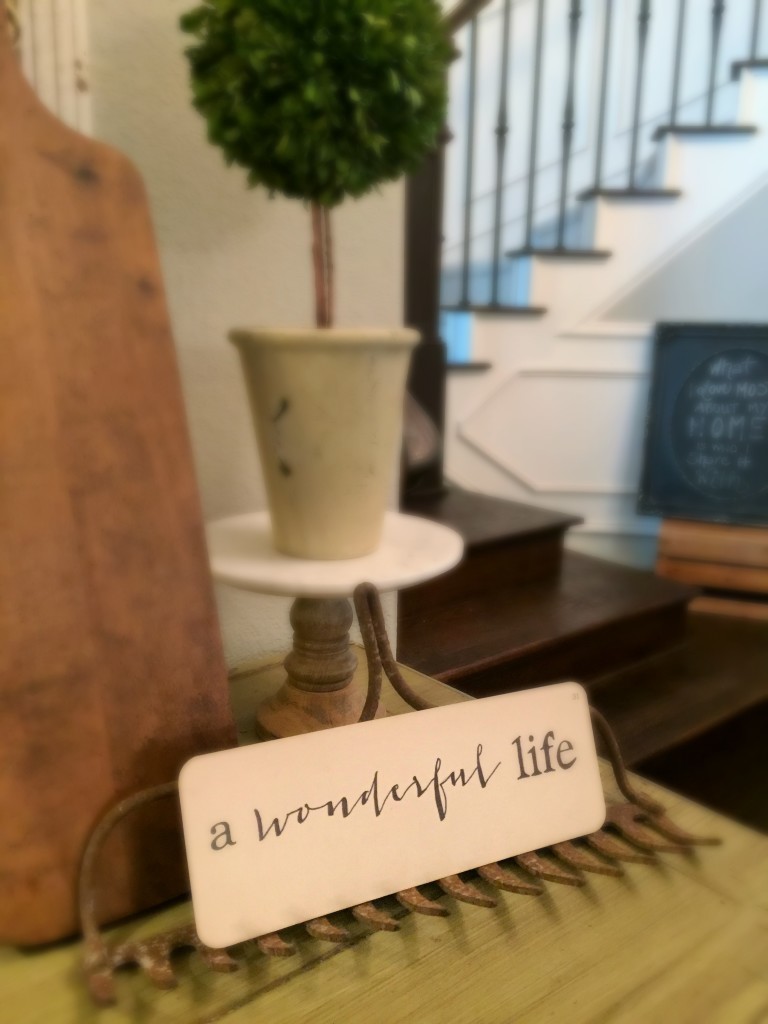
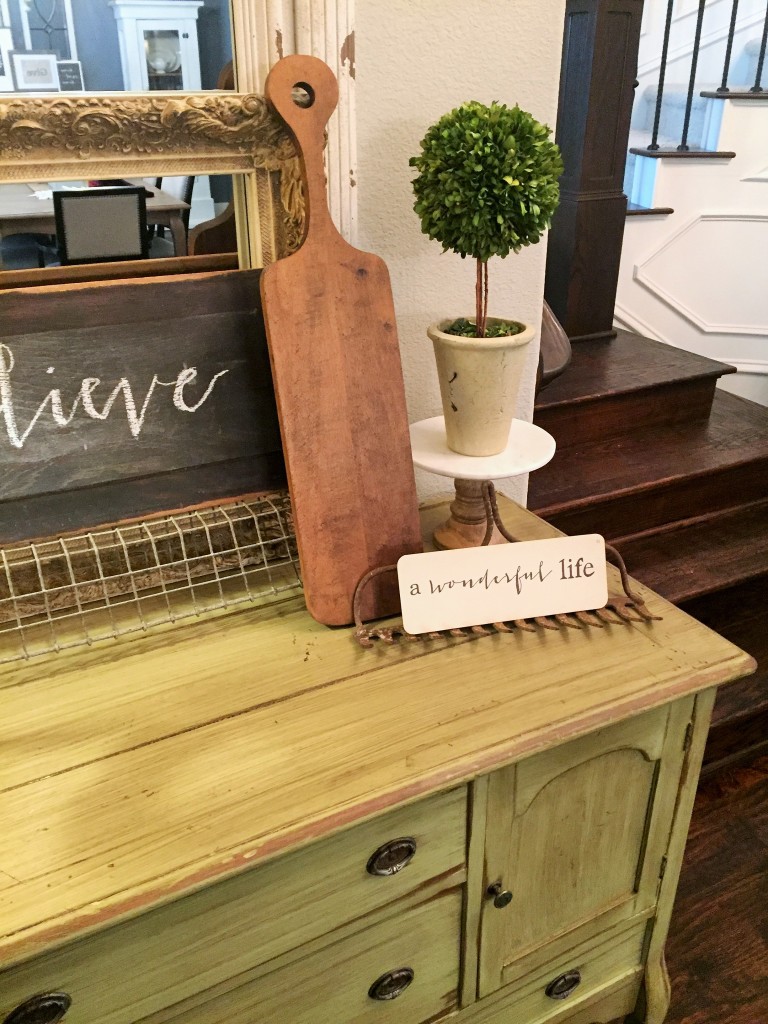
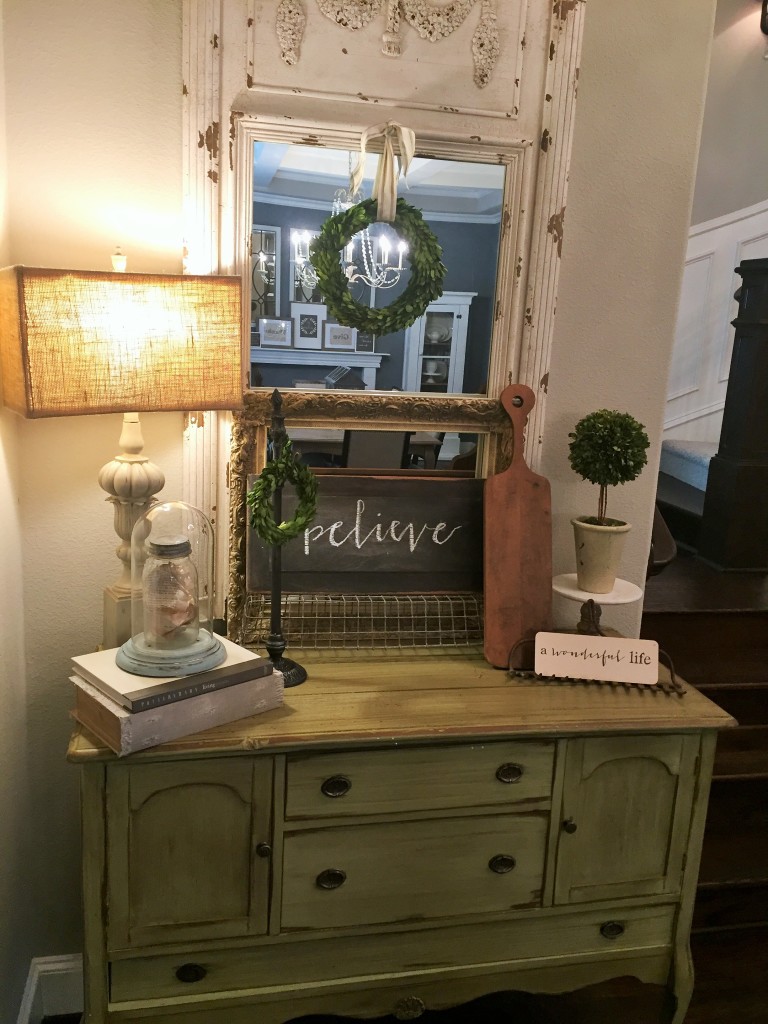
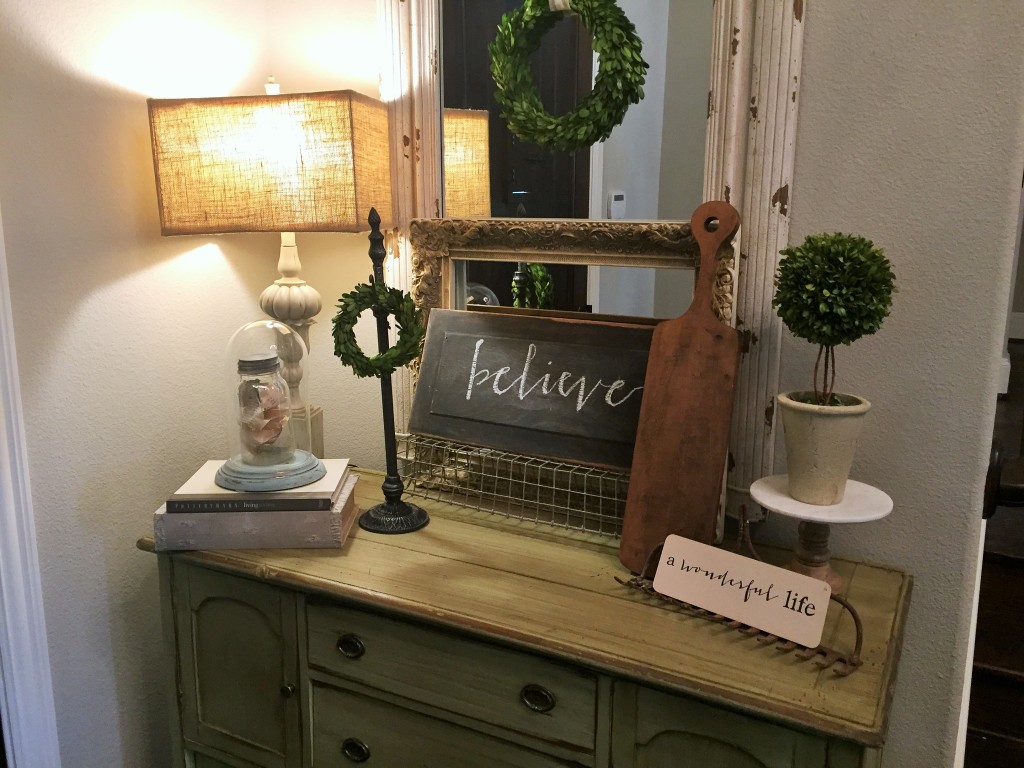
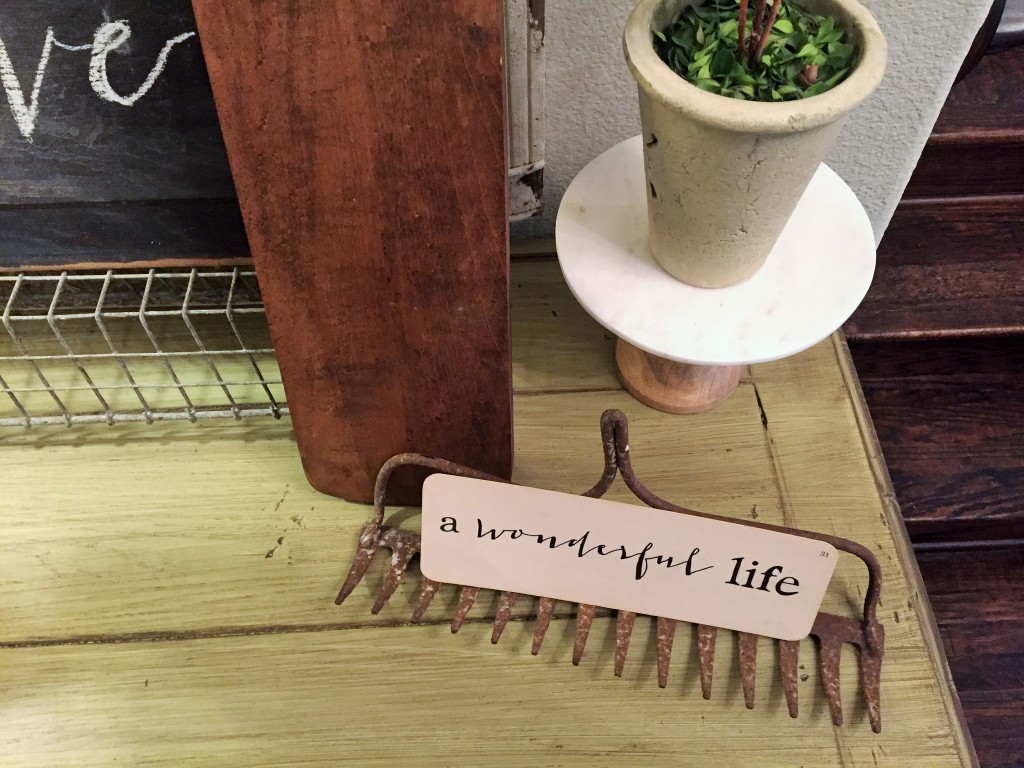
Here is the final result of my A Wonderful Life Flash Card Art!
 What do you need to add some beautiful writing to???
This is the best DIY tip I’ve read in a super long time. Thank you
Love Rhonda
Awe thanks so so much Rhonda!!
Oh my gosh! Can’t wait to try it-thank you so much!!
Thank you so much!! It is addicting 🙂 I find my self wanting to write on everything once I discovered this trick!