I am so excited to share this incredible new photo tool called Snap to Frame at Nebraska Furniture Mart with all of you. I was blown away when I saw the incredible gallery walls you could create with it. There are lots of different photo tools out there, but now that I have seen the quality and the amazing options offered with Snap to Frame I will not shop anywhere else. In fact, now I want to replace some of the ones I have ordered previously. There are many different product styles, but I am partial to canvas and I cannot wait to share what I ordered with you and the amazing reclaimed barn wood frames I chose for them! Here are all the details on how to create the most beautiful gallery wall ever!
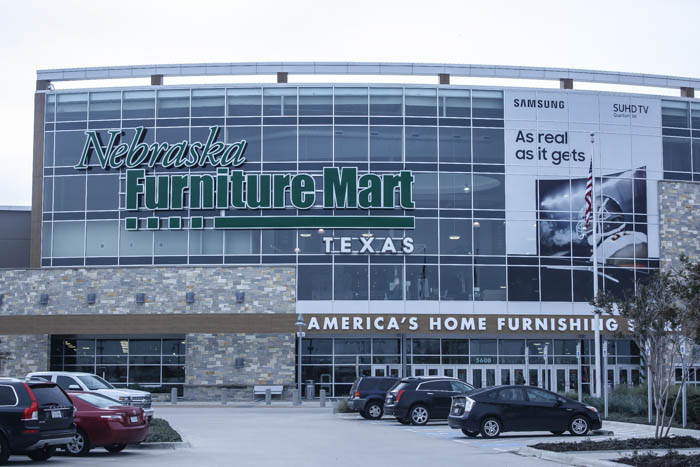
Snap to Frame is exclusive to Nebraska Furniture Mart. I headed over to my local store in the Dallas area to check out the Snap to Frame in-store Kiosk. If you don’t have a NFM nearby…no worries you can order online from their app as well.
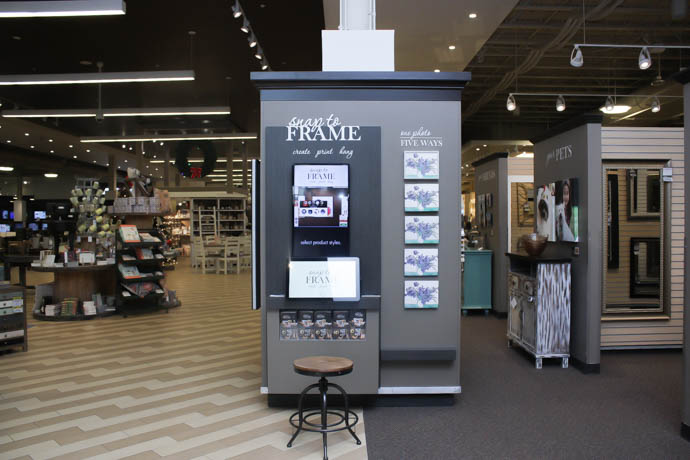
There are 3 kiosks in the store. One is located on the main floor.
Another kiosk is in the Baby department.
And a third kiosk is in the Designer Gallery department.
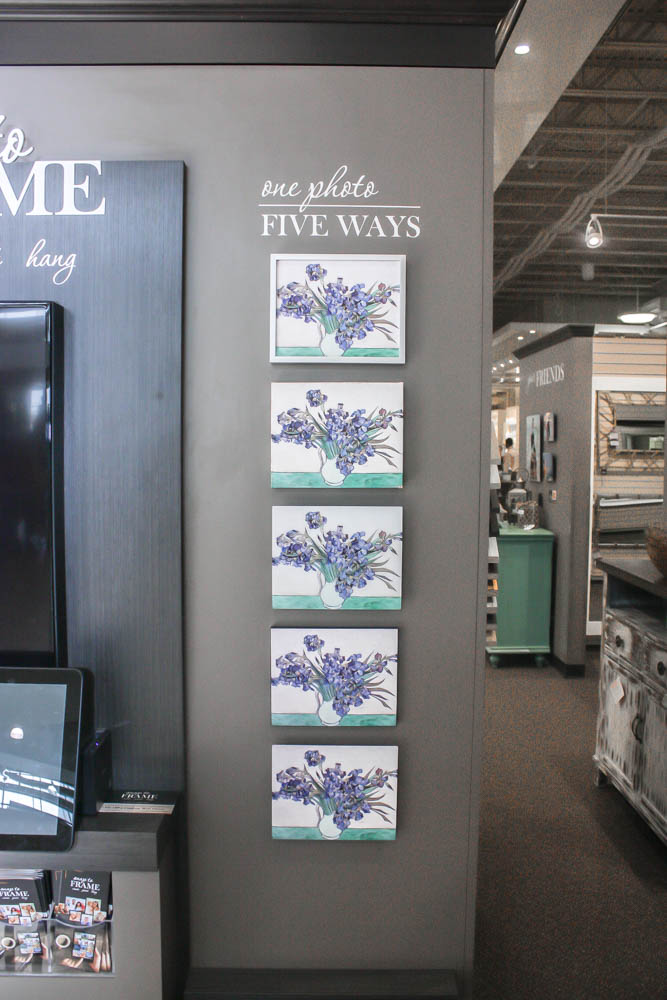
As I mentioned above, you can order online, but the beauty of going into the store is you can see the quality and different options in person! There are 5 different product styles you can print on. You can do a standard framed photo print, wrapped canvas (framed or unframed), print on wood, acrylic or metal. Each option is so beautiful and gives a completely different look.
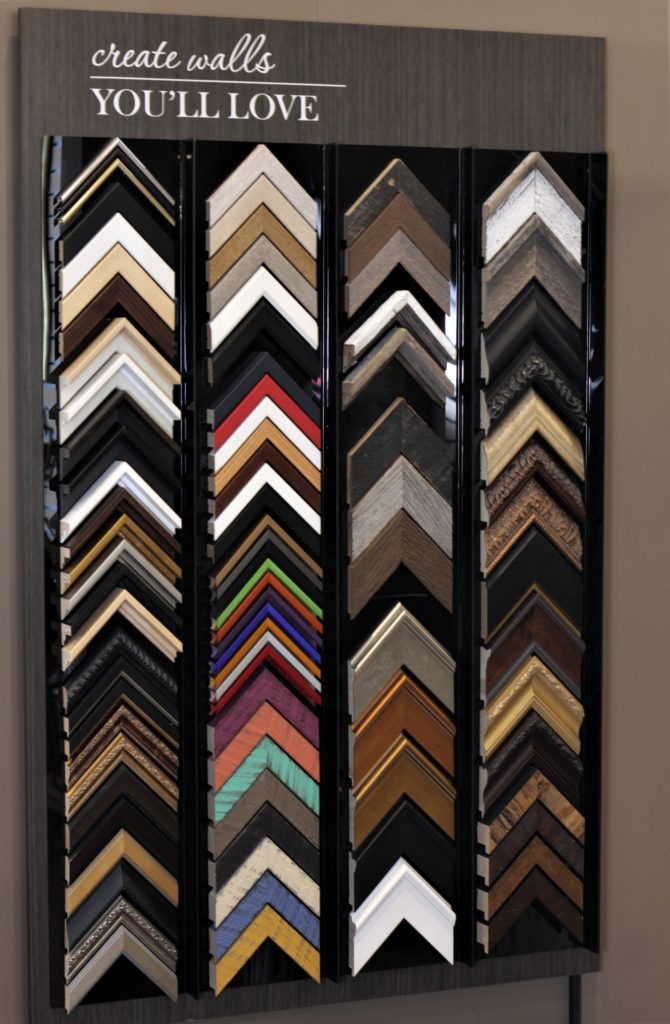
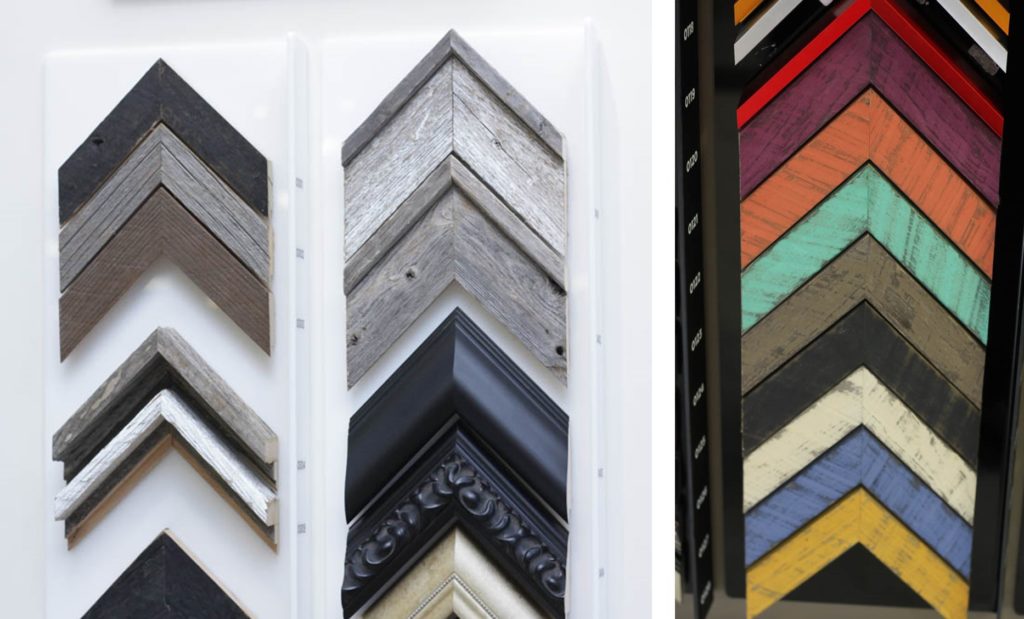
You can also see and feel the different frame options. There are tons of styles to choose from and one to fit every style!
These reclaimed barn wood ones are my personal favorites!
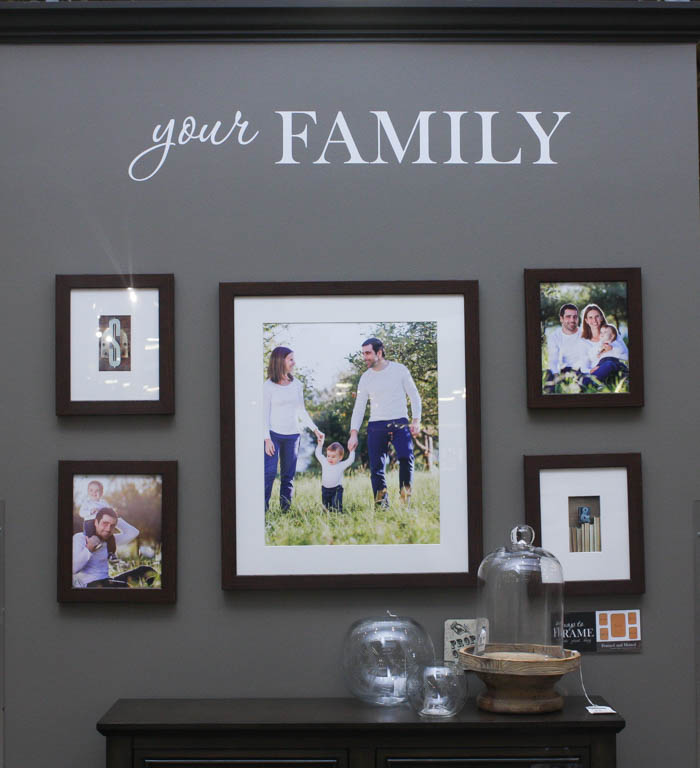
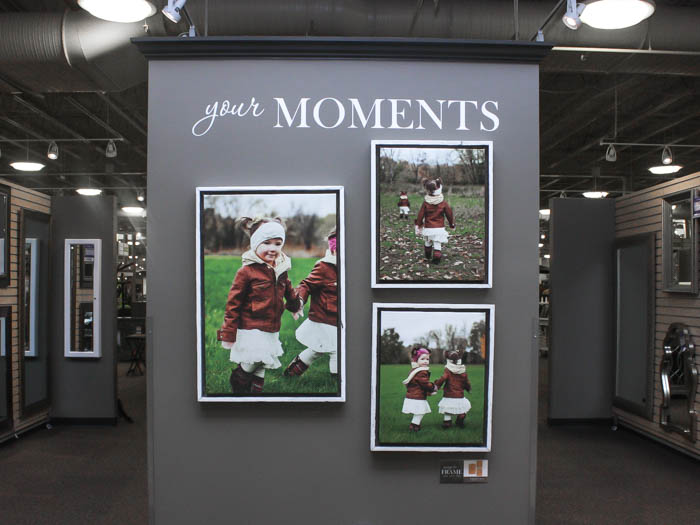
The other great thing about going to the store is seeing all the gallery walls they have on display. There are several different gallery walls demonstrating the different printing options and layouts.
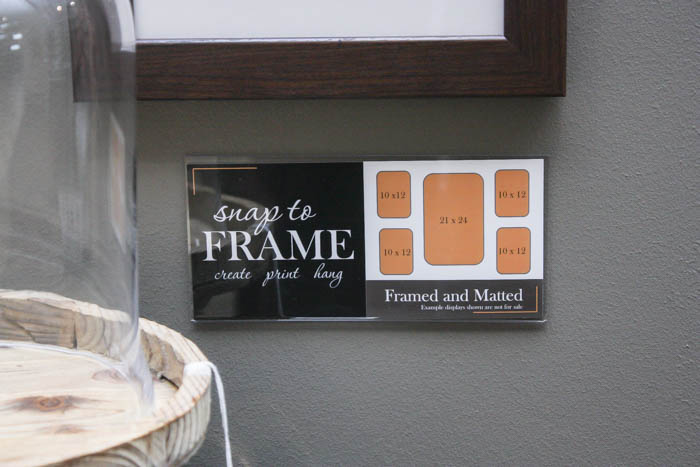
Below each grouping a sign shows the layout used, the dimensions and which product style was used. The photos above are the framed and matted option.
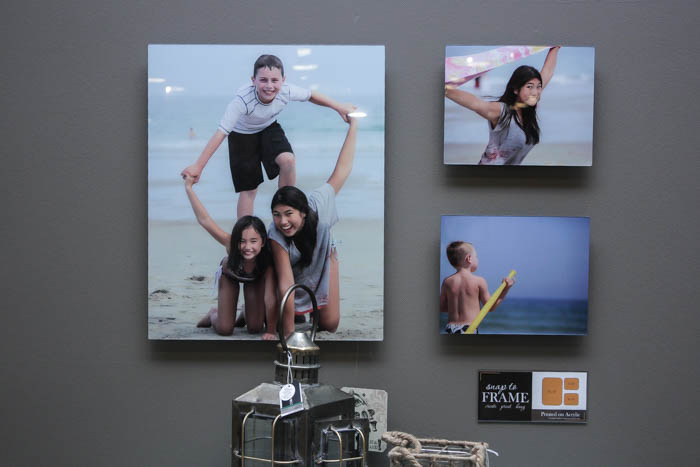
These photos are printed on acrylic.
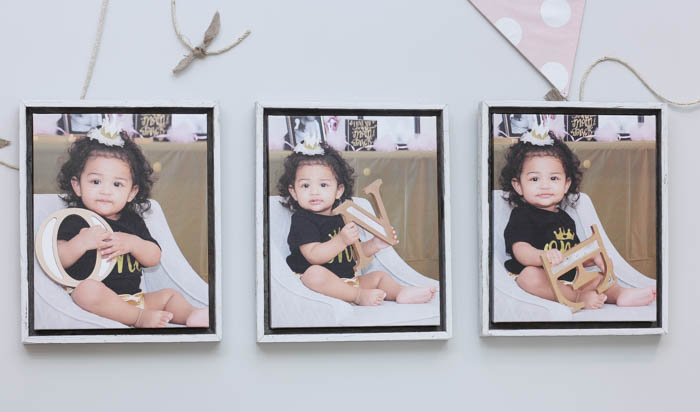
My personal favorites are these canvases with floating barn wood frames.
Here is another example of my favorites in the baby section! These are canvas prints with wood floater frames in the barnwood whitewash option.
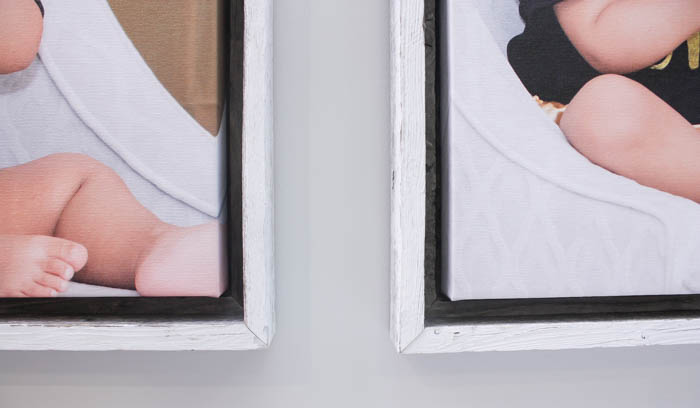
A close up of the frame.
So now that you have seen how amazing everything is….it is time for your to create a beautiful gallery wall for your own home!
HOW TO USE THE SNAP TO FRAME KIOSK
STEP 1: CHOOSE YOUR LAYOUT
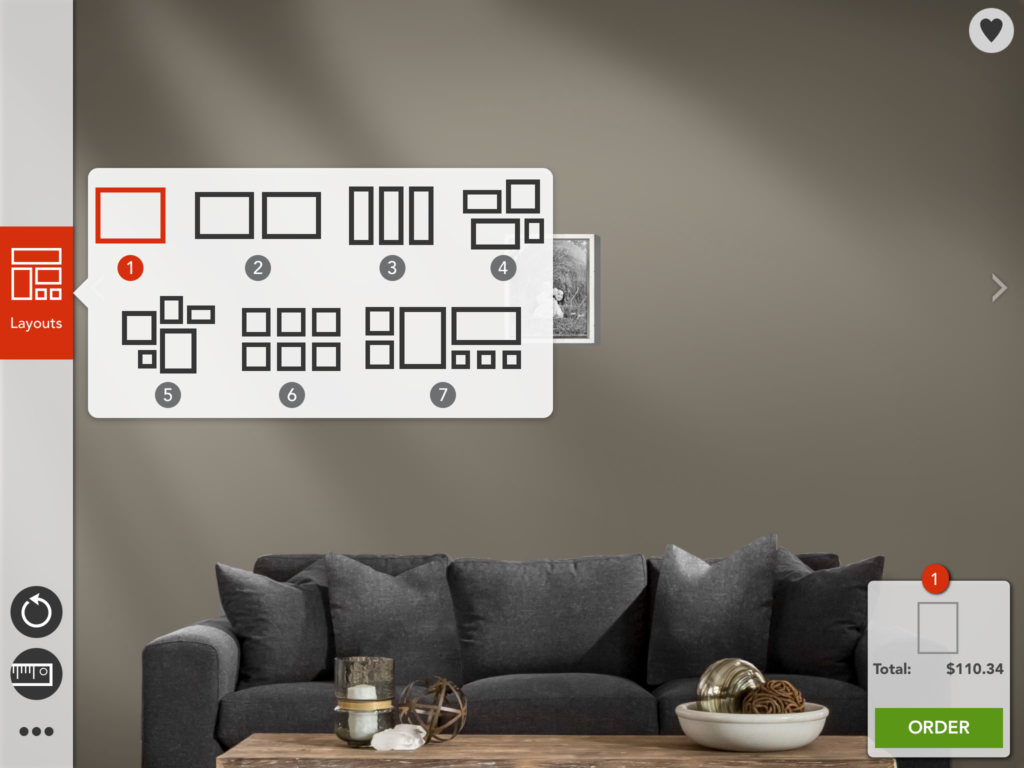
There are tons of options to choose from.
- Select the number of pictures you want in your space. Then you scroll through all the different layouts they have available with your chosen number of pictures. They will show them to you on the wall so you can get an idea of what it will look like.
- Click the ruler button on the left side of the screen to see the dimensions of each photo and of the overall layout. This is very helpful when you have a specific space you are working in
- You are able to change the furniture below to better represent your space and change the wall color. If you are a person that has a hard time visualizing what it will look like these are great options. You can choose different style furniture and different rooms (like a nursery, dining room, etc). If you use the Snap to Frame app on your iPad you can actually take a photo of your exact space and play with the pictures on the wall over the exact space you want it. That is a really cool feature!
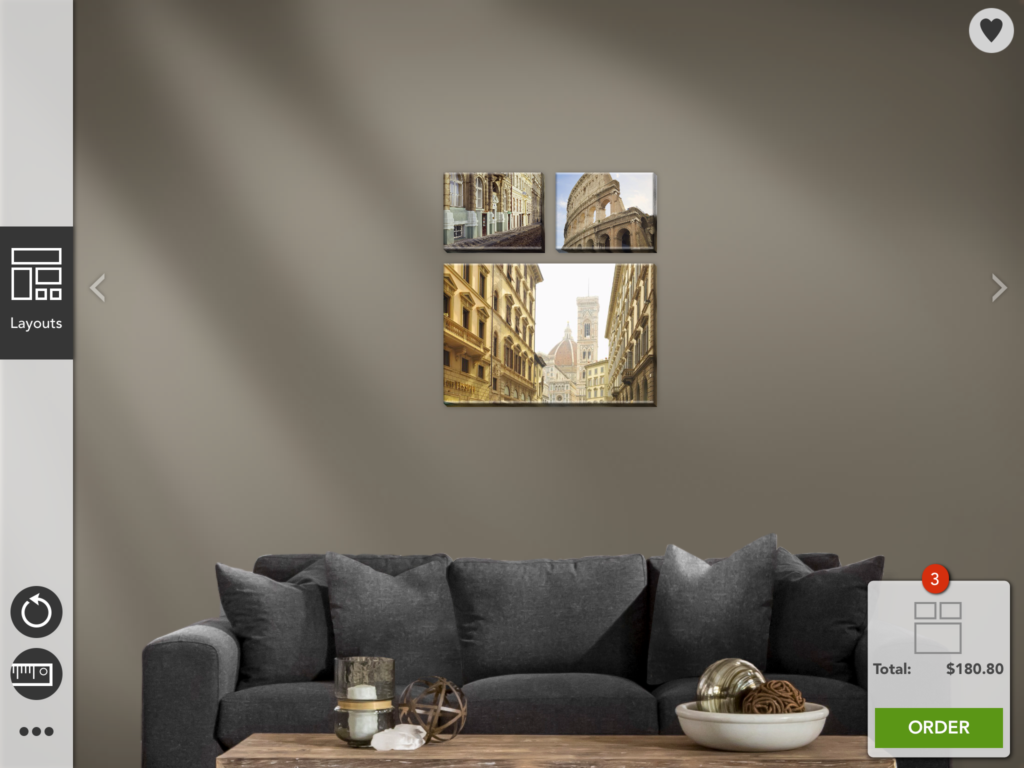
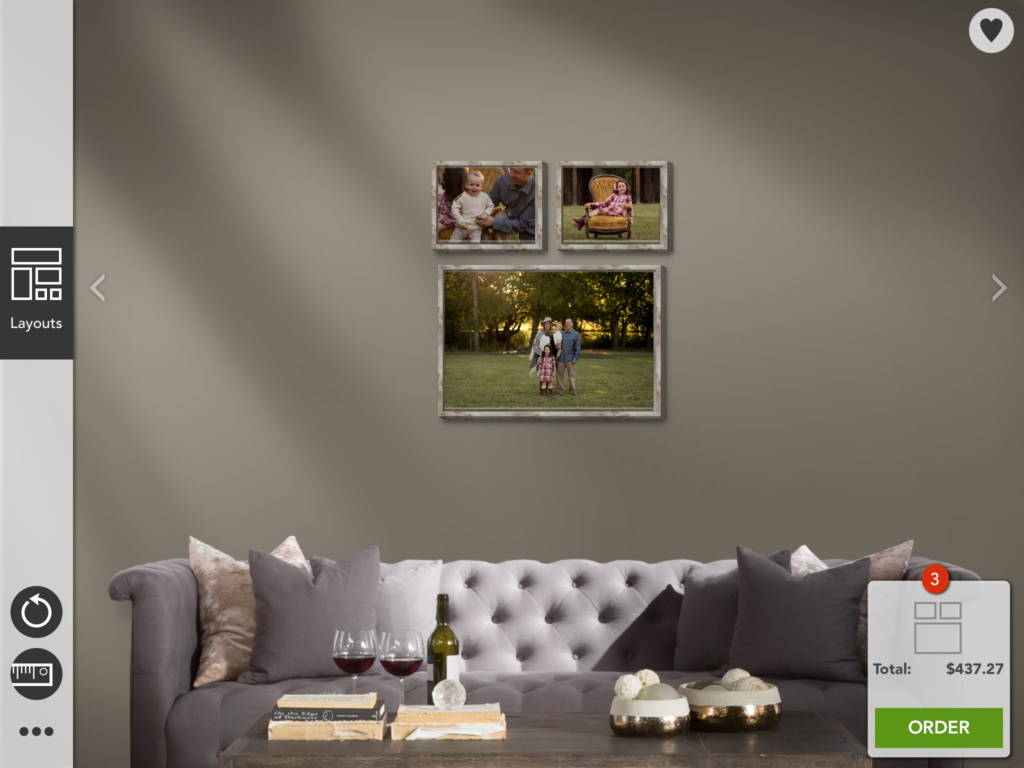
This grouping of 3 is the layout I have chosen for my space. The bottom right hand corner gives you a running total of your project. At anytime you can save your work by clicking the heart icon in the upper right corner.
STEP 2: UPLOAD YOUR PHOTOS
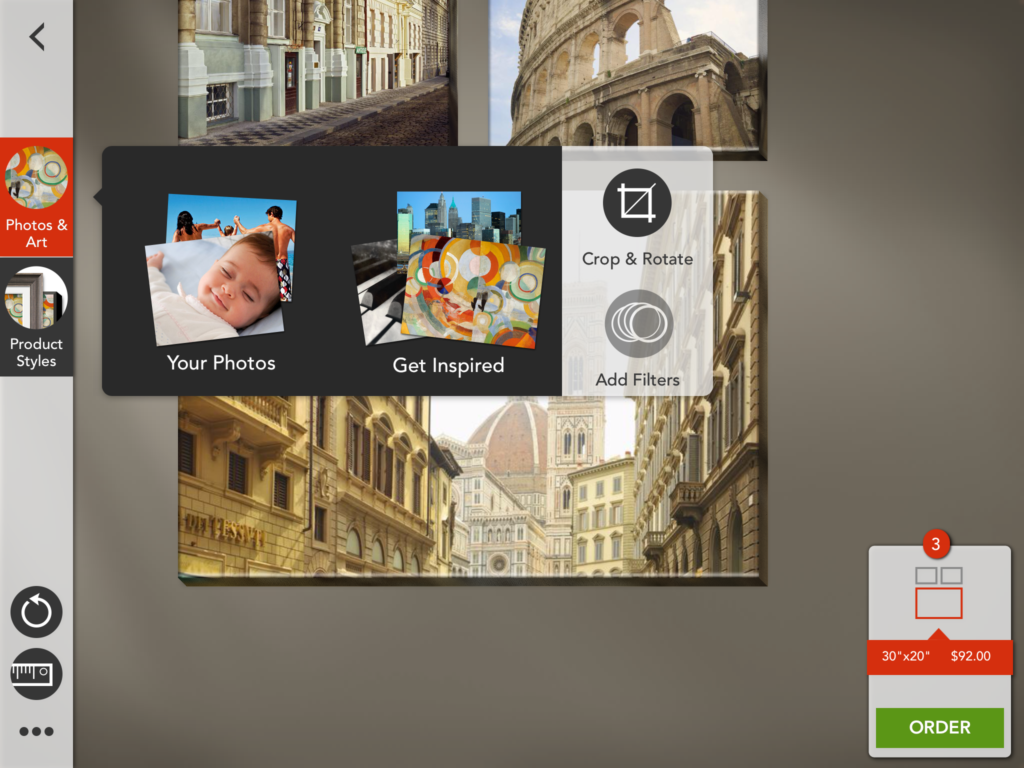
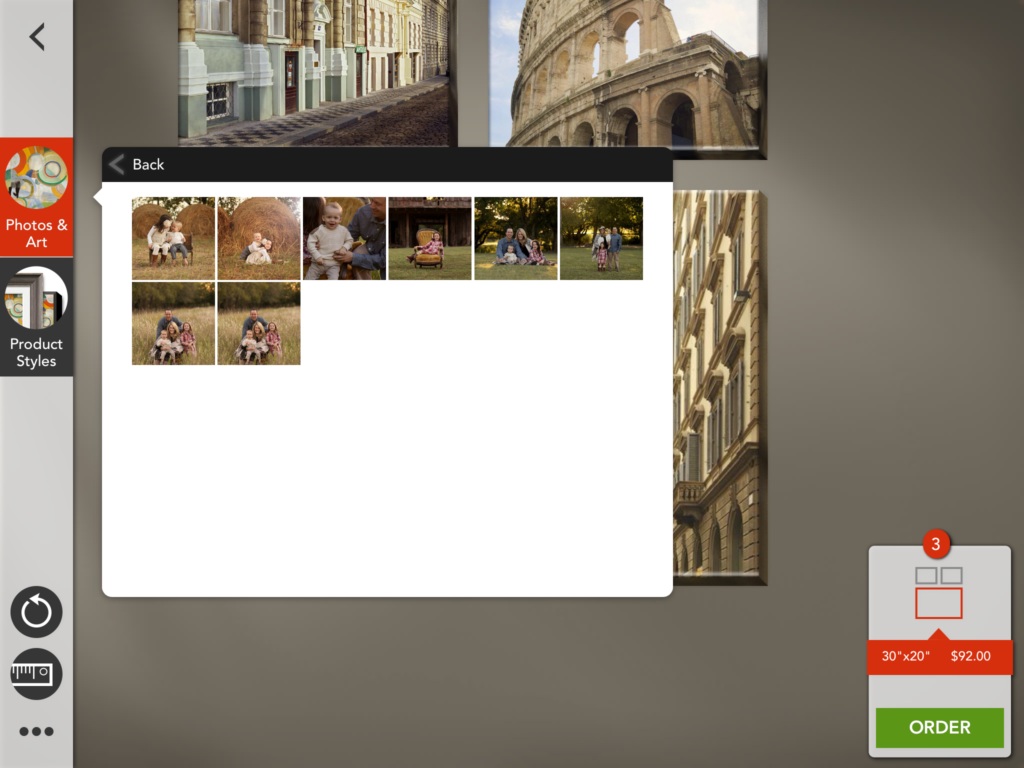
Click on the photo in your layout you wish to start with, then click the button on the left hand side that says “Photos & Art”. You are able to choose art from over 2500 images they have available or you can upload your own personal photos.
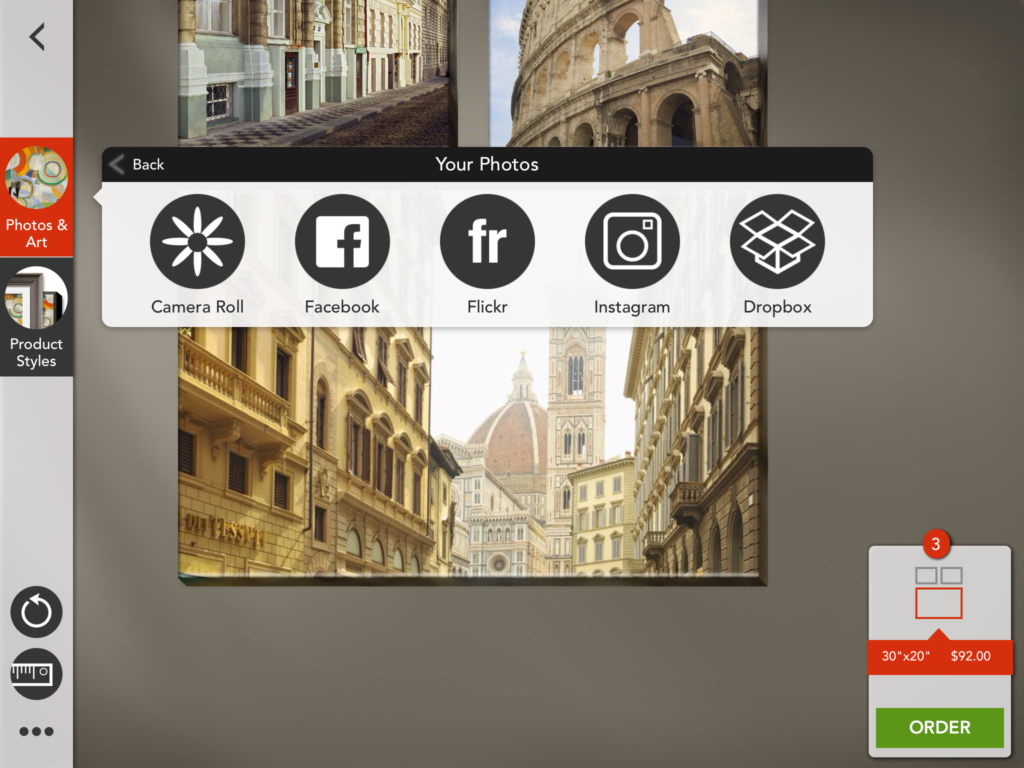
My gallery wall is of my family so I chose photos. Once you click on “photos” a box will pop up with the different places you can upload your photos from. At the in store Kiosk your only option is Facebook and I think that is the easiest.
- Create an album in Facebook with the photos you want to use. Make sure to make the album HD so you are able to upload good quality images.
- On your computer there is an option to upload HD images when you are creating your new album.
- From your iPhone open the Facebook app, tap the menu drop down box on the screen (looks like 3 horizontal lines), click settings, account settings, videos and photos and then upload HD.
- From Android open the Facebook app, tap the menu drop down box on the screen (looks like 3 horizontal lines), click app settings and then upload photos is HD.
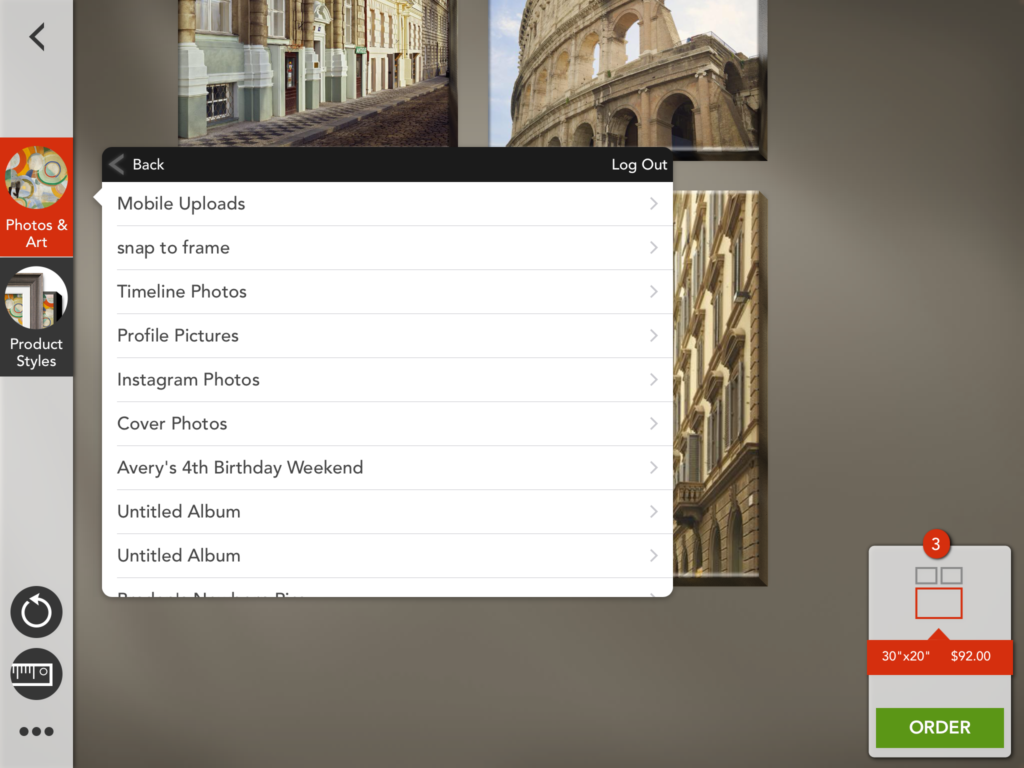
Below you can see the album I created in Facebook called “snap to frame”
Once I open that album the photos I uploaded appear and then I can choose from them to create my prints. You can crop them, rotate, change the filters, etc to get the exact look you want.
STEP 3: PRODUCT STYLE
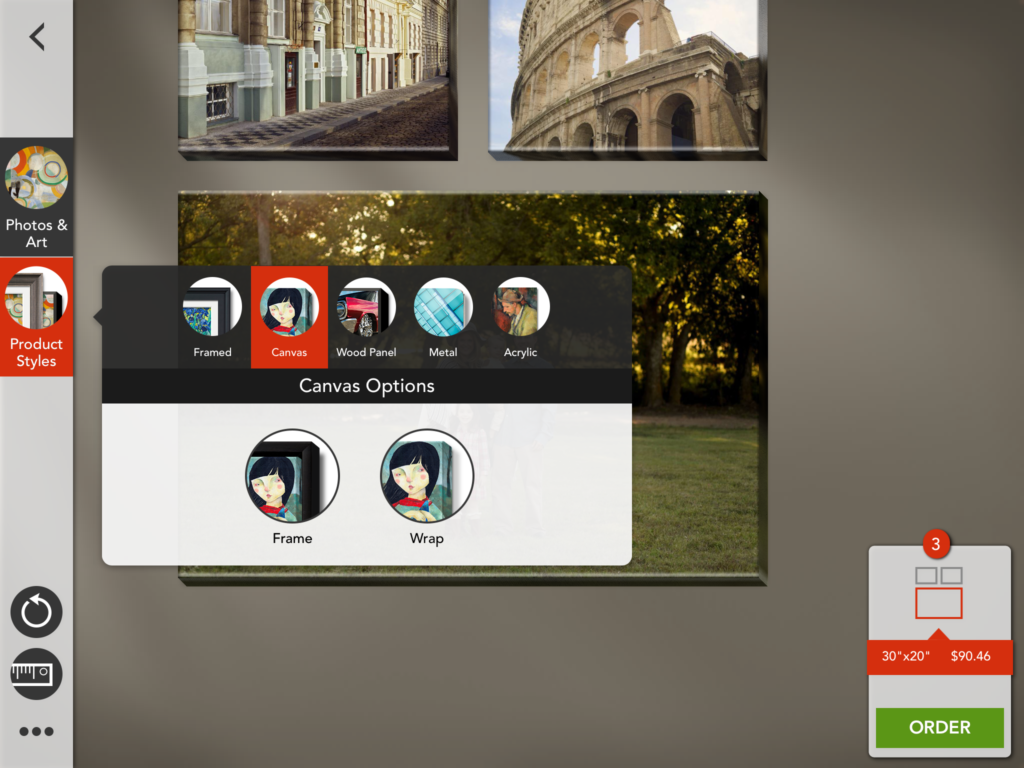
Now that you have your photo looking how you want, the next step is to choose your product style. There are 5 different options. Framed print, wrapped canvas, print on wood, acrylic or metal. The different prices will appear in the bottom right corner as you select the different styles. Each style is beautiful and has a very different look. This is why going into an actual store if you have one close is very helpful because you can see each one in person. If you chose wood, acrylic or metal this is your last step.
STEP 4: FRAMING
If you choose the framed print or wrapped canvas option you can select framing.
- FRAMED PRINT: If you chose the framed print style you have several options to choose from: paper, mat, frame and glazing.
- CANVAS: If you chose the canvas style then you choose your wrap around style or add a frame
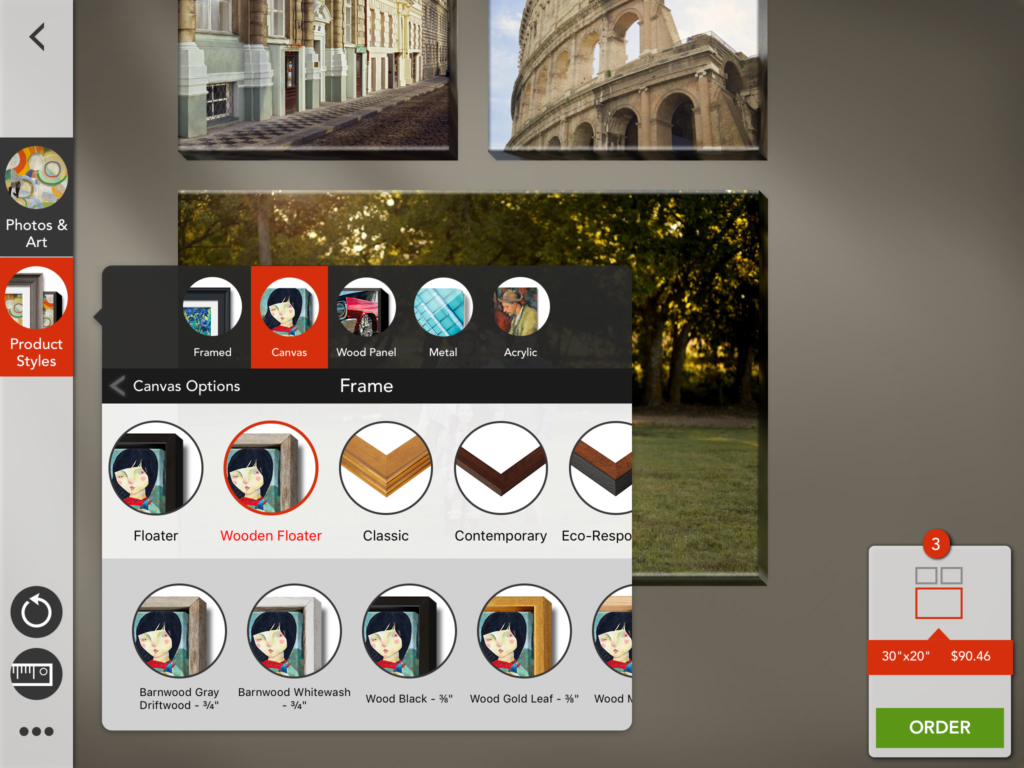
I chose the framed canvas option. There are many different frames to choose from. I shared a photo above with the different frames in person, but they also show you pictures on the kiosk or app.
My final selection was the canvas with reclaimed barnwood floater frame in Driftwood.
STEP 5: REPEAT AND ORDER
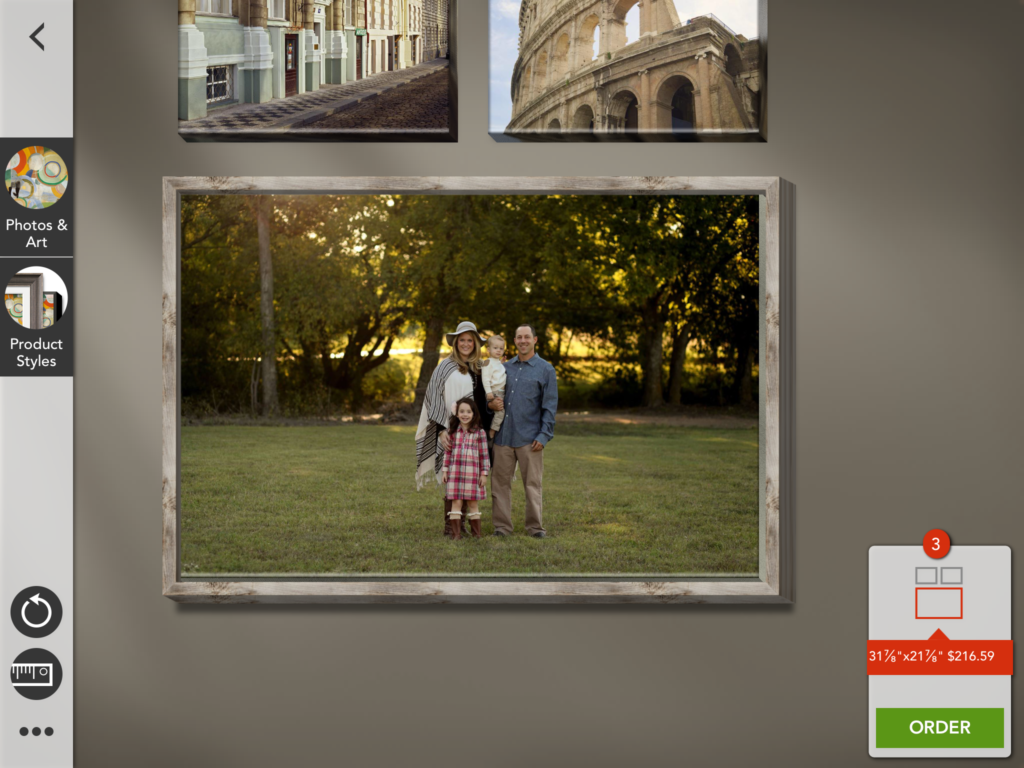
You have now completed the entire process. Just repeat steps 1-4 for the other photos on your gallery wall. You can see my completed selection below and I changed the wall color and sofa to better fit my style.
Once you have everything exactly how you want it you just click the green ORDER button in the bottom right hand corner and you are all set!
Check out this quick video on Snap to Frame
INSTALL IN MINUTES
One of the things I love is your gallery wall comes with a custom template for simple, stress free hanging! This is HUGE! If you look behind all of my gallery walls there are approximately 58 holes! I think it is so hard to hang a gallery wall on your own and this makes it so easy.
I am so excited for my photos to arrive so I can hang them in my home. Like I said above I have NEVER seen canvases this beautiful! As soon as I get everything set up I will share the final look! Stay tuned…
While you are at Nebraska Furniture Mart be sure to check out their other amazing items. They carry the Magnolia Home Line by Joanna Gaines and it is just beautiful. See real life pictures HERE
Thank you so much to Nebraska Furniture Mart for sponsoring this post. All opinions are my own and I would never share anything I did not personally love or use myself!



Looks amazing! I can’t wait to go try it out.
Great idea! I love how it looks, too. Thanks for sharing at Funtastic Friday.
I have personally ordered some wall art on this application and it is awesome. I first bought some pictures for my home in the Nebraska Furniture Mart and loved the quality of the product. After the pictures came I downloaded the app and reordered some pictures I had as gifts to friends. It was a highlight for them.
Oh yay….I am so glad you love it. I was blown away with the quality and options. Thanks so much for stopping by and leaving your sweet comment!